5 Interesting science facts for young minds— discovered and demonstrated through simple experiments!

So often things occur or exist around us and we hardly realise the science behind it. Here, we discover some of the common phenomenons that are very much occuring or existing around us and demonstrate these through some simple experiments.

Why is the Statue of Liberty Green?

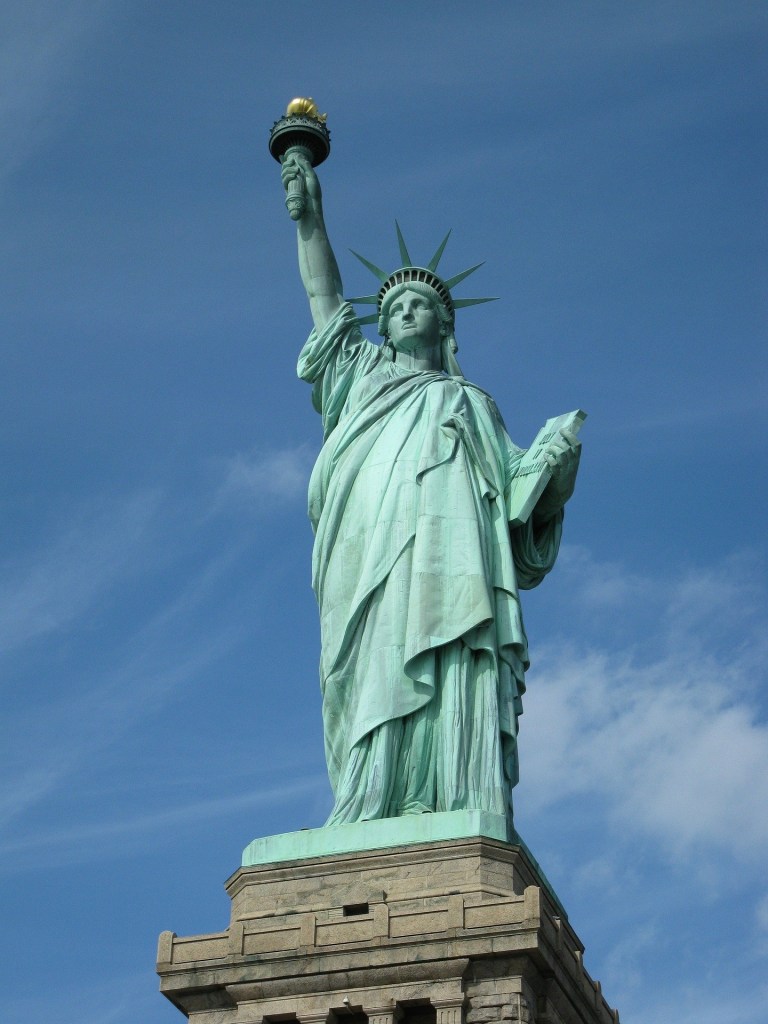
The Statue of Liberty’s exterior is made of copper, which has turned blue-green with age due to chemical reactions between metal and water. This process is known as patination and occurs with most copper when it’s placed outside.

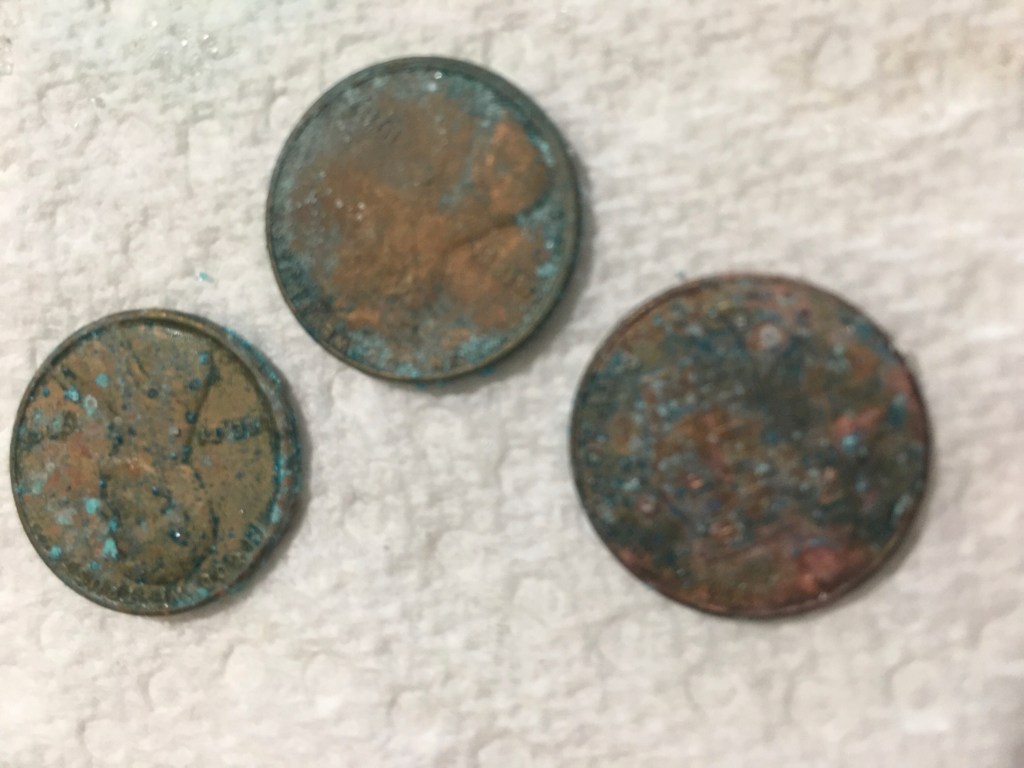
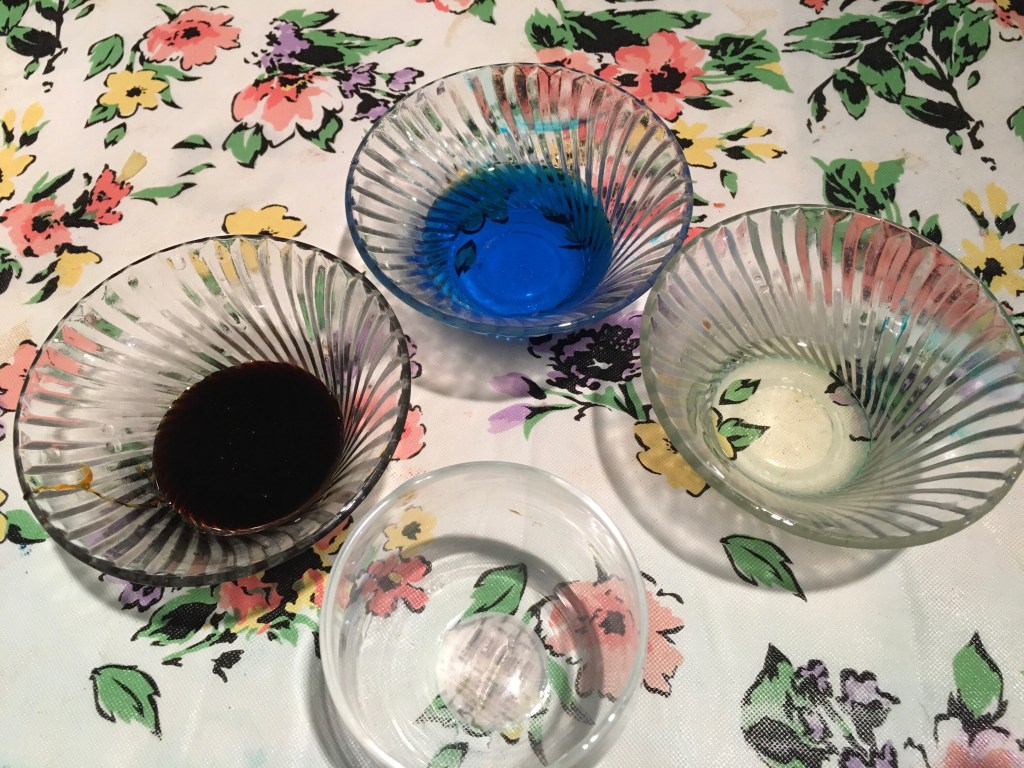
Demonstration: turn the pennies green

What you need:
Few dull pennies
4 tbsp vinegar
1 tbsp salt
Tissues
Water

Directions:
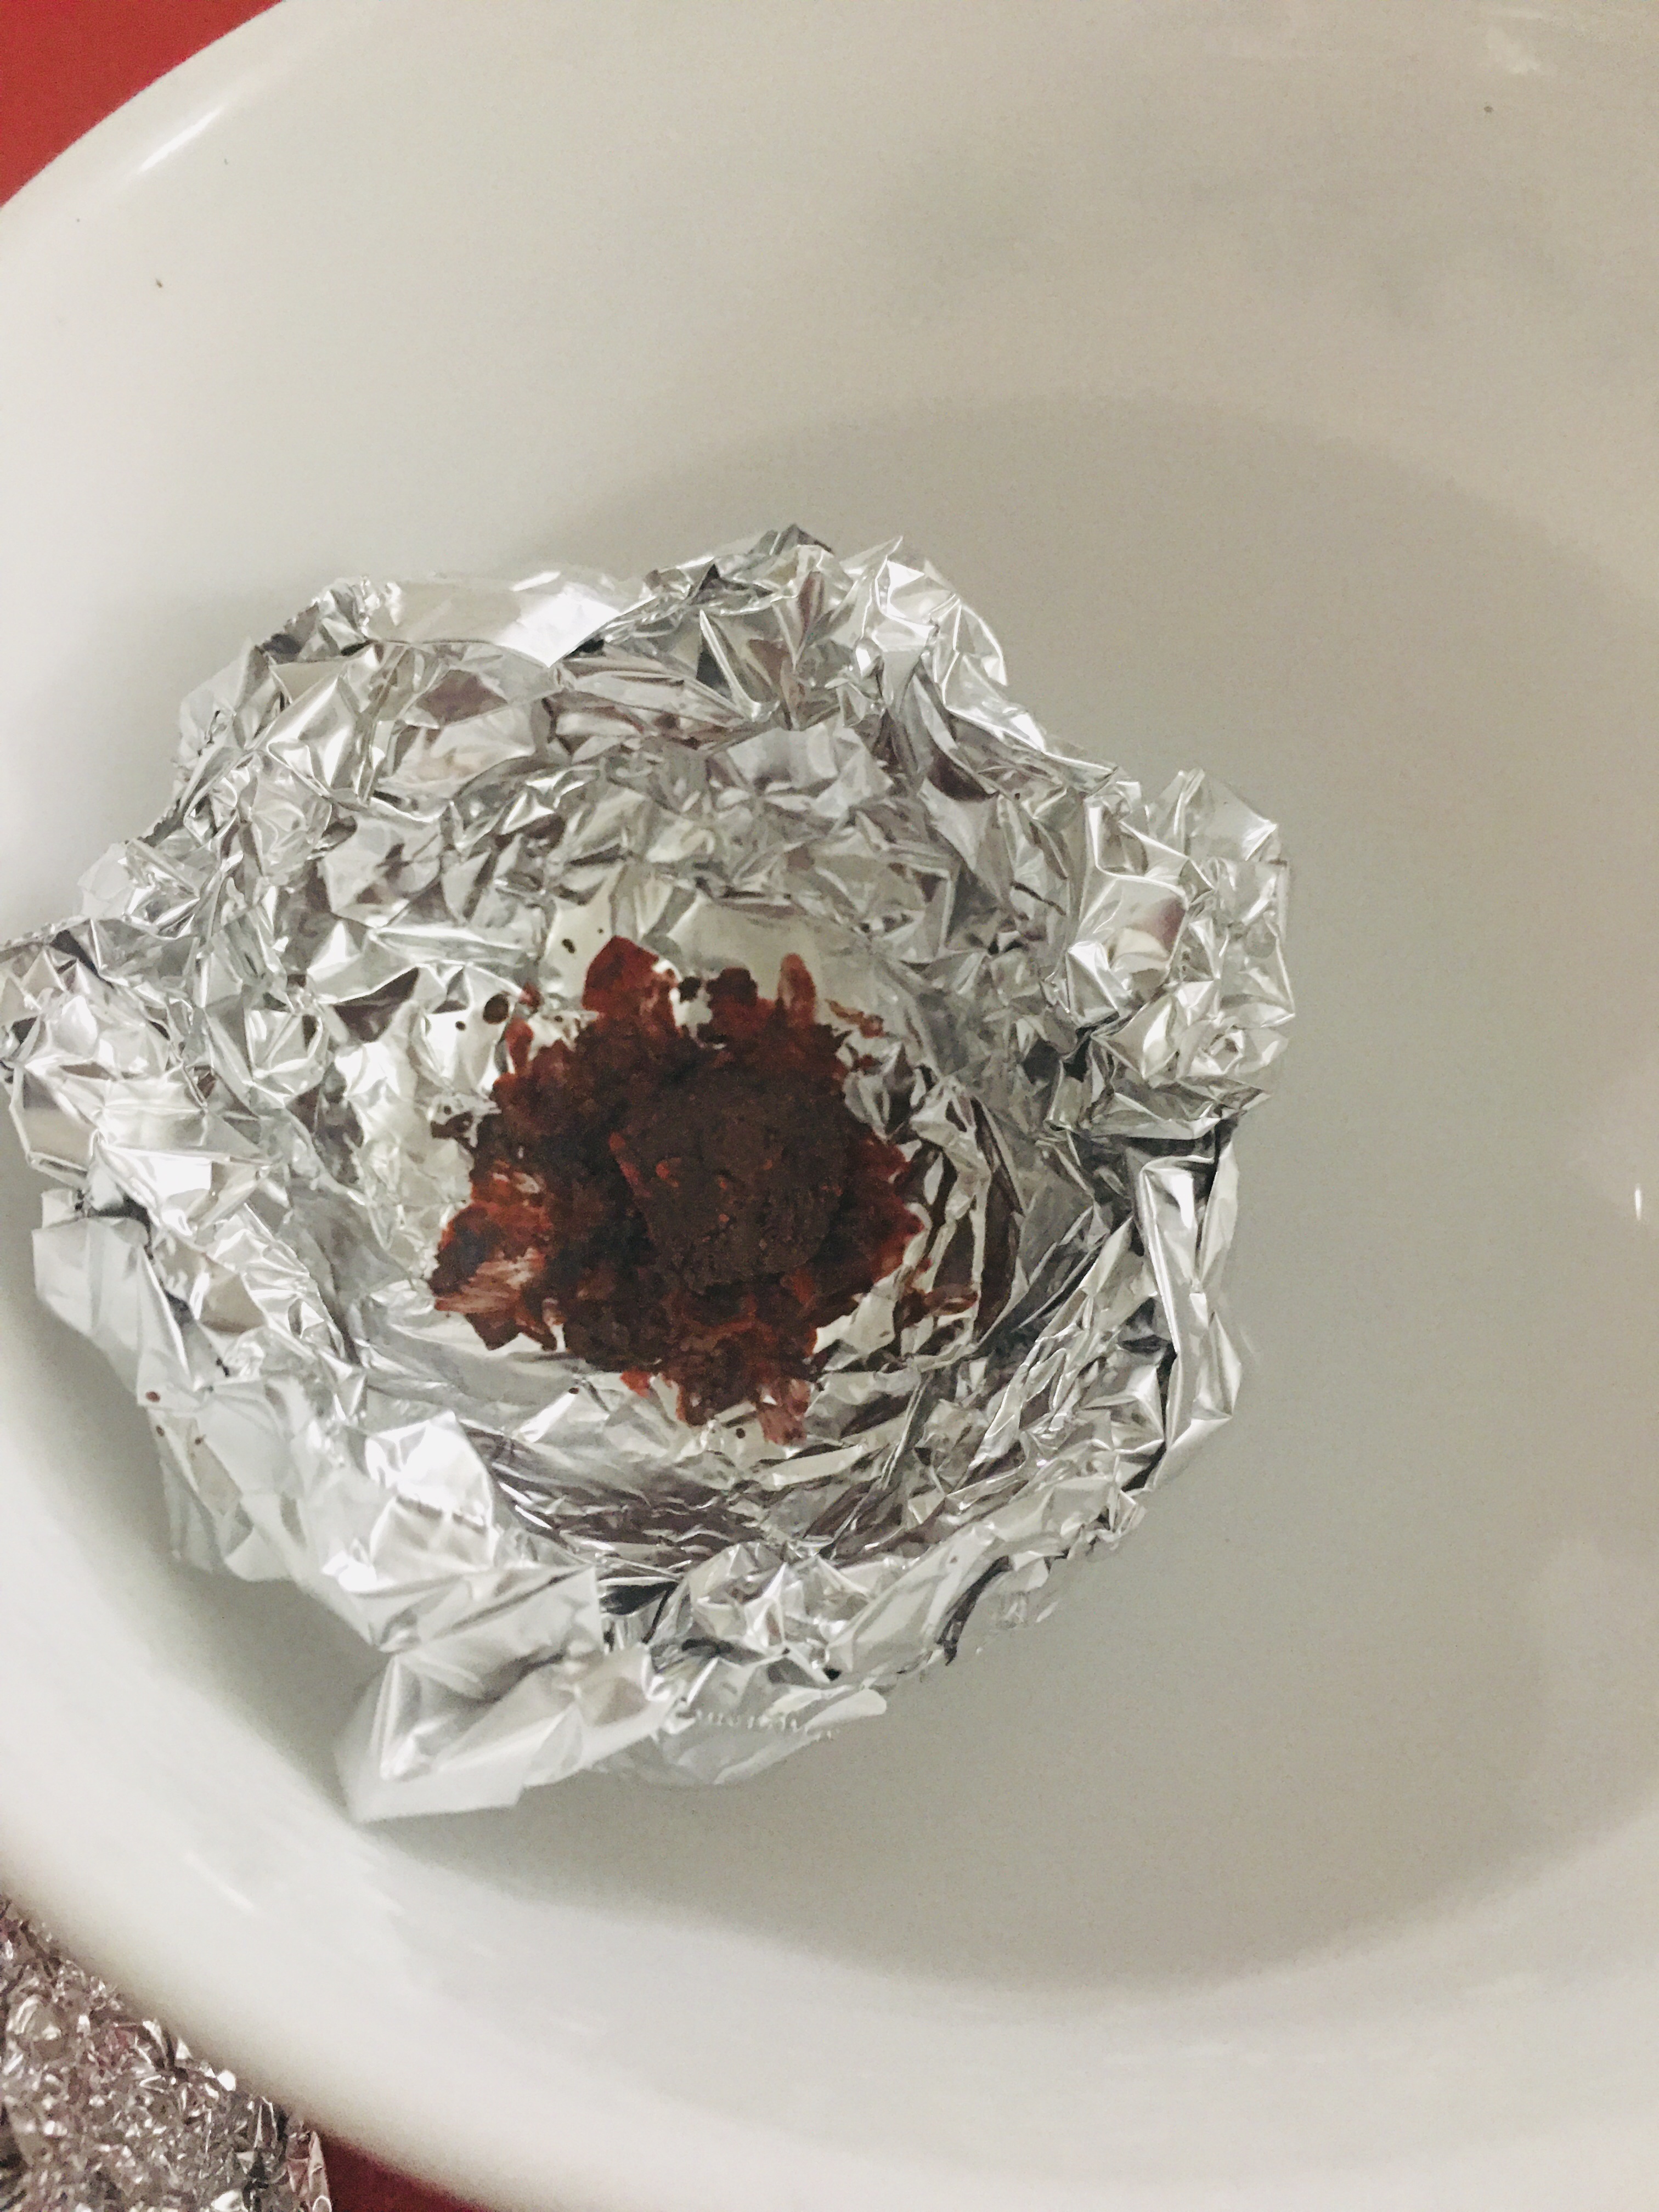
• Take a bowl of vinegar and salt and put a few pennies into that for around 10 minutes.
• Take out the pennies and give few of them a good rinse and leave the remaining non-rinsed.
• Now keep the rinsed ones on one tissue and the non-rinsed on a separate tissue.
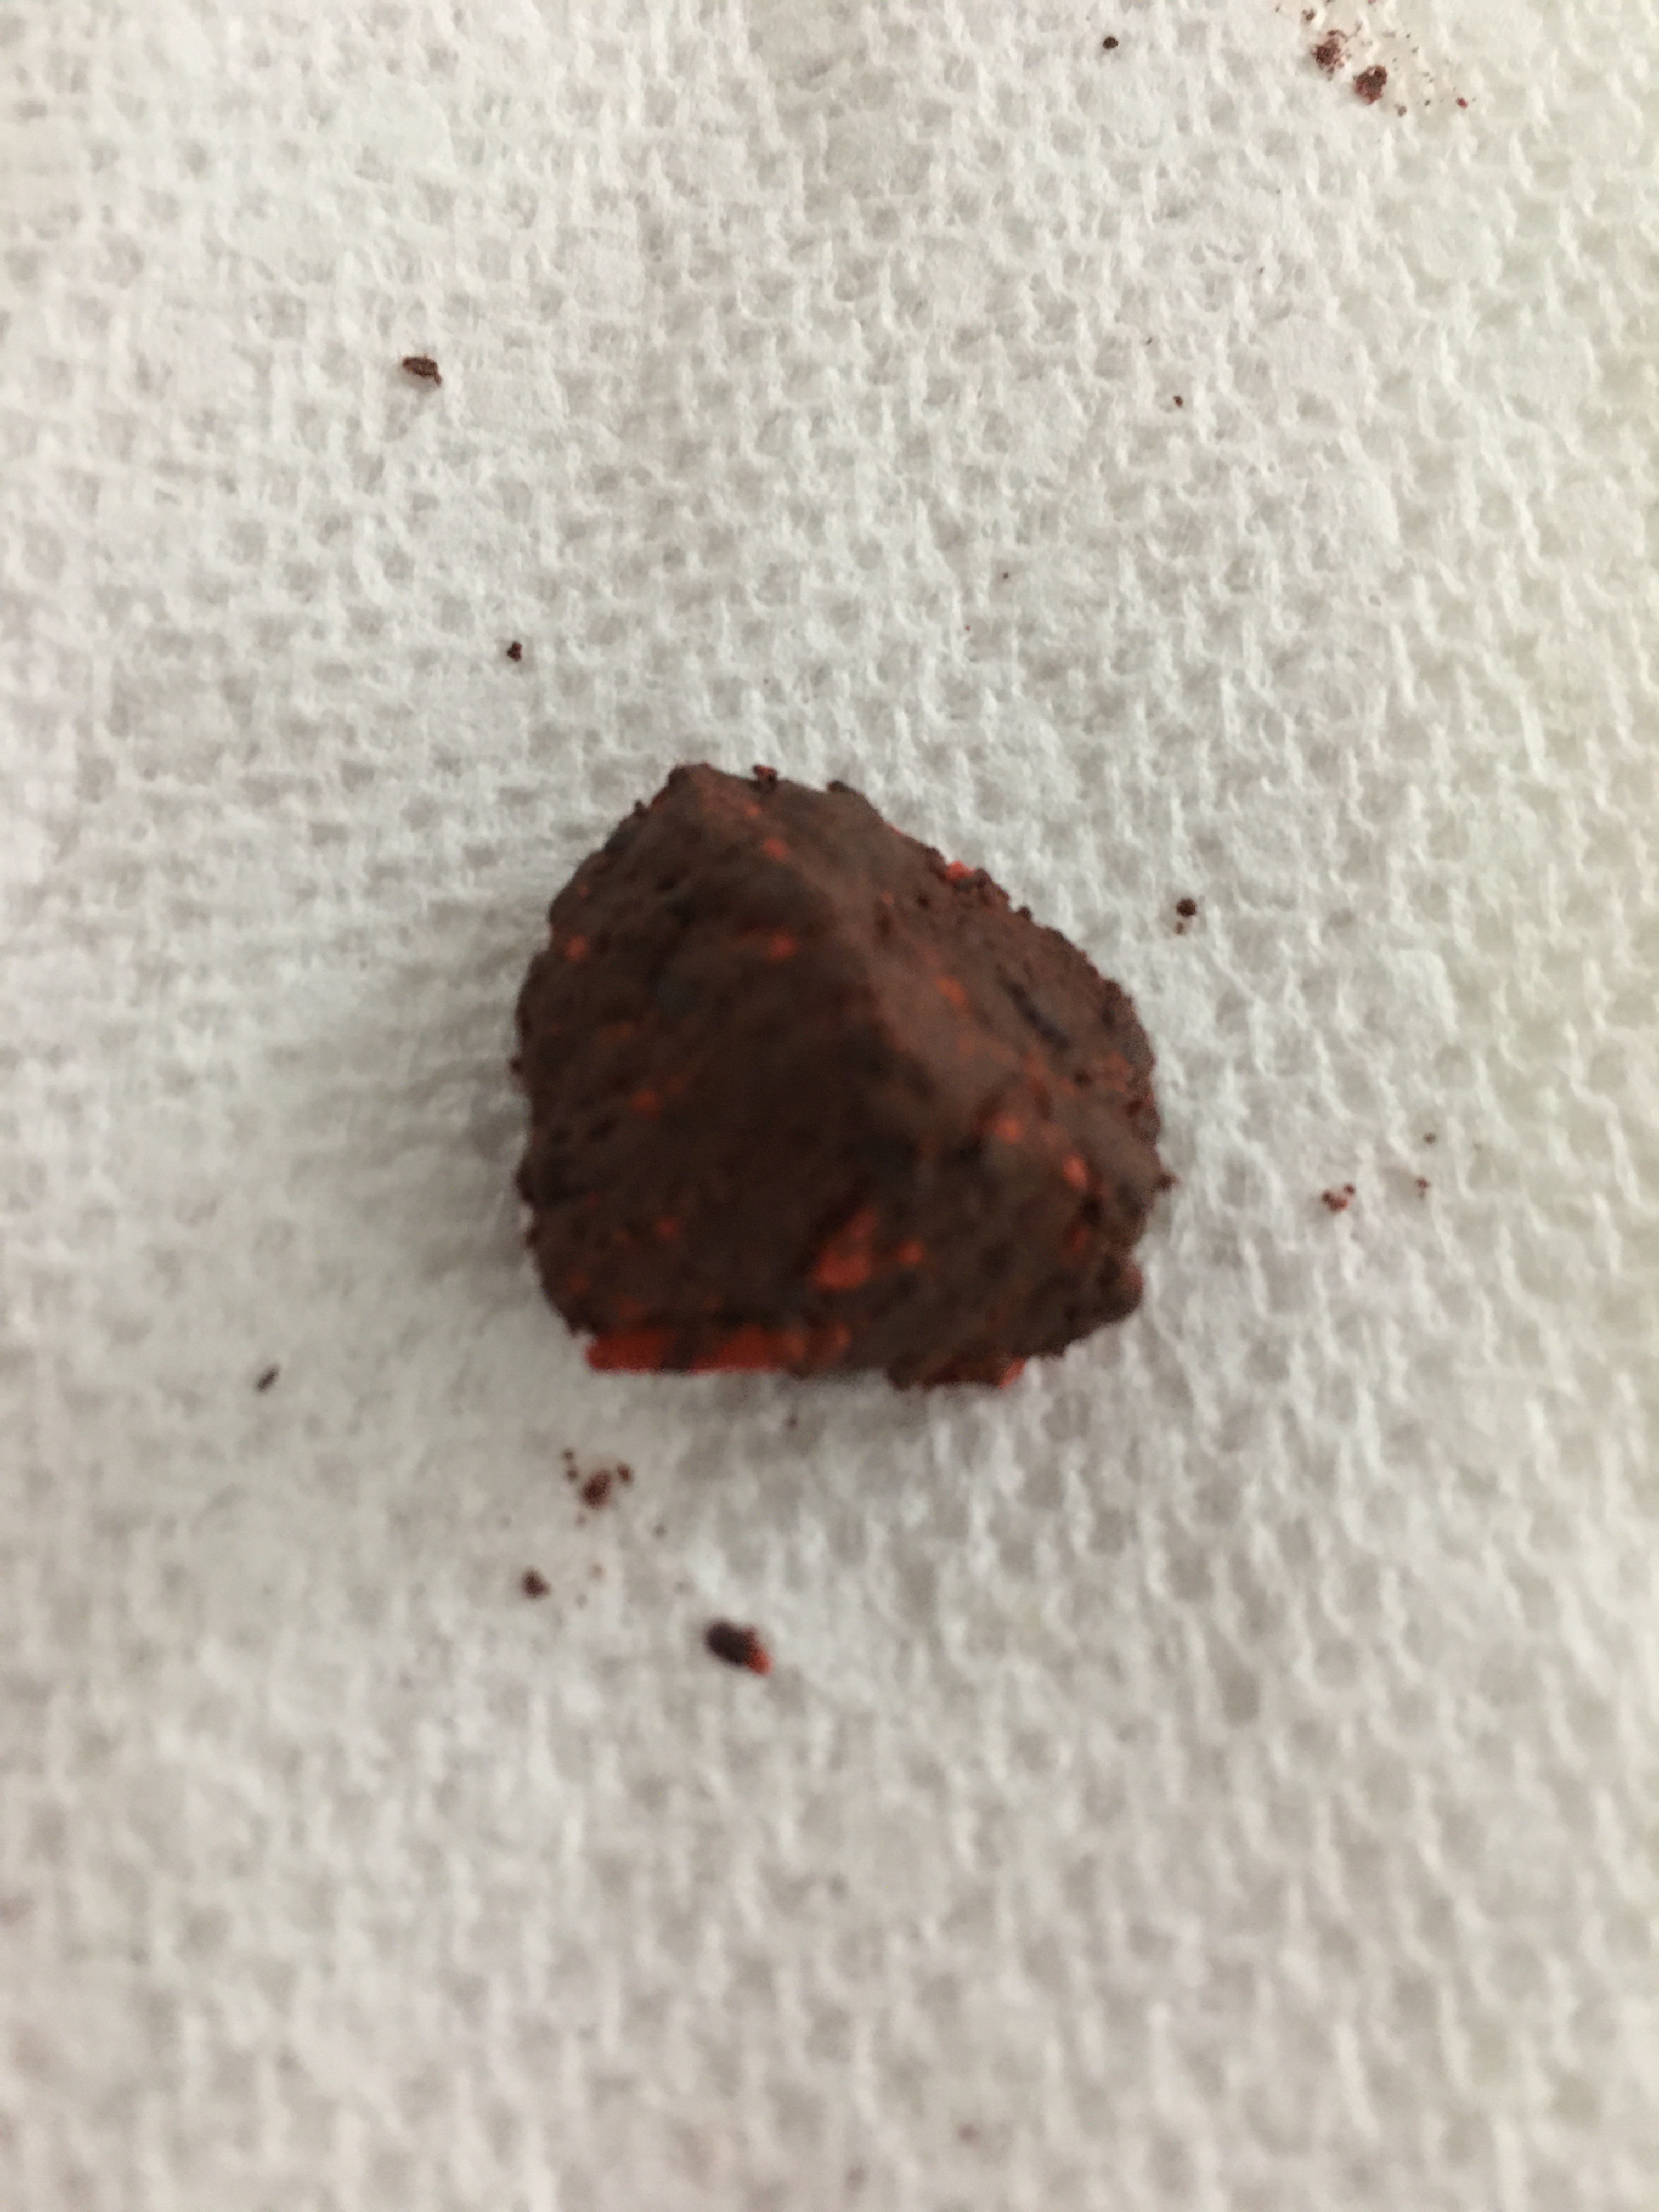
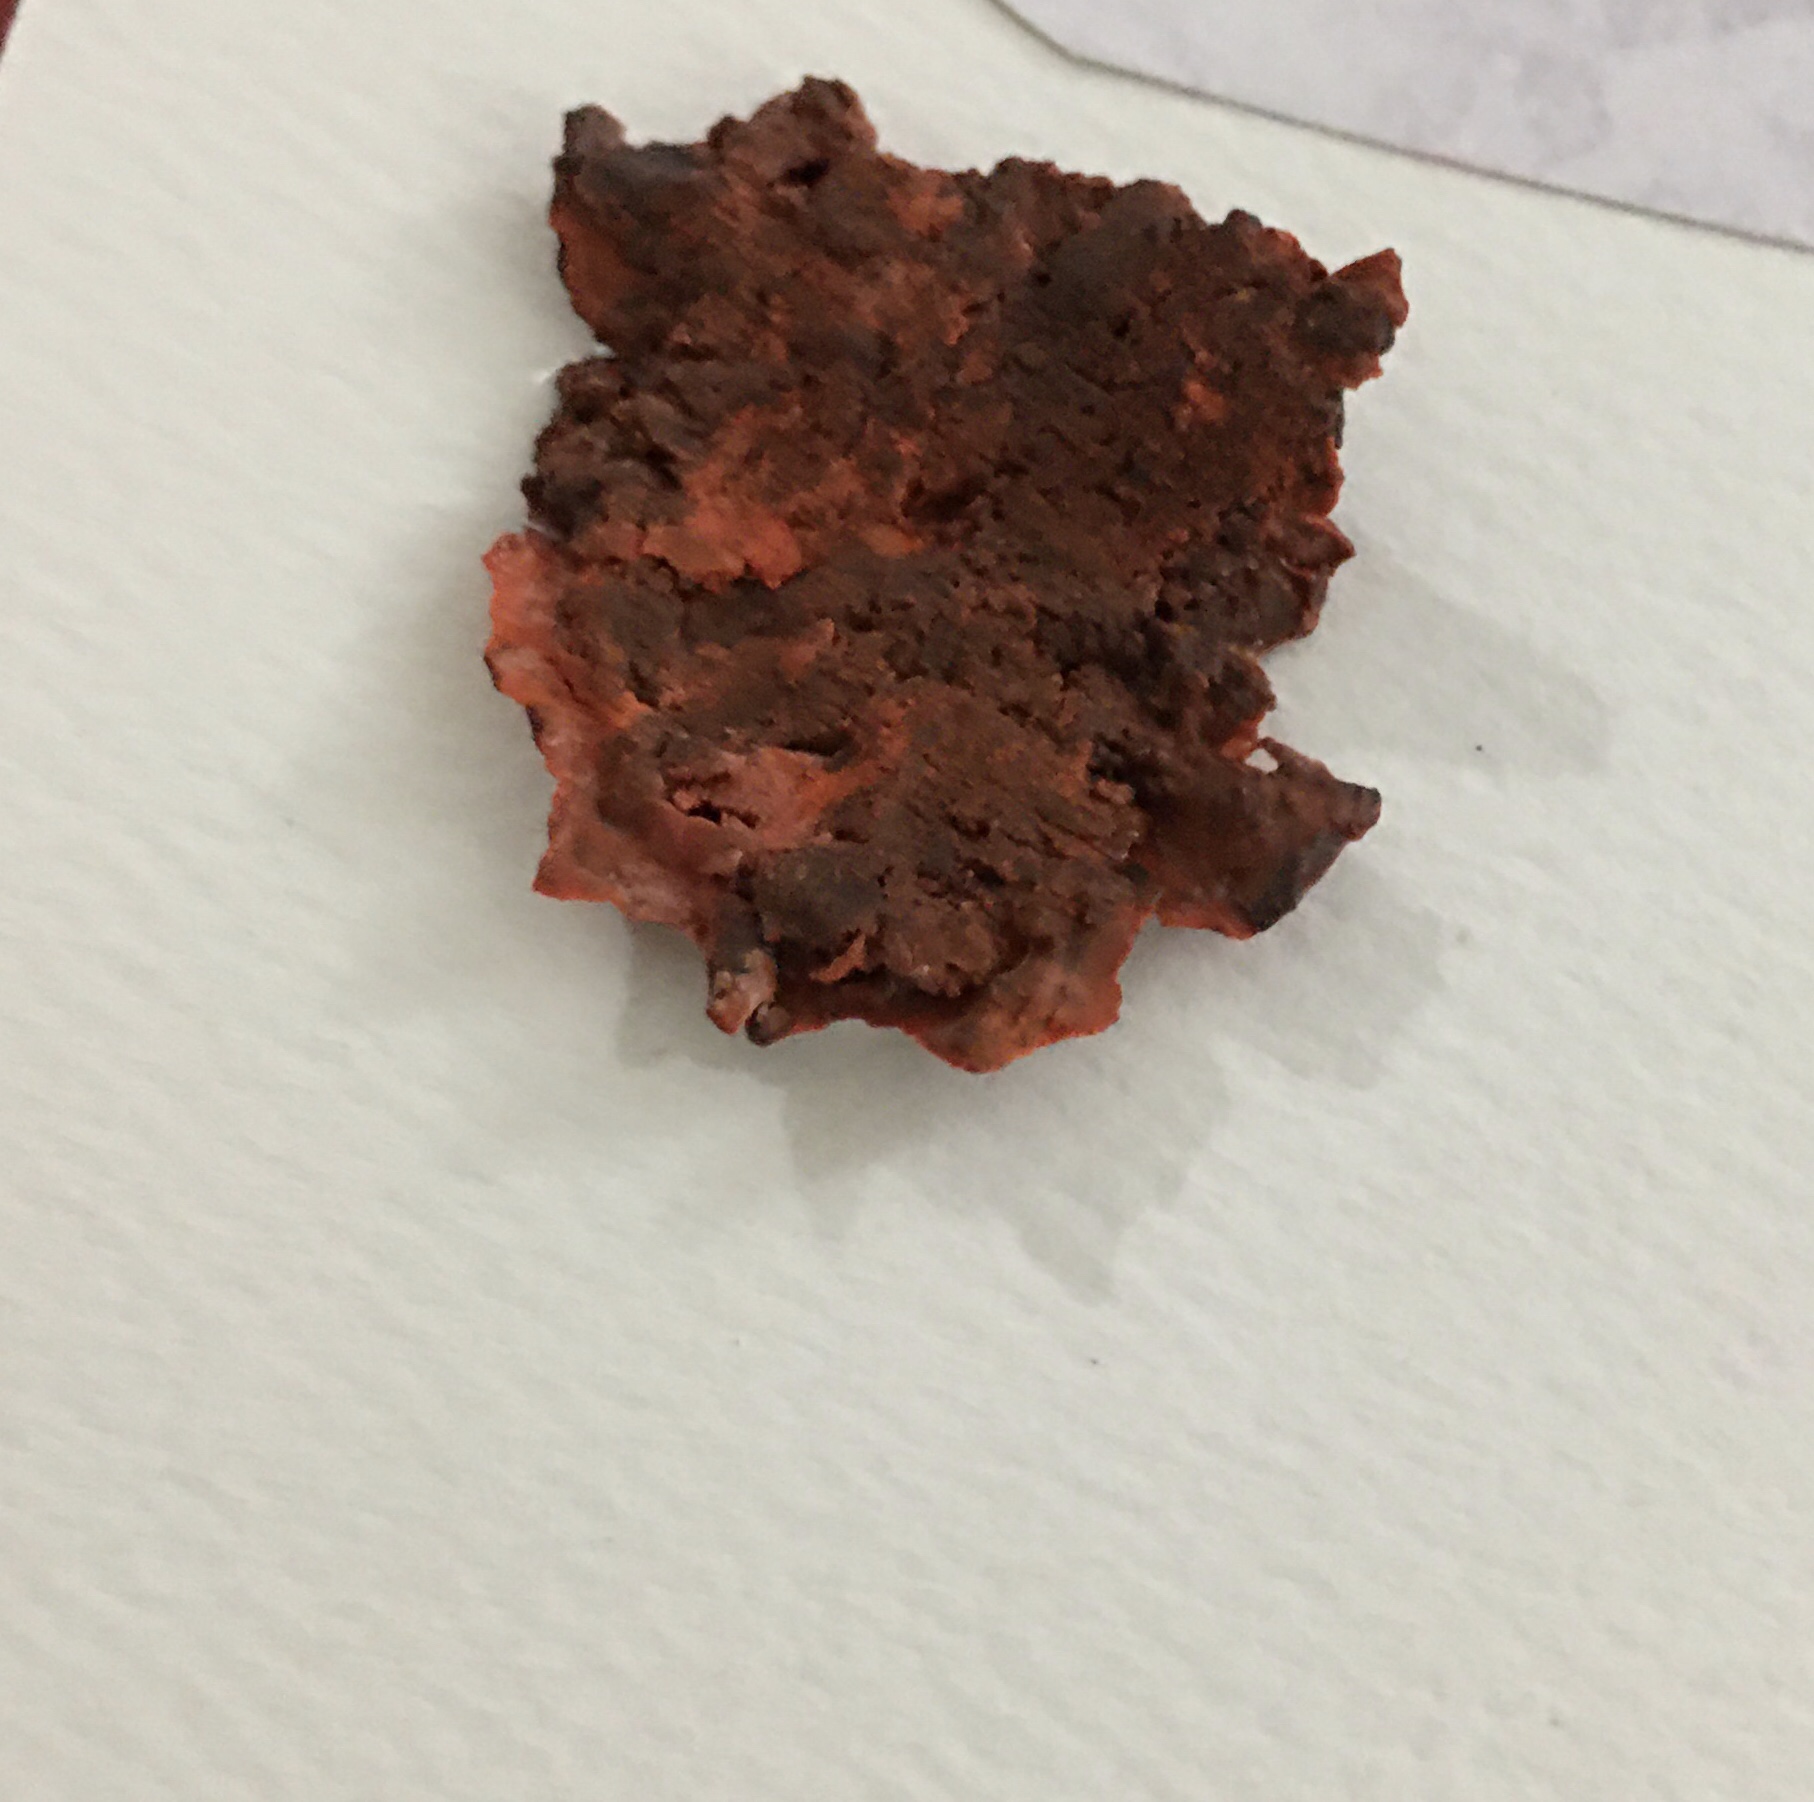
• The ones which have not been rinsed start to turn green in some time whereas the ones which have been rinsed remain clean.

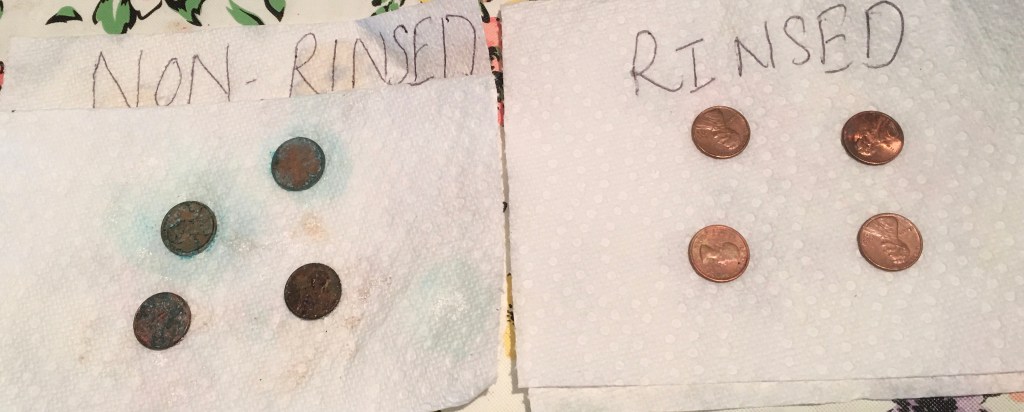
Here, first the acid in vinegar reacts with the salt to get the copper clean and shiny. The pennies which are not rinsed with water and are just let to air dry with salt and vinegar, will turn green as a chemical called malachite forms on the pennies,just like the Statue of Liberty!

Why do rainbows appear near a waterfall?

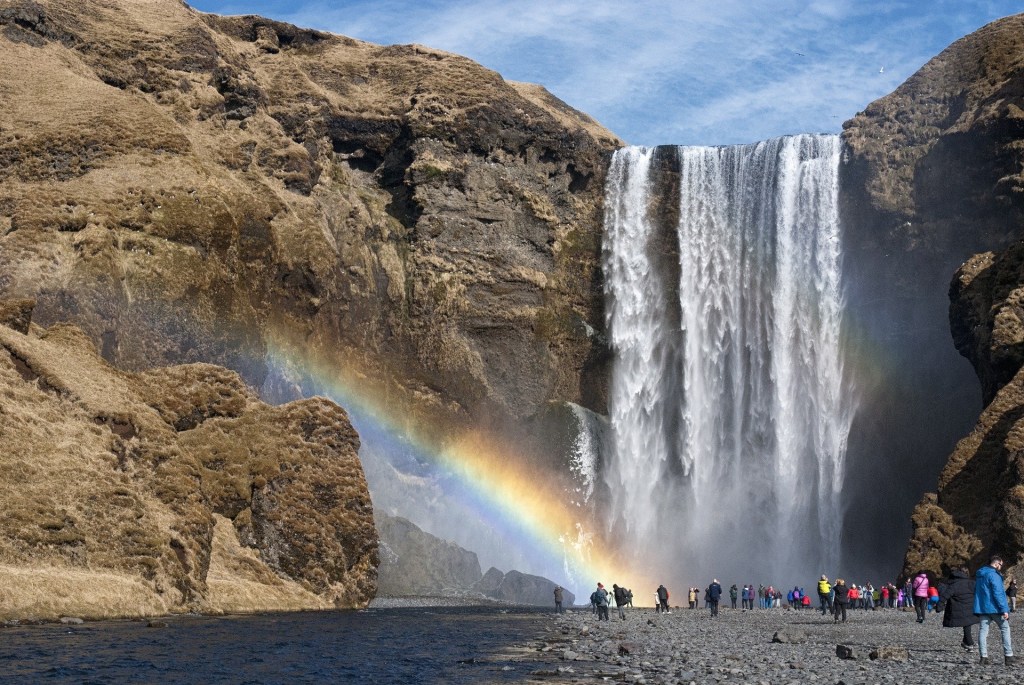
As we know the white light is made of seven colours: red, orange, yellow, green, blue, indigo, and violet. When white light passes through water, each raindrop acts as prism. A prism is usually made of glass and is used to separate light into different colors.

How a prism works:
When the light strikes travels from air to glass it bends. This bending is called refraction. The beam of light is separated into its different colors because each color bends at a slightly different angle. When the light comes out the other side of the glass, it is no longer a beam of white light. Instead, you see all the colors that make up white light in a rainbow shape.

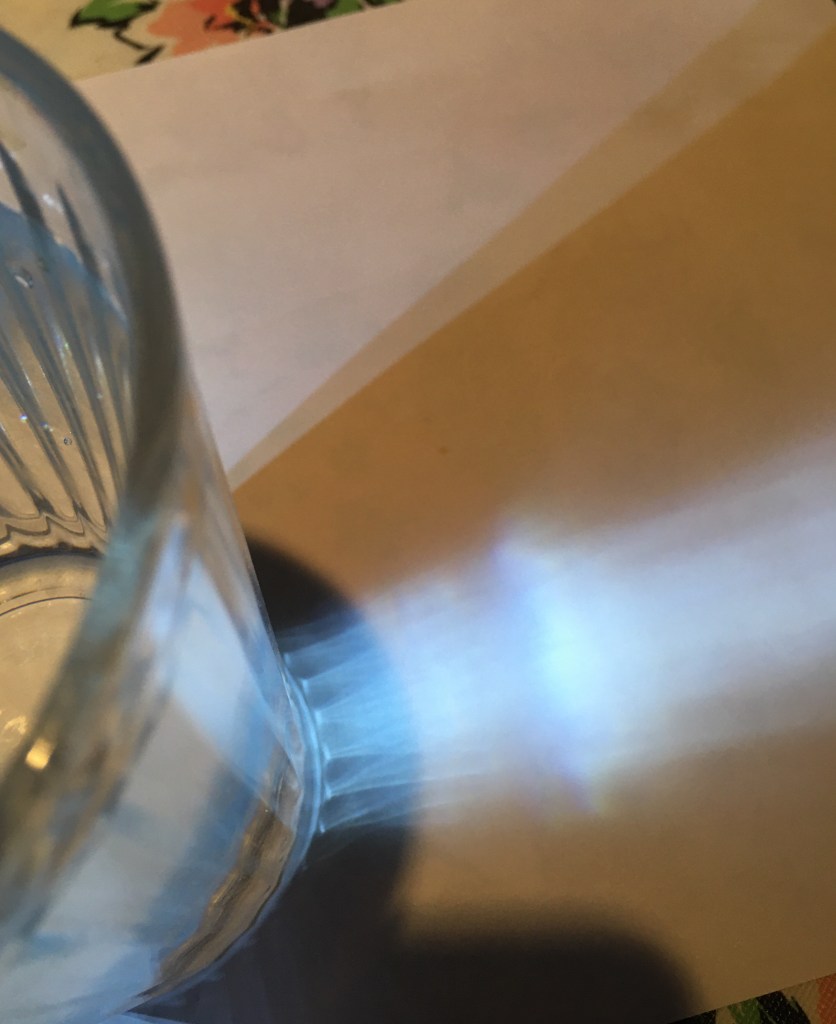
Demonstration: Make a rainbow from glass

What You Need:
A clear glass
Water
A sheet of white paper or card stock
Flashlight

Directions:
• Fill the glass a little more than half-way full.
• Set the glass on a surface and lay sheet of paper by the side of the glass.
• Turn on the flashlight or (let the sunlight shine through) and hold it near the outside of the glass at the level of the water, pointing towards the paper.
• Look for a rainbow pattern to appear on the white paper. You might need to adjust where you are shining the flashlight or where your paper is at in order to see the rainbow clearly.

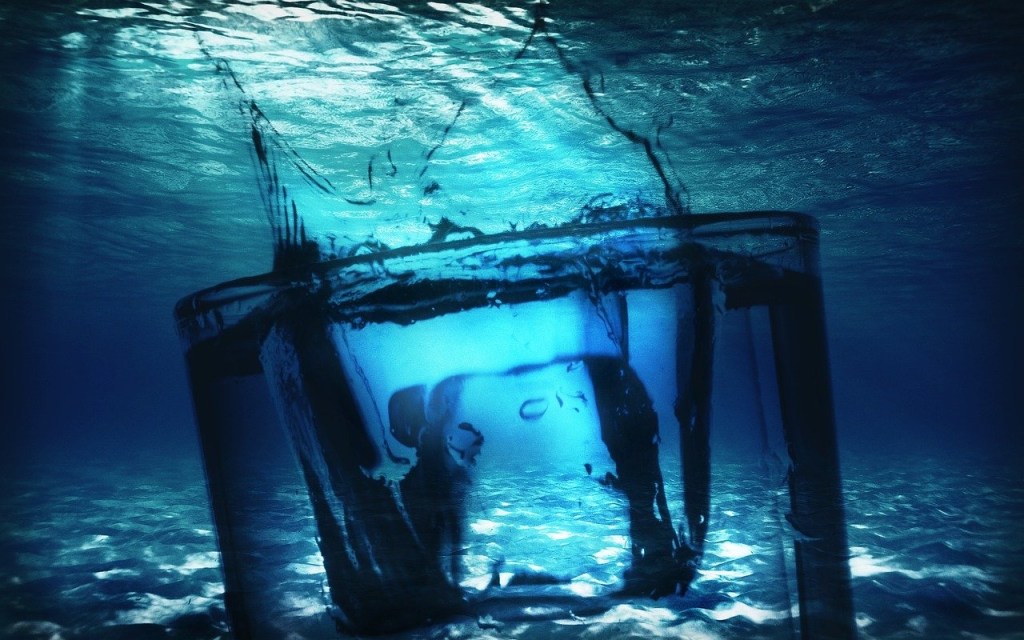
Why does Atlantic ocean and Pacific ocean meet but do not mix?

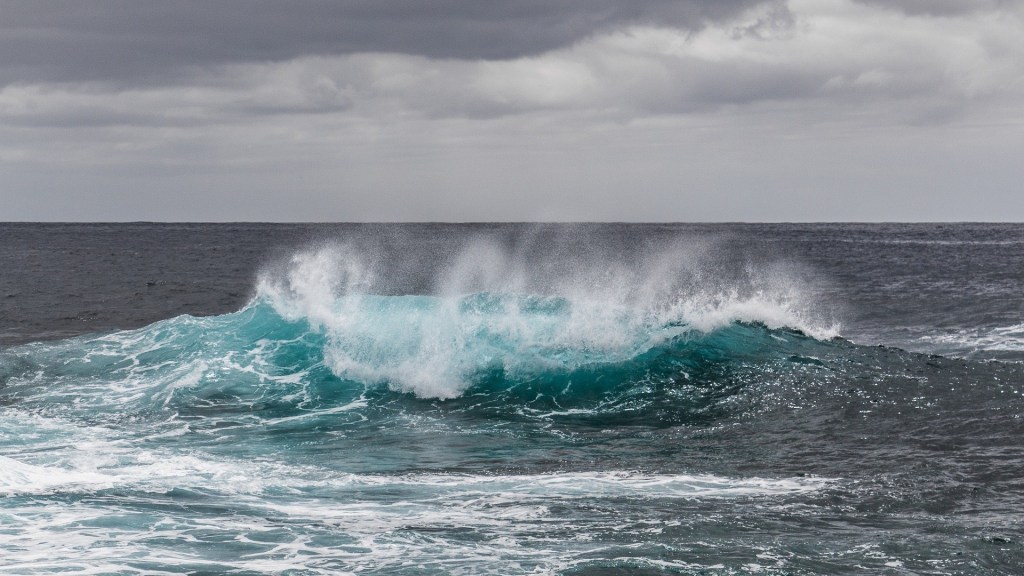
Strange but true. The Atlantic and the Pacific ocean meet at the southern most tip of the South America in the Gulf of Alaska showing two different colored bodies of water.
The reason is simple. One is, sediment-rich freshwater from melted glaciers (light-coloured) and the other is salty ocean water (dark colored). The water density, temperature and salinity of these two waters make them difficult to mix.

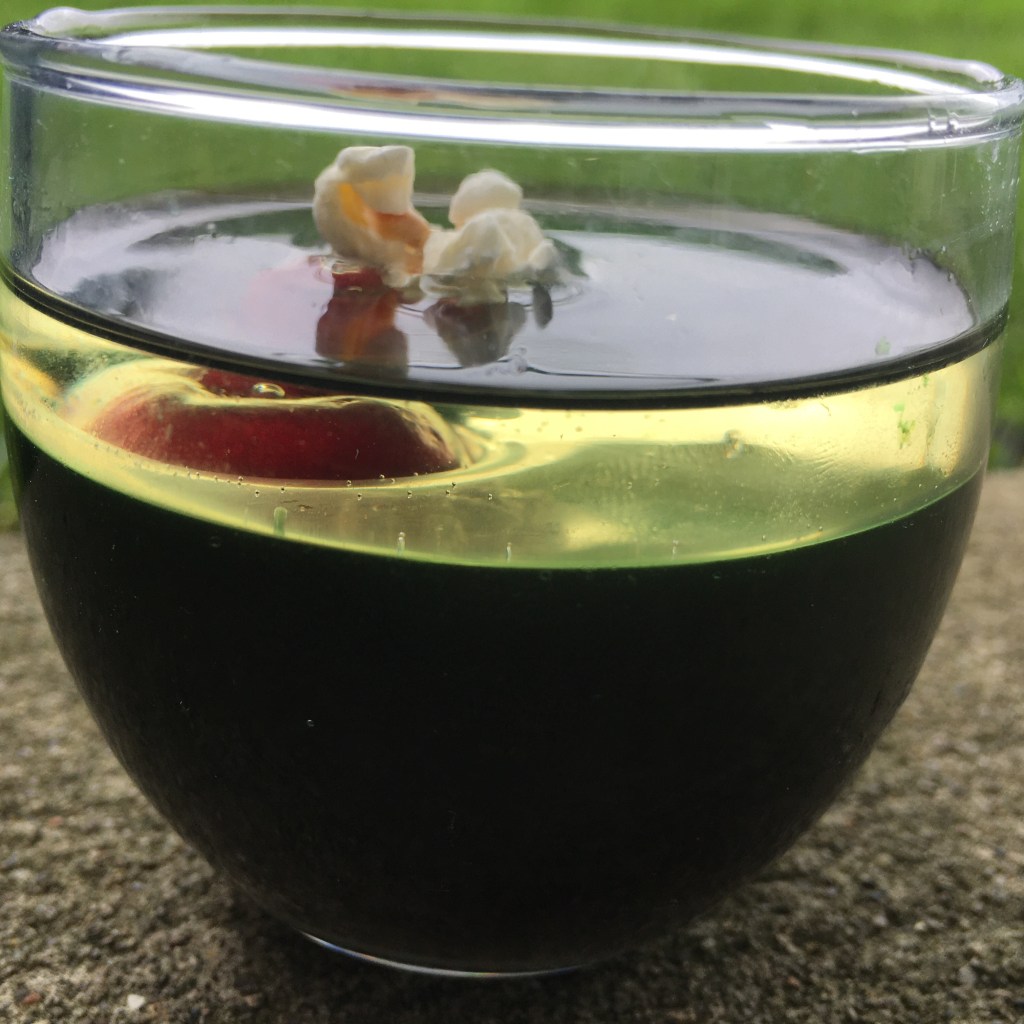
Demonstration: Add liquids of different densities

What you need:
Syrup or honey
Water
Vegetable oil
Food coloring
A metal ring, cherry, popped corn (objects of different densities)

Directions:


• Add food color to water.
• Add all the liquids.
• Drop items of different densities.

All the liquids don’t mix owing to difference in their densities. The syrup settles at the bottom, water remains over it while oil floats on the top. When we drop items into them, the metal ring sinks, the cherry floats on water while the corn floats on oil which again demonstrates the difference in the densities of the liquids.

Why are small gaps left in between rail tracks?

Small gaps of a few millimeters, are provided between each section of the rail to allow room for the rails to expand due to the rise in temperature. As we know, all materials expand when heated and contract when cooled. The extent of expansion and contraction is quite low in most situations. However, since each section of the rail is very long, the expansion due to heating is significant. Hence, if the gaps are not provided, the rails will bend to accommodate the increased length, making the rail tracks prone to accidents and derailment of trains.

Demonstration: Dancing coin (thermal expansion)

What you need:
One glass bottle with a narrow top (which can hold the coin)
One quarter or a coin
Water

Directions:
• Put your bottle in the freezer for at least an hour, or until it is chilled.
• Dip your finger in the water and run your finger over the top of the opening of the bottle to get it wet.
• Now place your quarter on top, covering the opening.
• Now place your hands firmly around the bottle and watch the magic!

The coin on the top of the bottle seems to dance due to thermal expansion of water. The heat from our hands transfers to the water on top of the lid. It expands and tries to escape making the coin move in an interesting way.

Why can’t we drink sea water?

When we drink normal water, water from our blood stream diffuses to our cells which have lesser concentration of water than the medium surrounding these that is blood. This mechanism of migration of water from the area of its lower concentration to the area of higher concentration through a semi permeable surface is known as osmosis.

However, when we drink salt water, the water concentration is higher on the inside of our cells than on the outside, water moves from the inside to the outside of the cells to correct the imbalance. This causes the cells to shrink.

So, in order to remove the extreme amount of sodium taken in by saltwater, we urinate more water than we actually drank. And dehydration sets in. Also, our kidneys have to work harder beyond their capacities which might cause our system to collapse.

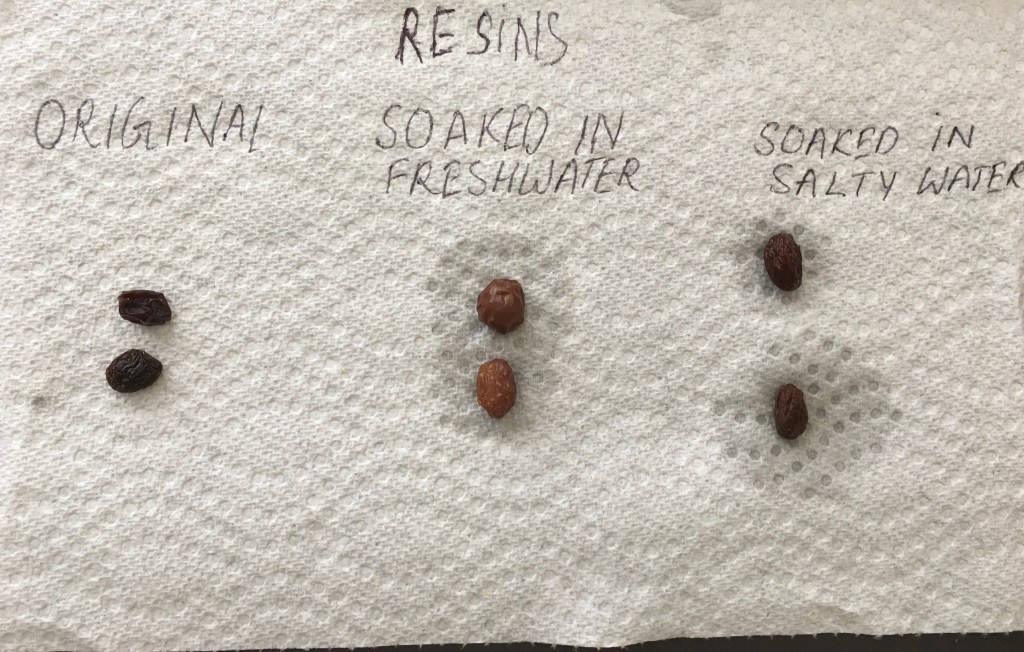
Demonstration: Resin osmosis

What you need:
Some resins
Plain water
Salty water
A tissue paper

Directions:
• Soak some resins in plain water for a few hours.
• Draw those resins and put them in salty water for a couple of hours.

Here, we see that the resins, on soaking in fresh water swelled up due to diffusion of water into them. Whereas, when we kept those resins in salty water, they shrank since the water diffused out. This all happens due to the process osmosis.

Kids as Chefs- White Chocolate Truffles

When it comes to kids’ favorite dessert, chocolates will always stand a winner. What better way of getting our kids moving than to make them make chocolate truffles of their own.


My little one chose his favorite white chocolate for the recipe. These truffles are simple and easy to make as they require no baking. So let’s get our kiddos hands tried on making their own creamy and yummy truffles.

Ingredients
1 cup chopped white chocolate (or white chocolate chips)
1 tbsp butter (diced)
3 tbsp heavy cream
½ tsp vanilla essence
Toppings
1 cup chocolate (melted)

Directions
1 Gather the ingredients.


2 Add all the ingredients in a microwave safe bowl and heat them for 30 seconds or until they are nicely mixed. Make sure you don’t overheat.


3 Cover it and refrigerate it for at least 2 hours so that it is firm enough to scoop.


4 Use a small spoon or a candy scoop to make balls. Place it on a parchment paper and refrigerate it.


6 Melt the white chocolate or topping and dip each ball in this coating.


7 Keep in the fridge for the coating to set.

Enjoy!

Notes
1 If the mixture is too runny then add more chocolate.
2 You can add coating of your choice such as sprinkles, chopped nuts, shaved coconut, etc. Coat while the chocolate coating is still not set.
3 Work in batches specially if it’s a hot weather, keeping it in the refrigerator so that the mixture is easier to handle.


Kids as Chefs- White Chocolate Truffles

When it comes to kids’ favorite dessert, chocolates will always stand a winner. What better way of getting our kids moving than to make them make chocolate truffles of their own.

My little one chose his favorite white chocolate for the recipe. These truffles are simple and easy to make as they require no baking. So let’s get our kiddos hands tried on making their own creamy and yummy truffles.

Ingredients
1 cup chopped white chocolate (or white chocolate chips)
1 tbsp butter (diced)
3 tbsp heavy cream
½ tsp vanilla essence
Toppings
1 cup chocolate (melted)

Directions
1 Gather the ingredients.


2 Add all the ingredients in a microwave safe bowl and heat them for 30 seconds or until they are nicely mixed. Make sure you don’t overheat.


3 Cover it and refrigerate it for at least 2 hours so that it is firm enough to scoop.


4 Use a small spoon or a candy scoop to make balls. Place it on a parchment paper and refrigerate it.


6 Melt the white chocolate or topping and dip each ball in this coating.


7 Keep in the fridge for the coating to set.

Enjoy!

Notes
1 If the mixture is too runny then add more chocolate.
2 You can add coating of your choice such as sprinkles, chopped nuts, shaved coconut, etc. Coat while the chocolate coating is still not set.
3 Work in batches specially if it’s a hot weather, keeping it in the refrigerator so that the mixture is easier to handle.

6 fun STEM activities to do with kids at home

Engaging kids into something constructive and fun is a task altogether, specially when they are home all through. These easy and fun activities with kids are helping us survive our days at home. I am sure they will do yours as well!

Baking Soda and Vinegar Volcano

This classic science experiment helps kids learn about chemical reactions and what happens when a volcano erupts. It gives an idea of what an actual volcano looks like and also demonstrates the chemical reaction between an acid and a base.

Materials required:
for making volcano cone
3 cups all purpose flour
1 cup water
2 tbs oil

for lava making
Vinegar
2 tbs Baking soda
Food coloring
Dishwashing detergent
Flat pan
Empty bottle

Instructions:

  • Start by making a volcano cone by mixing flour, salt, cooking oil and water.
  • When you get a firm and smooth dough, make the cone in a flat pan by molding the dough around a bottle to form a volcano shape. Be sure not to cover the hole of the bottle or drop dough inside it.
  • Fill the bottle most of the way full with vinegar and a bit of food coloring.
  • Add 6 drops of detergent to the contents of the bottle. The detergent helps trap bubbles produced by the chemical reaction so you get better lava.
  • Add baking soda to the liquid in the bottle.

….and then watch out, time for eruption!

What is happening?
The baking soda (sodium bicarbonate) is a base while the vinegar (acetic acid) is an acid. When they react together, carbon-dioxide gas is produced which creates all the fizzing as it escapes the solution. The dishwashing detergent helps hold the bubbles.

Explore the Phases of Moon


Discover the phases of moon through an easy project model.

Materials required:
Cardboard
Paints/color markers
Circular moulds or lids
Scissors

Instructions:

  • Take a cardboard and paint it with the colors of the galaxy.
  • Take a circular lid and cut 8 pieces of moon.
  • Paint or color different shapes of the moon as shown in the picture and stick them on the cardboard.
  • Take another lid (slightly bigger than the previous) and cut a circular piece of cardboard, and stick it in the centre (color or paint it as Earth).
  • Now label these and you are done.

Make an LED card

This simple light up cards is a great way for kids to get experience of creating a circuit. The supplies used in this project are inexpensive. I managed to get all of it at home itself.

Materials required:
Card stock
1/4″ copper tape or copper wire
LEDs (2 or 3 per card)
Coin cell Battery
Tape
Markers and items to decorate your card

Instructions:

  • Decorate the front of your card.
  • Inside the card, sketch the circuit, deciding the positioning of the battery. Draw two parallel lines for the copper tape/wire starting at the LED locations – one should end under the battery and the other should be about 3/4″ to one side of the battery.

  • Cut 2 lengths of copper tape/wire to match your sketch and apply to your card. Secure the battery with a tape. Make sure the bottom of the battery makes contact with the copper tape/wire.
  • Select LEDs for your card. Bend the legs flat and connect it with the copper tape/wire. Use a small scrap of copper tape/wire on or under the battery to complete the circuit. Check if your LED lights up. LEDs have a polarity, so if it does not light up, spin the LED 180 degrees so the legs are now touching the opposite pieces of copper tape/wire.
    • Secure your LED’s with the tape.
      We need a switch to complete the circuit. The simplest version is a pressure switch, so fold the right corner of the card. Whenever it presses the battery, the card lights up

    Rock Cycle Experiment with Crayons

    Study a series of processes that create and transform the types of rocks in Earth’s crust using crayons.

    Materials required:
    Crayons 3-4
    Aluminum foil
    Plastic knife
    Bowl
    3 cups water
    Parchment paper
    Art paper
    Marker
    Glue

    Instructions:

    • Take an art paper or cardboard to make a diagram of rock cycle. You can be as crafty as possible. Even better, if more of cutting and pasting is done so that it interestingly involves the kids.
    • Melt few crayons on a parchment paper in oven to get magma. When this magma cools, igneous rock is formed.

    • Now erode the igneous rock with a knife to get sediments.

    • Take another piece of aluminum foil; put the sediments into it and compress it until it is compacted to form the sedimentary rock.


    • Make a boat of aluminum foil. Take some water in a bowl and microwave it for around 4 minutes.
    • Put the sedimentary rock in the boat and place it in the heated water to show the effects of heat and pressure.  Soon we see traces of molten matter on the foil.

    • Let this cool and carefully take it out. The structure so formed is a metamorphic rock.

    • You can again completely melt any of the rocks to form magma.
    • Stick these pieces of rocks on your rock cycle diagram.

    Make a Da Vinci bridge

    Da Vinci bridge is an interesting self supporting structure that can help kiddos learn the science behind how designing of structure works on their performance. You can also take up challenges to see whose bridge can carry the maximum weight. Ours could carry around 4 kgs and above.

    Materials required:
    9 Pencils
    27 strings or rubber bands

    Instructions:

    • Begin with keeping tying three strings on each pencil; one at the centre and the other at the end.
    • Place two pencils vertically and two horizontally above it so that they are secured by the strings on both the ends.

    • Now keep one more pencil in the centre on either side of the strings underneath.

    • Now slowly raise either of the vertical pencil and fit in two pencils like this.

    • Do the same thing on the remaining side and your bridge is ready.

    • Now carefully add weight to the bridge and see its capacity.

    Make Invisible Ink

    Making invisible ink is a lot of fun, you can share secret messages and reveal in an interesting way. All you need is some basic household objects and the hidden power of lemon juice.

    Materials needed:
    Half a lemon
    Bowl
    Paint brush
    White paper
    Lighter/Candle

    Instructions:

    • Squeeze some lemon juice into the bowl.
    • Dip the paint brush into it and write a message onto the white paper.
    • Wait for the juice to dry so it becomes completely invisible.
    • When you are ready to read your secret message or show it to someone else, heat the paper by holding it close to the candle or the lighter.

    What’s happening?
    Lemon juice is an organic substance that oxidizes and turns brown when heated. Other substances which work in the same way include orange juice, honey, milk, onion juice, vinegar and wine. Invisible ink can also be made using chemical reactions or by viewing certain liquids under ultraviolet (UV) light.