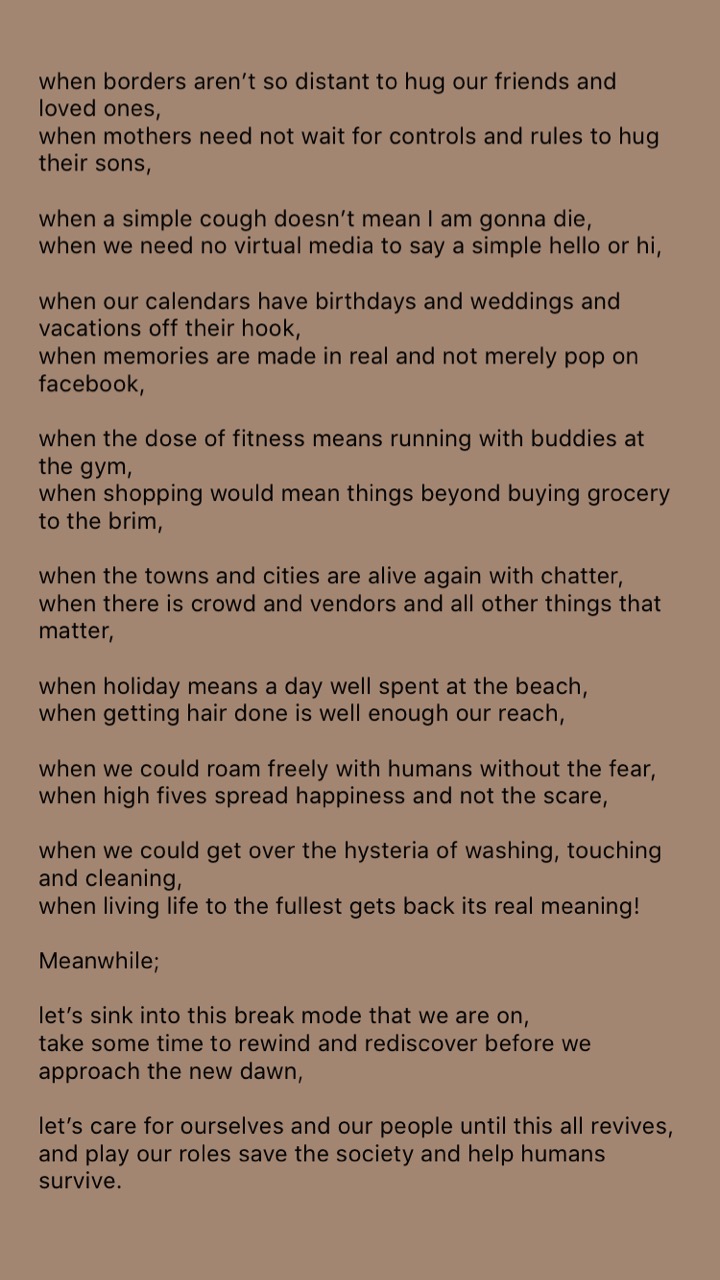
Engaging kids into something constructive and fun is a task altogether, specially when they are home all through. These easy and fun activities with kids are helping us survive our days at home. I am sure they will do yours as well!
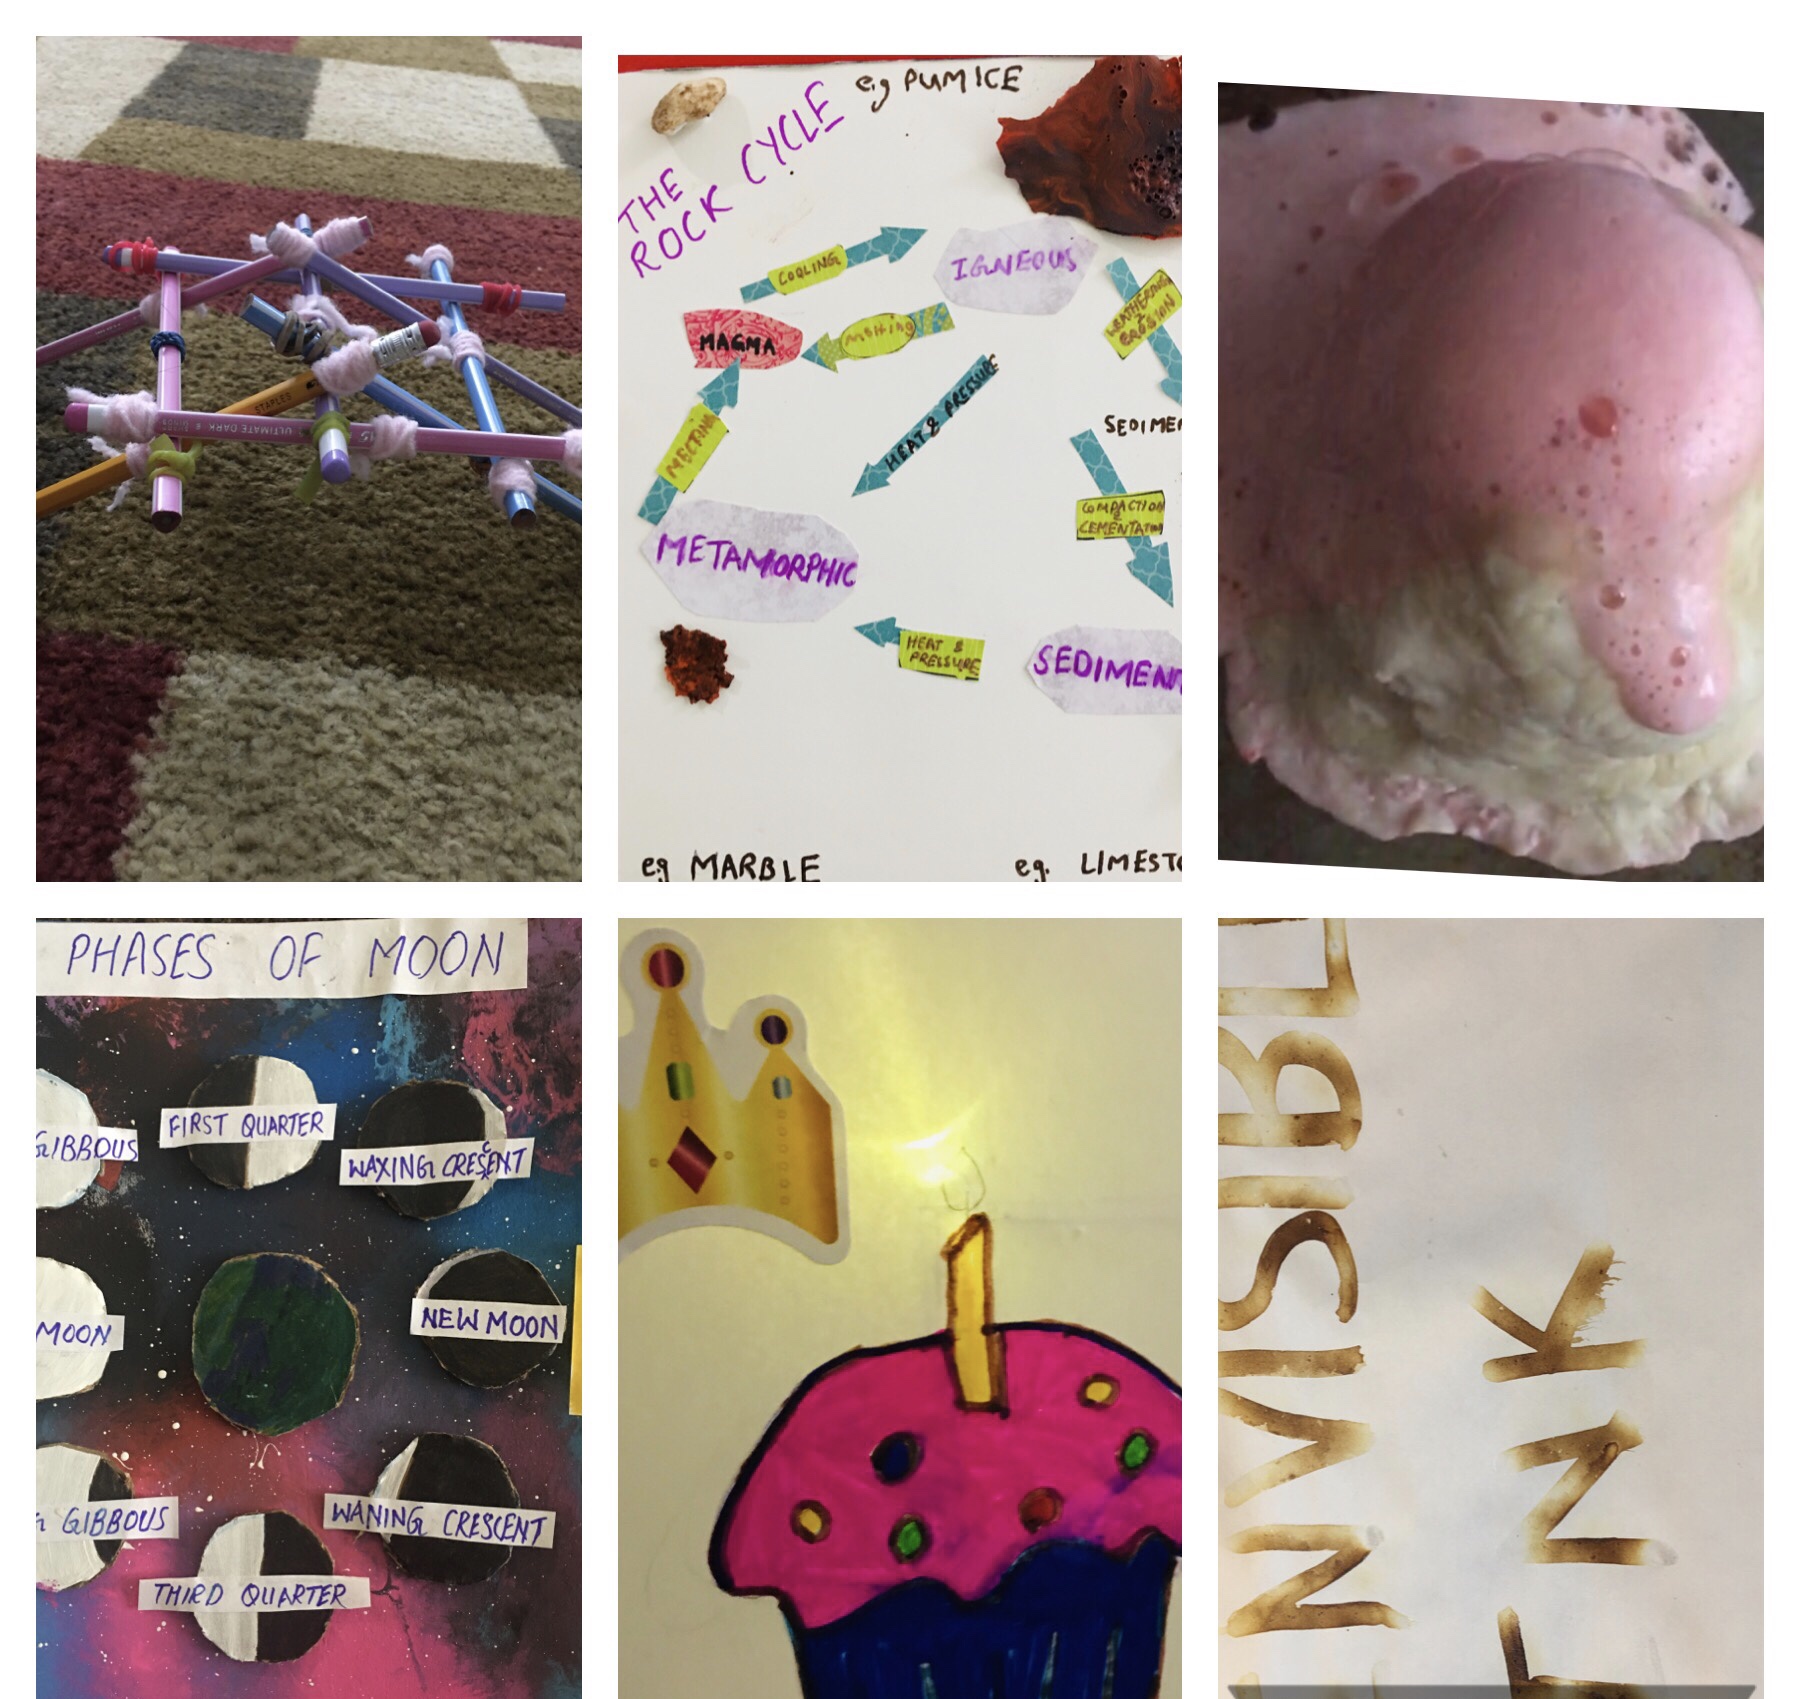
Baking Soda and Vinegar Volcano
This classic science experiment helps kids learn about chemical reactions and what happens when a volcano erupts. It gives an idea of what an actual volcano looks like and also demonstrates the chemical reaction between an acid and a base.
Materials required:
for making volcano cone
3 cups all purpose flour
1 cup water
2 tbs oil
for lava making
Vinegar
2 tbs Baking soda
Food coloring
Dishwashing detergent
Flat pan
Empty bottle
Instructions:
- Start by making a volcano cone by mixing flour, salt, cooking oil and water.
- When you get a firm and smooth dough, make the cone in a flat pan by molding the dough around a bottle to form a volcano shape. Be sure not to cover the hole of the bottle or drop dough inside it.
- Fill the bottle most of the way full with vinegar and a bit of food coloring.
- Add 6 drops of detergent to the contents of the bottle. The detergent helps trap bubbles produced by the chemical reaction so you get better lava.
- Add baking soda to the liquid in the bottle.
….and then watch out, time for eruption!
What is happening?
The baking soda (sodium bicarbonate) is a base while the vinegar (acetic acid) is an acid. When they react together, carbon-dioxide gas is produced which creates all the fizzing as it escapes the solution. The dishwashing detergent helps hold the bubbles.
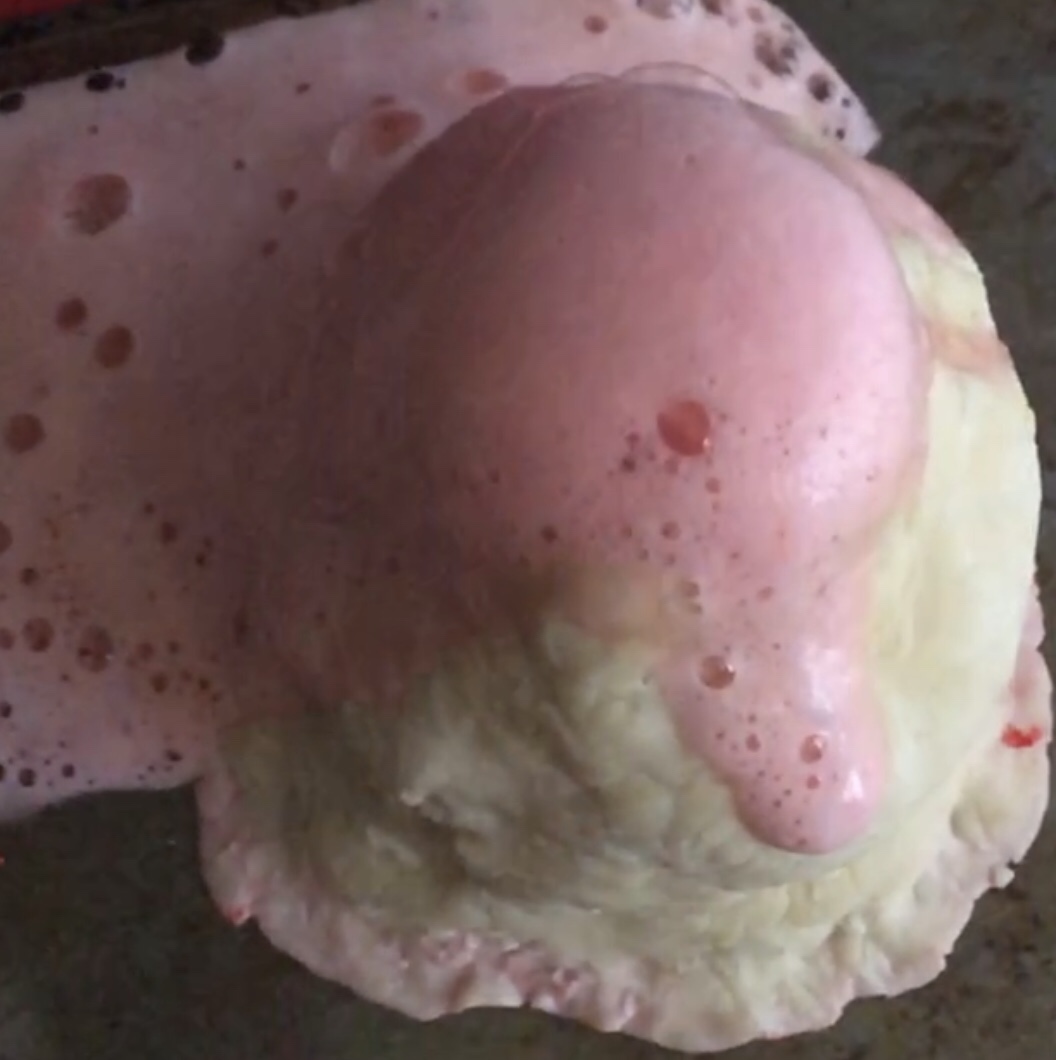
Explore the Phases of Moon
Discover the phases of moon through an easy project model.
Materials required:
Cardboard
Paints/color markers
Circular moulds or lids
Scissors
Instructions:
- Take a cardboard and paint it with the colors of the galaxy.
- Take a circular lid and cut 8 pieces of moon.
- Paint or color different shapes of the moon as shown in the picture and stick them on the cardboard.
- Take another lid (slightly bigger than the previous) and cut a circular piece of cardboard, and stick it in the centre (color or paint it as Earth).
- Now label these and you are done.
Make an LED card
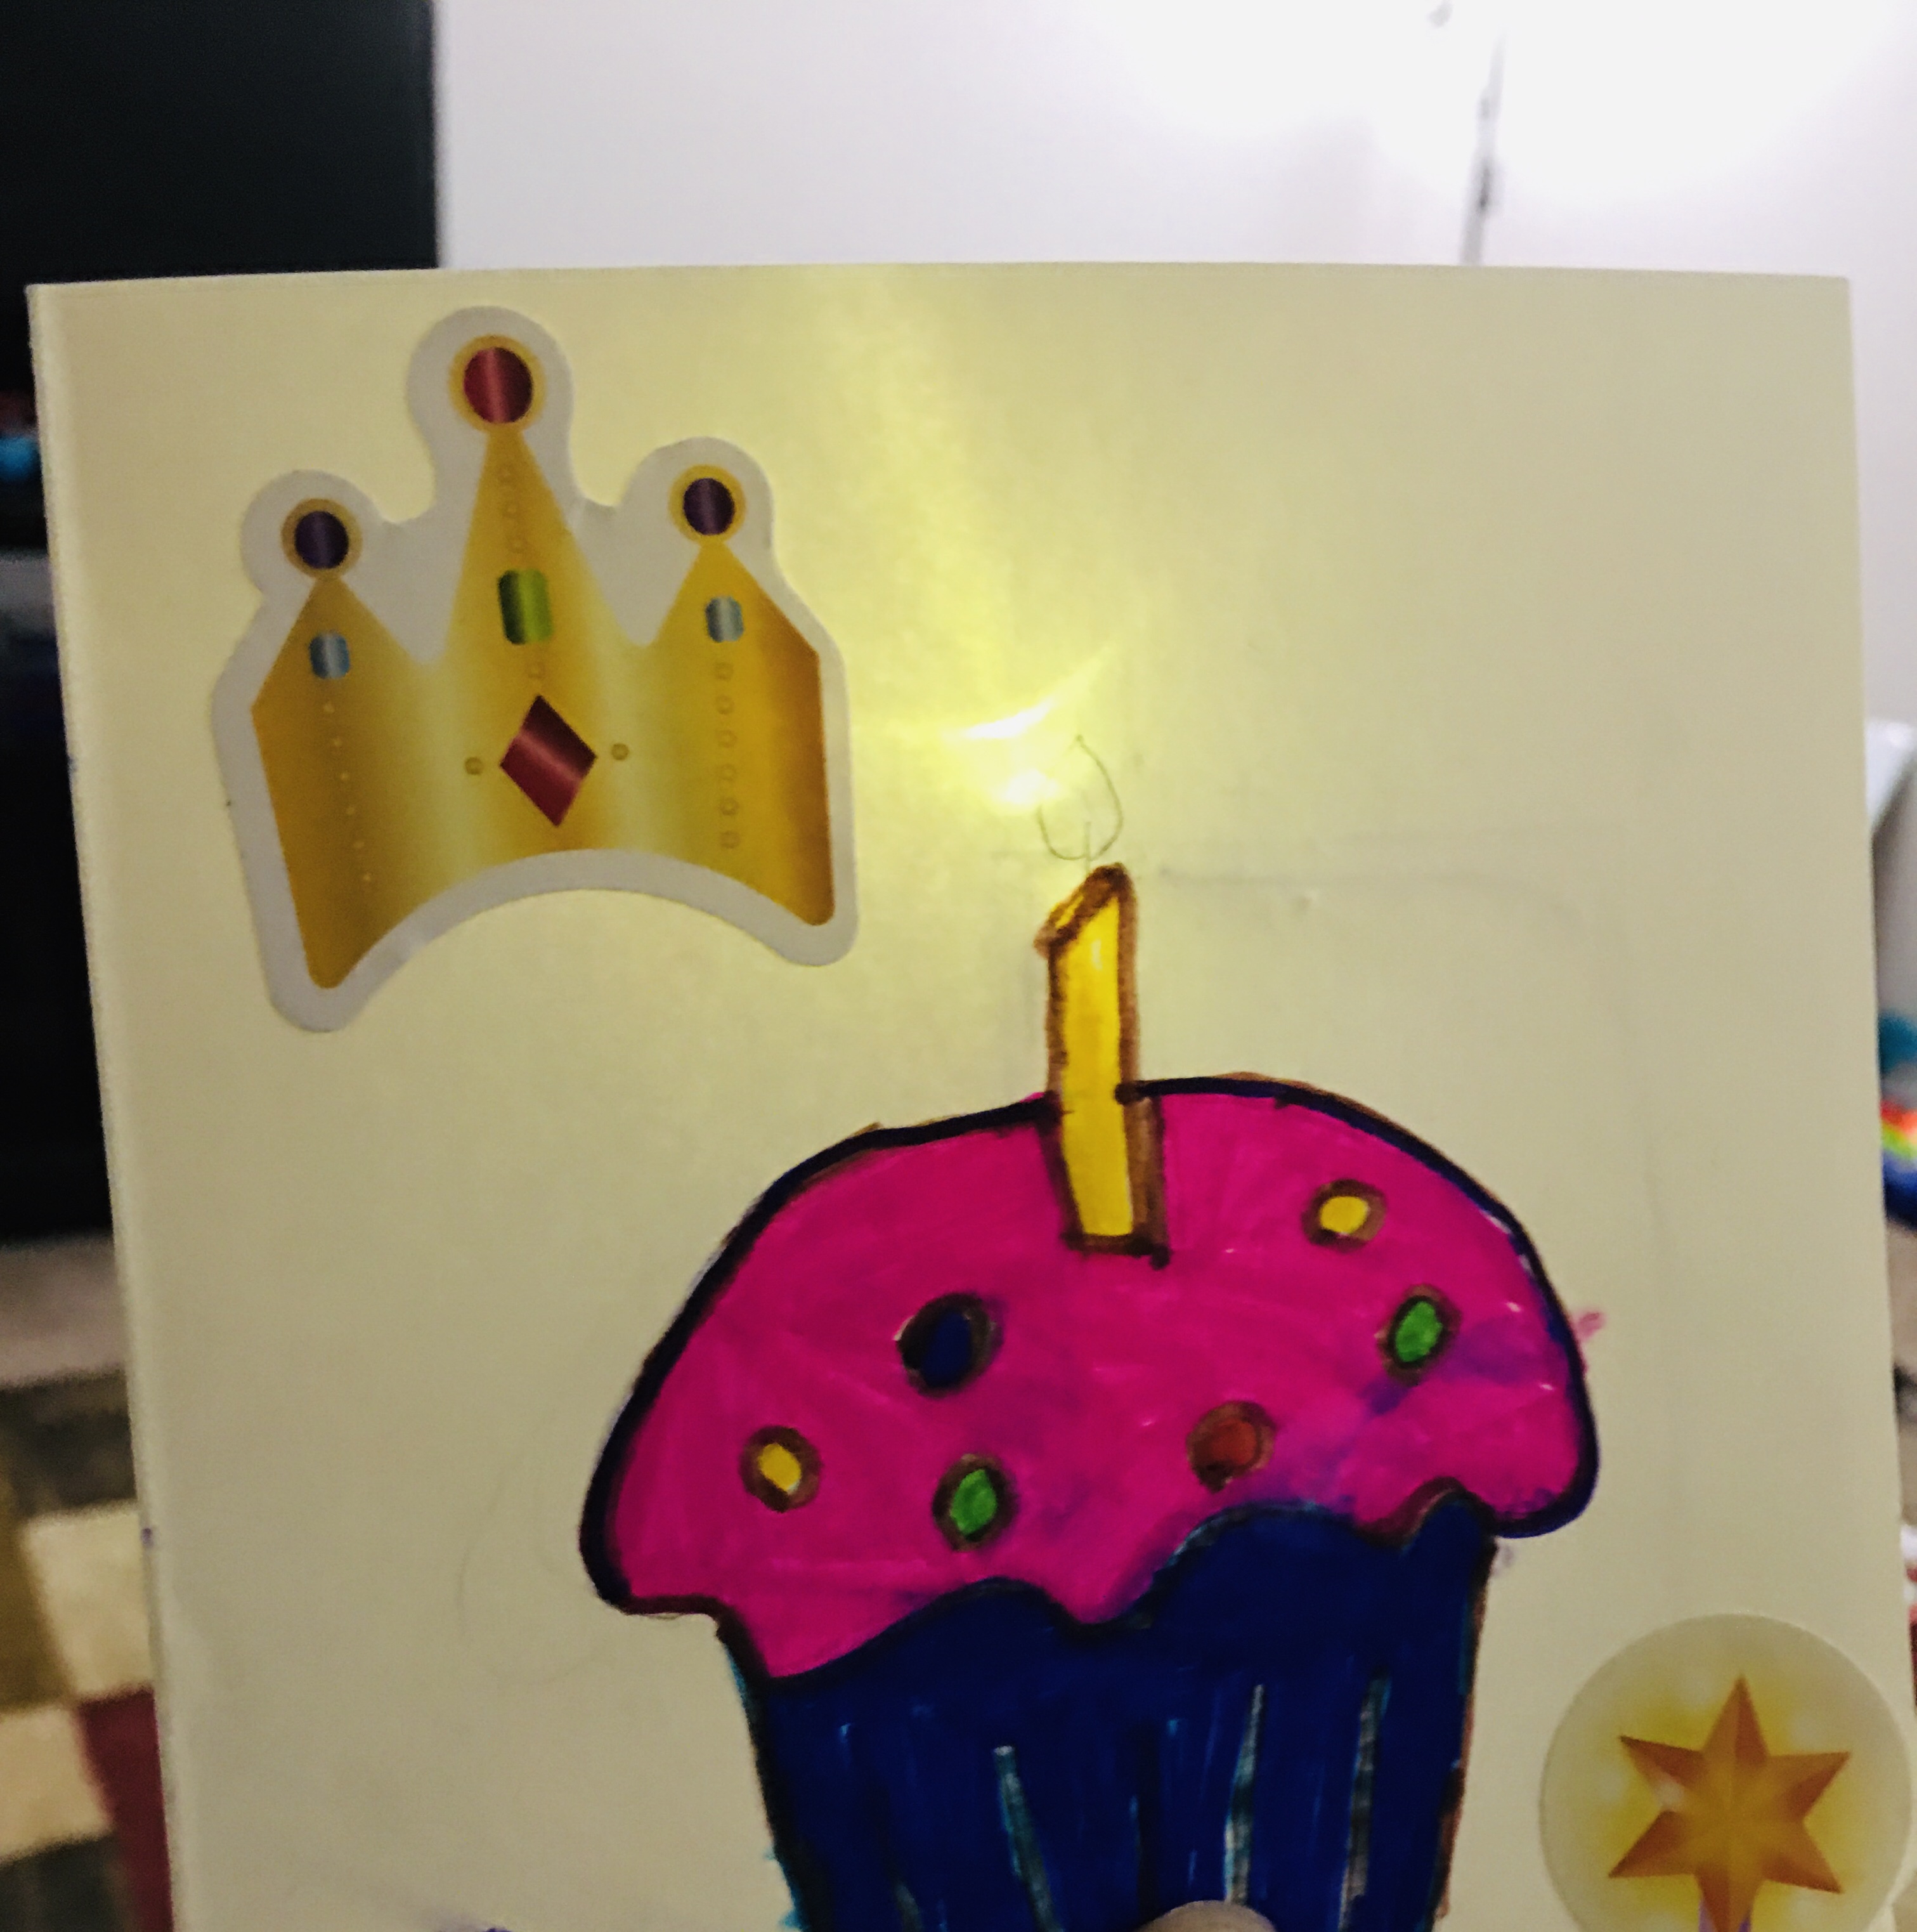
This simple light up cards is a great way for kids to get experience of creating a circuit. The supplies used in this project are inexpensive. I managed to get all of it at home itself.
Materials required:
Card stock
1/4″ copper tape or copper wire
LEDs (2 or 3 per card)
Coin cell Battery
Tape
Markers and items to decorate your card
Instructions:
- Decorate the front of your card.
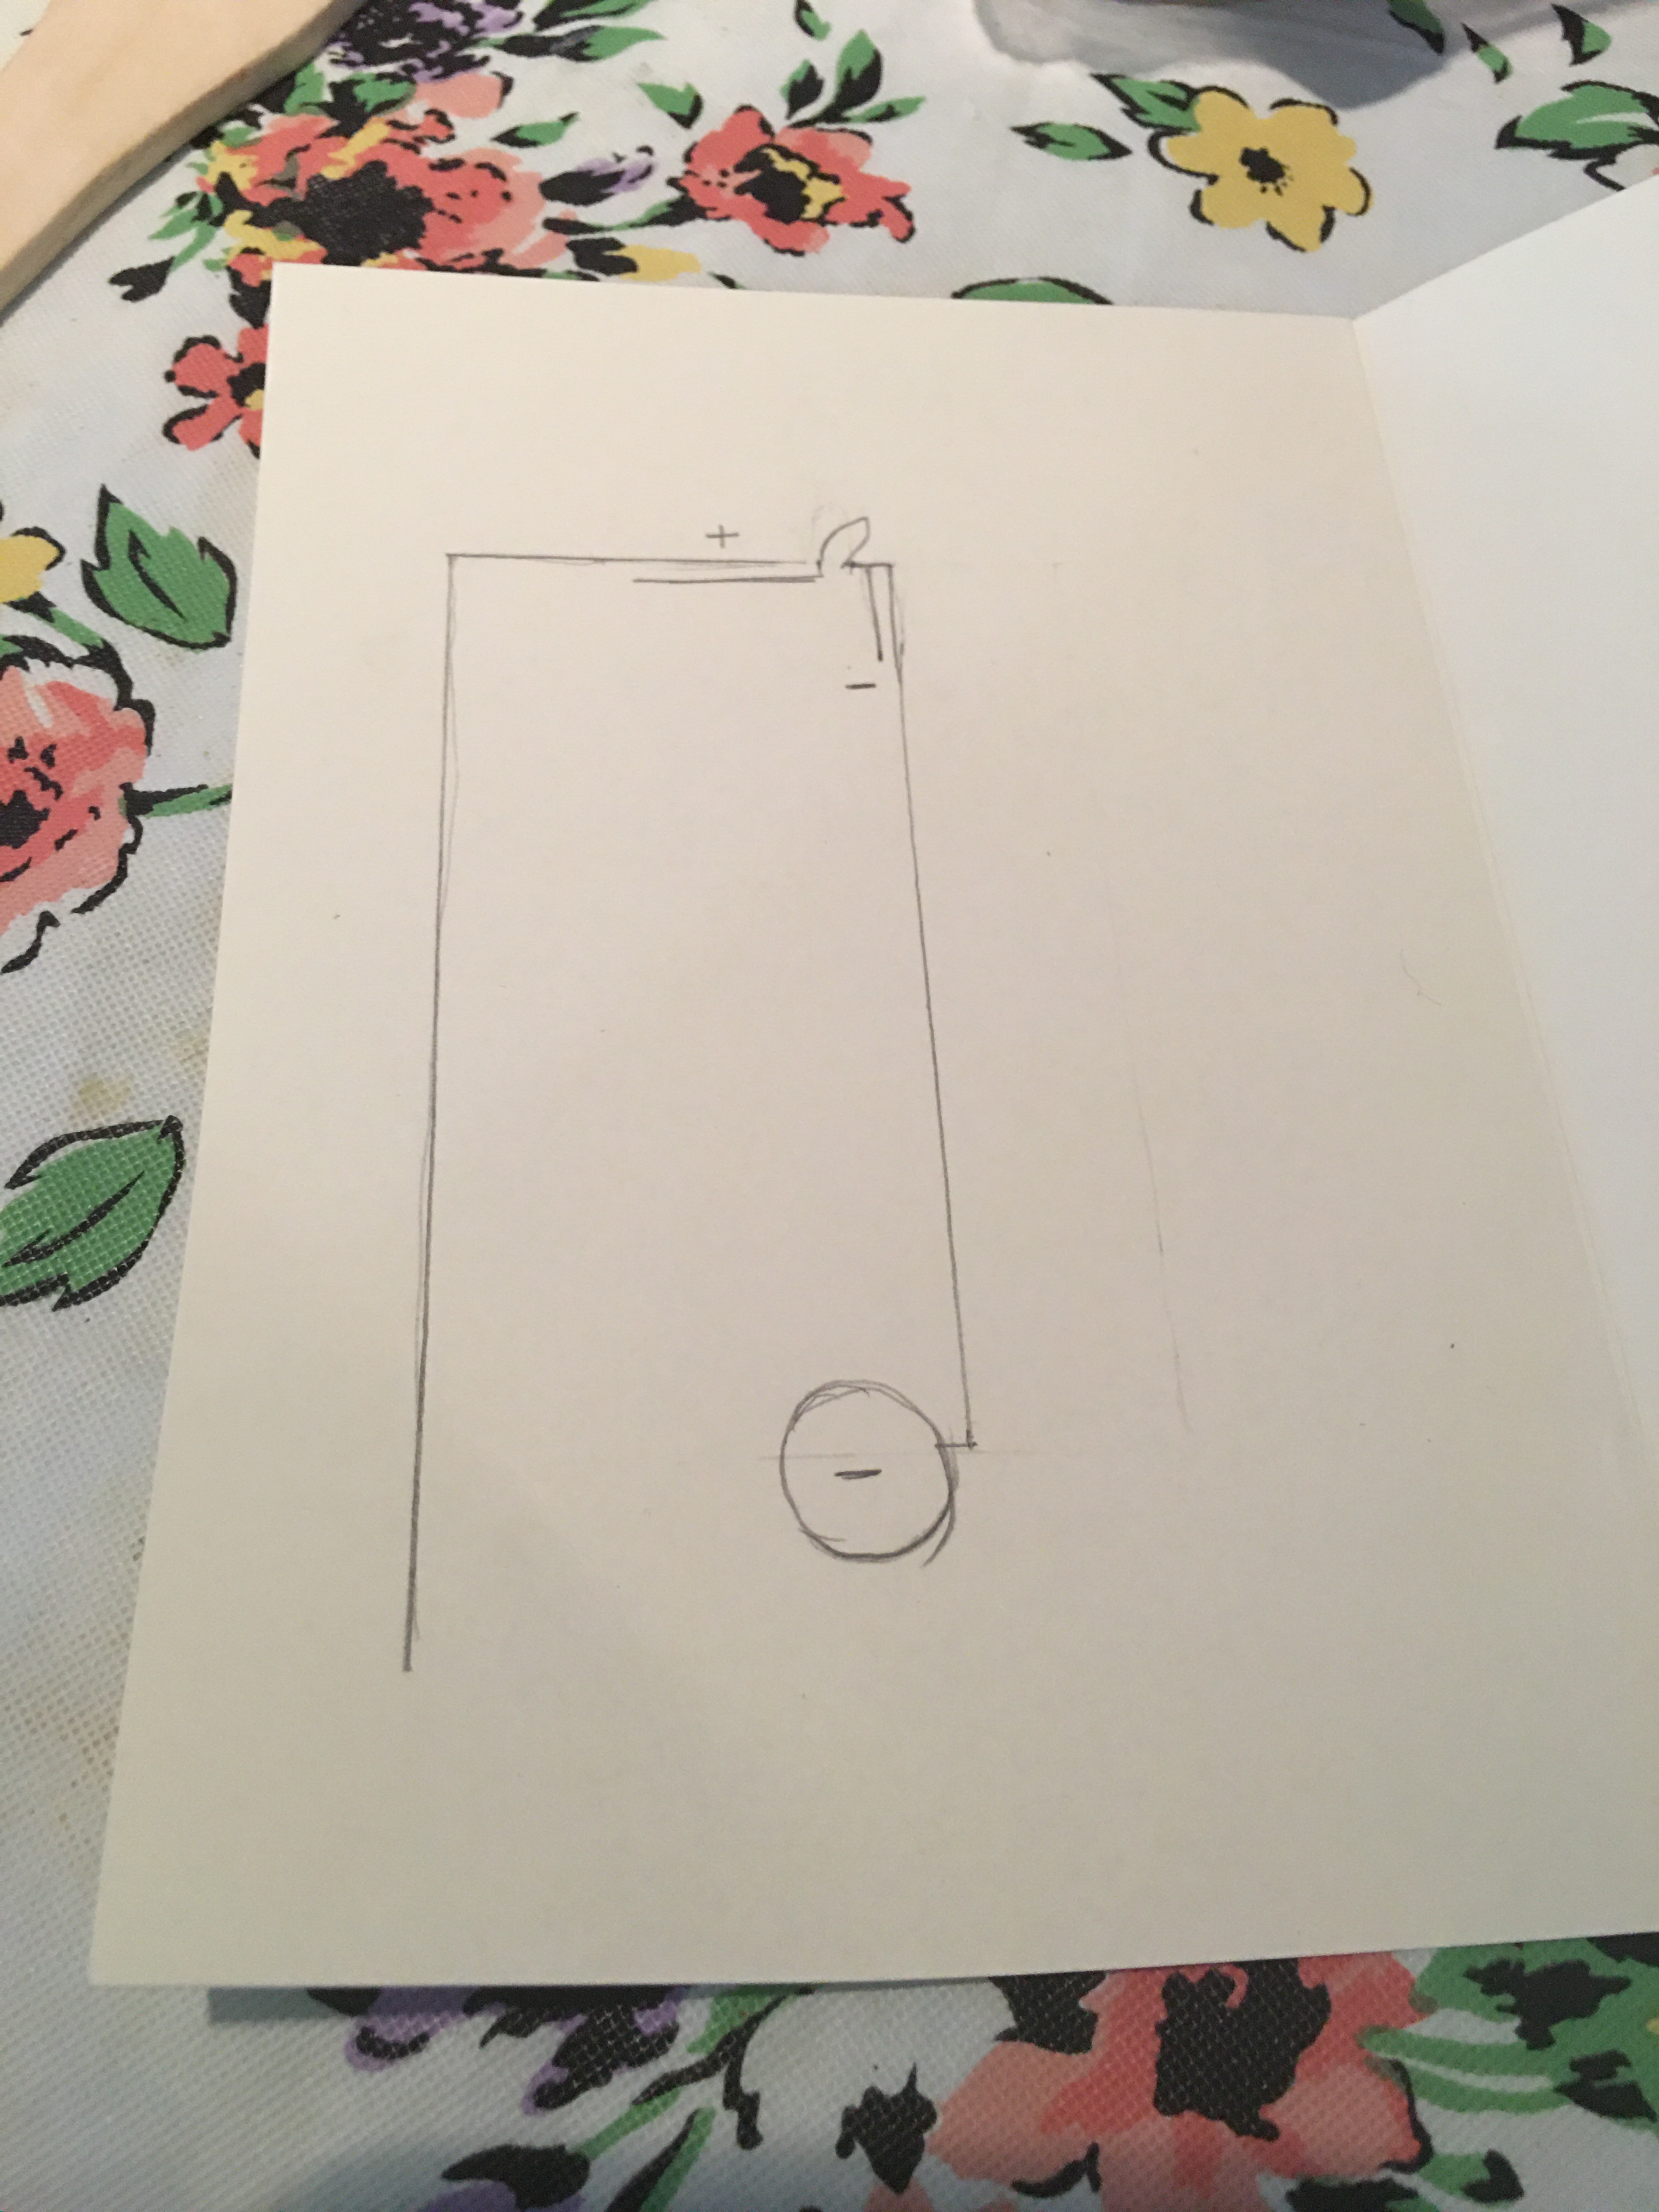
- Inside the card, sketch the circuit, deciding the positioning of the battery. Draw two parallel lines for the copper tape/wire starting at the LED locations – one should end under the battery and the other should be about 3/4″ to one side of the battery.
- Cut 2 lengths of copper tape/wire to match your sketch and apply to your card. Secure the battery with a tape. Make sure the bottom of the battery makes contact with the copper tape/wire.
- Select LEDs for your card. Bend the legs flat and connect it with the copper tape/wire. Use a small scrap of copper tape/wire on or under the battery to complete the circuit. Check if your LED lights up. LEDs have a polarity, so if it does not light up, spin the LED 180 degrees so the legs are now touching the opposite pieces of copper tape/wire.
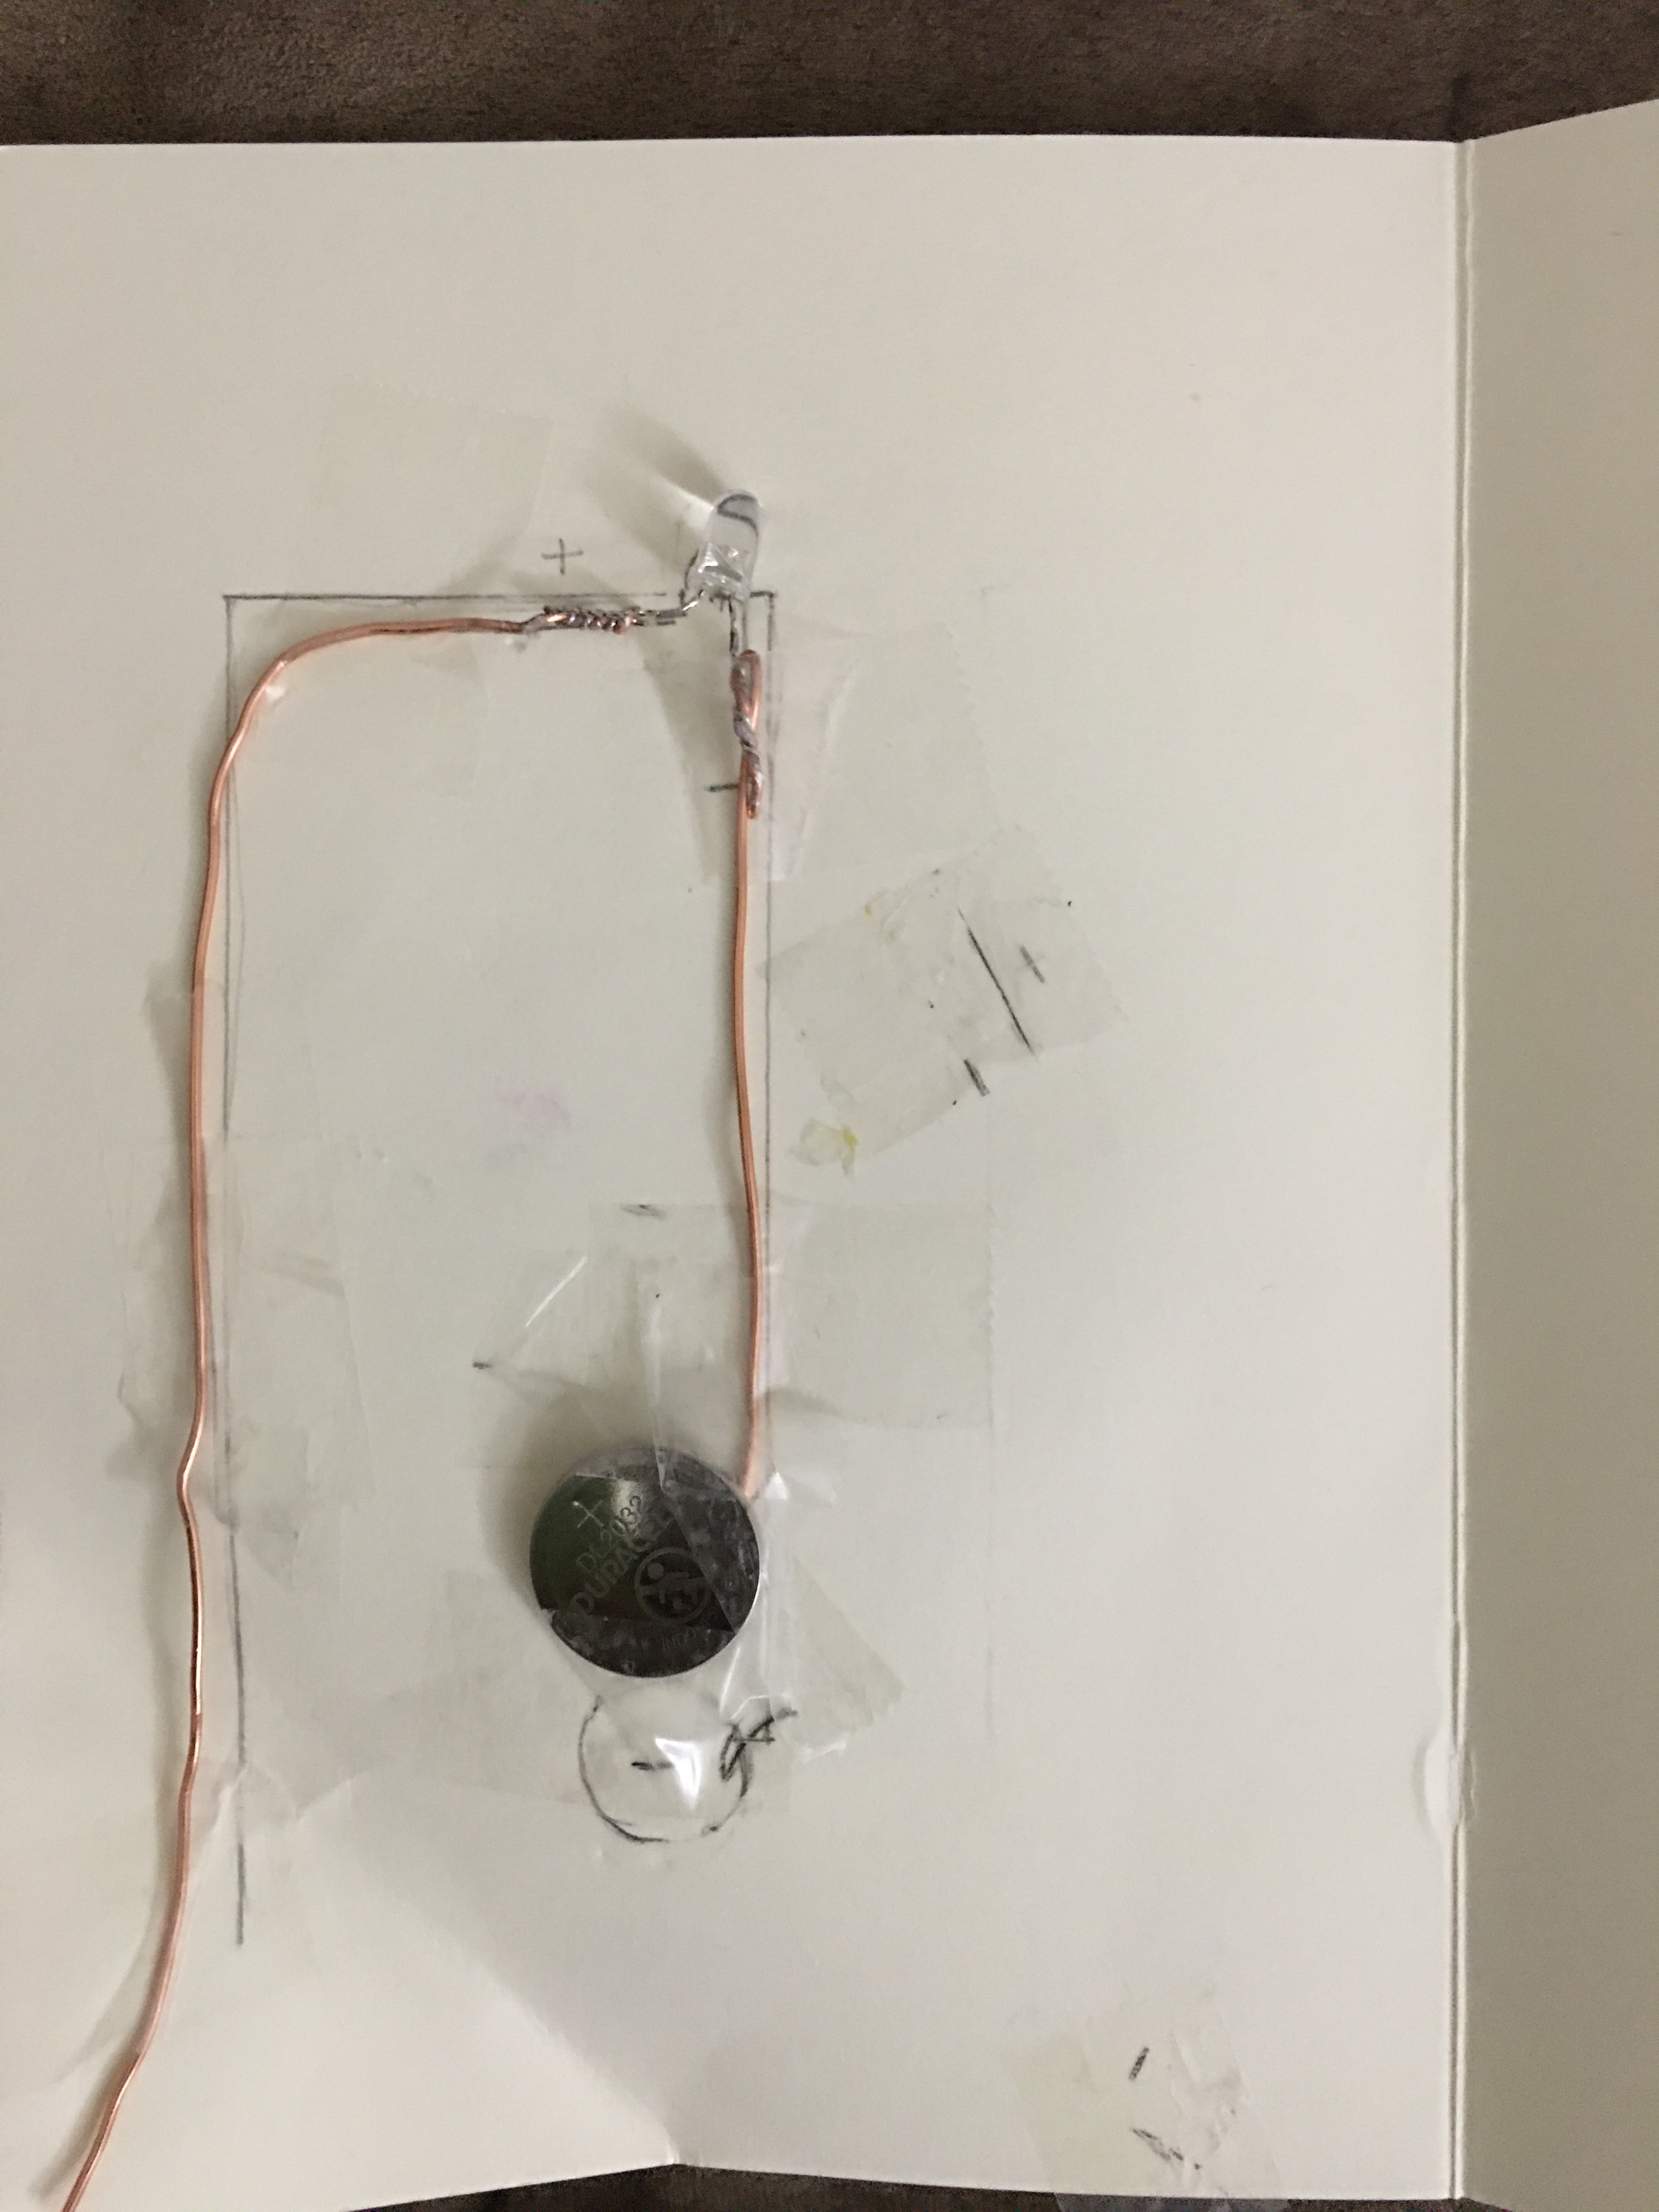
Secure your LED’s with the tape.
We need a switch to complete the circuit. The simplest version is a pressure switch, so fold the right corner of the card. Whenever it presses the battery, the card lights up
Rock Cycle Experiment with Crayons
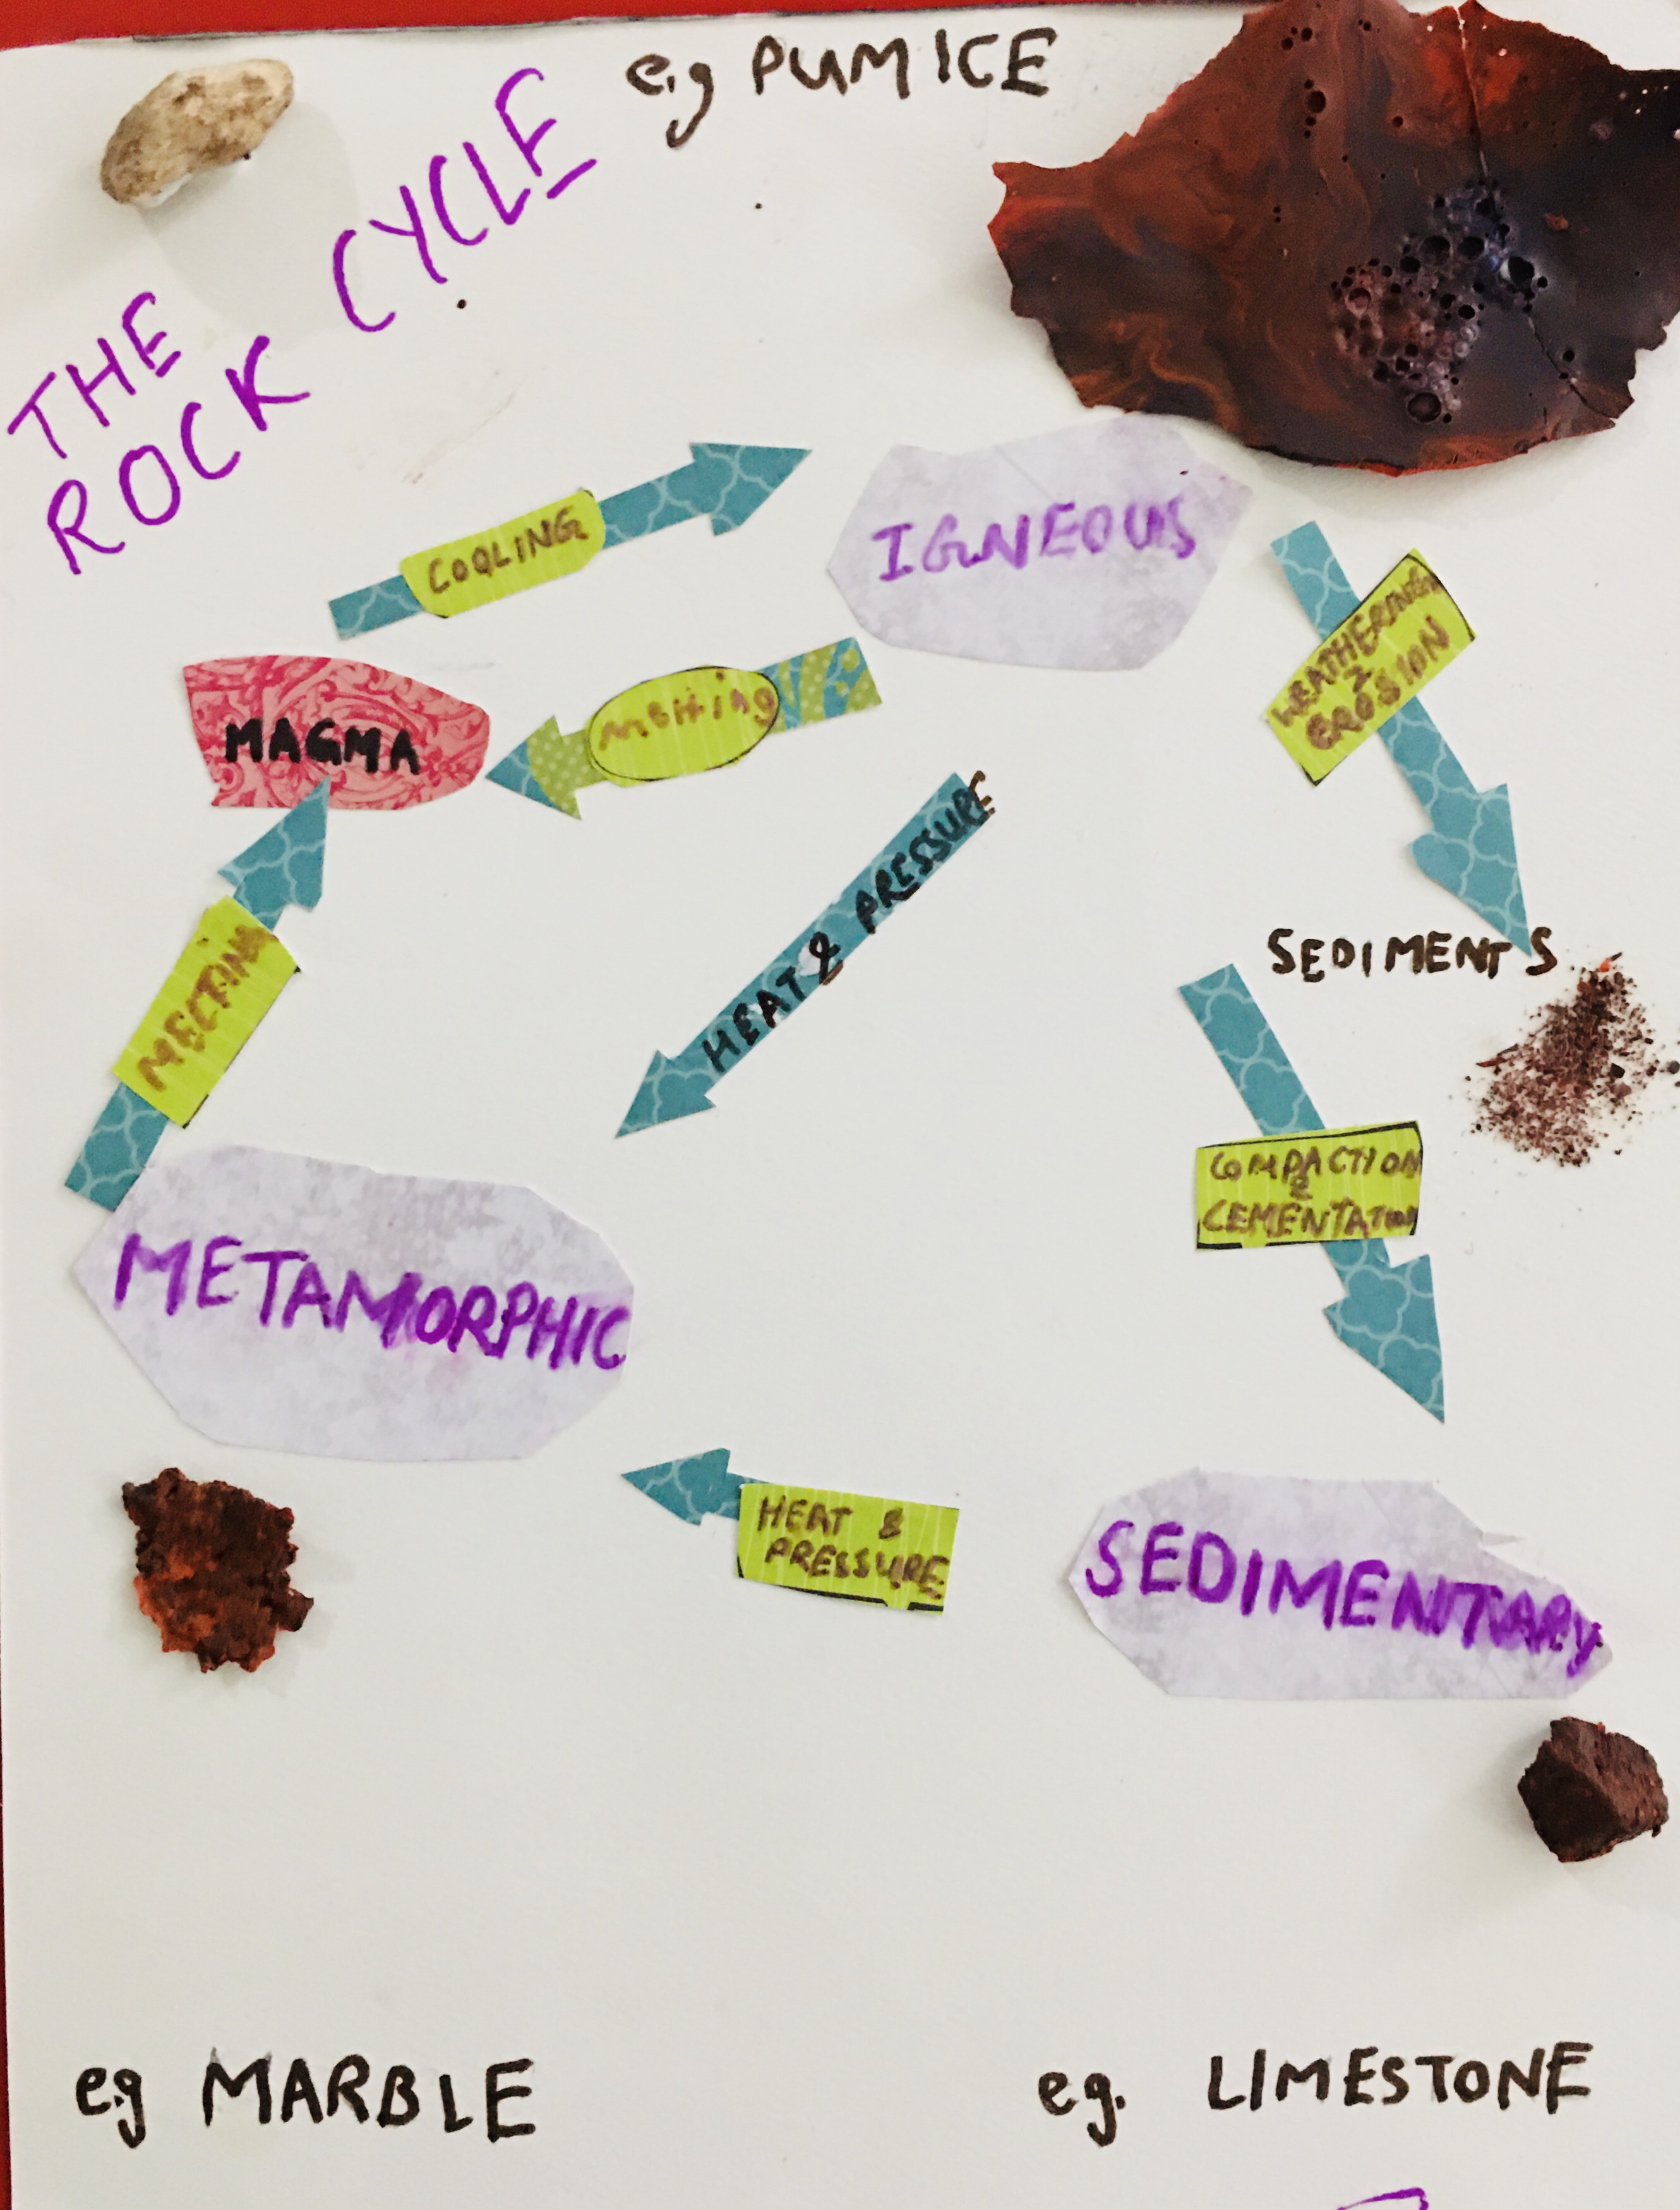
Study a series of processes that create and transform the types of rocks in Earth’s crust using crayons.
Materials required:
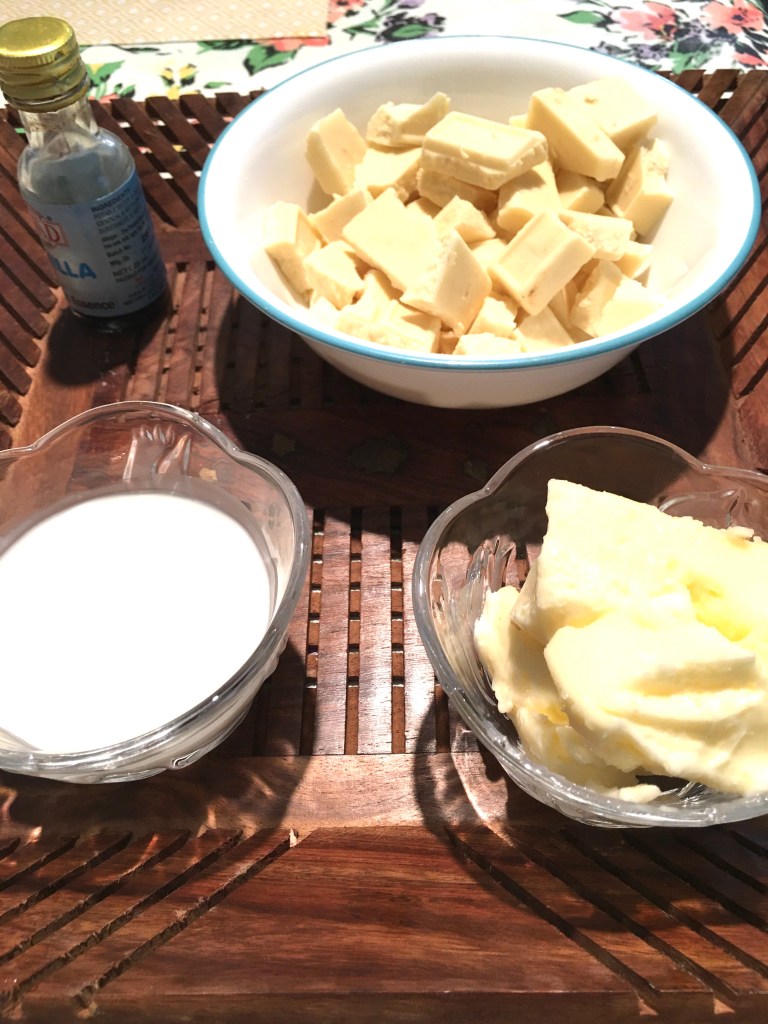
Crayons 3-4
Aluminum foil
Plastic knife
Bowl
3 cups water
Parchment paper
Art paper
Marker
Glue
Instructions:
- Take an art paper or cardboard to make a diagram of rock cycle. You can be as crafty as possible. Even better, if more of cutting and pasting is done so that it interestingly involves the kids.
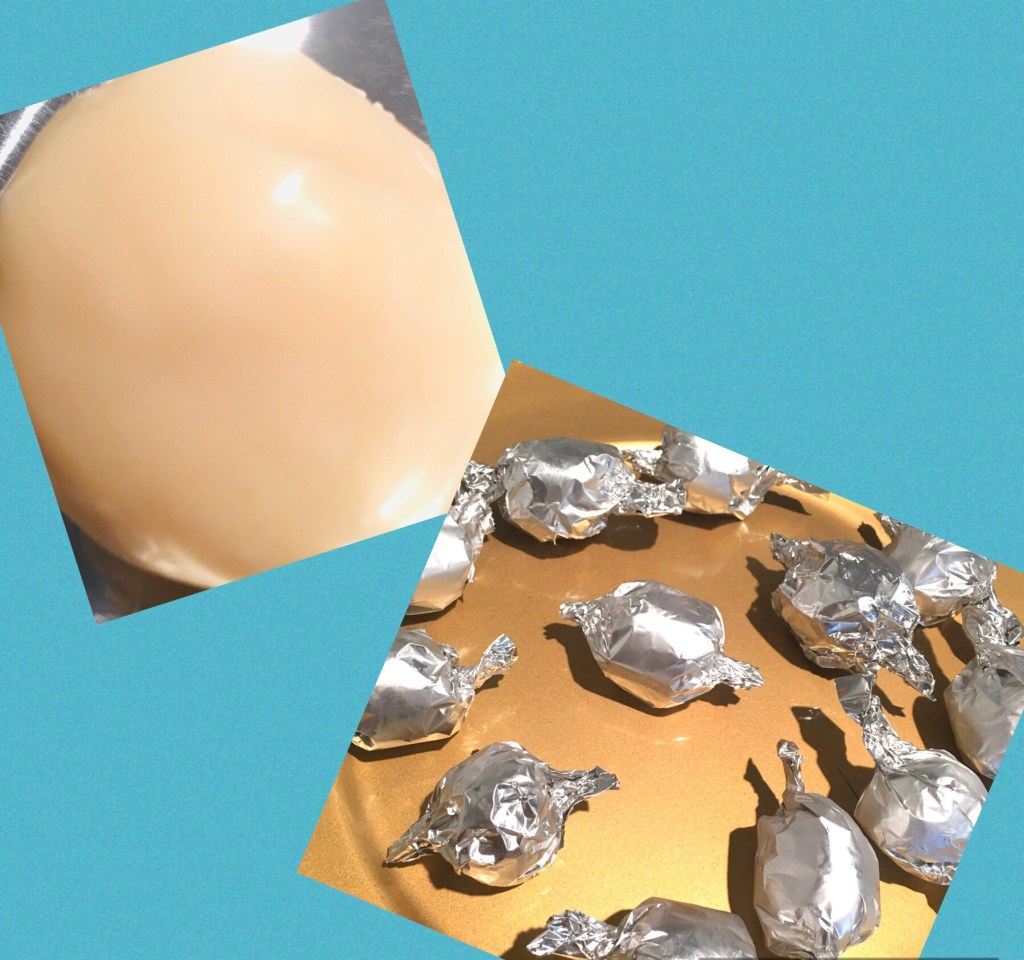
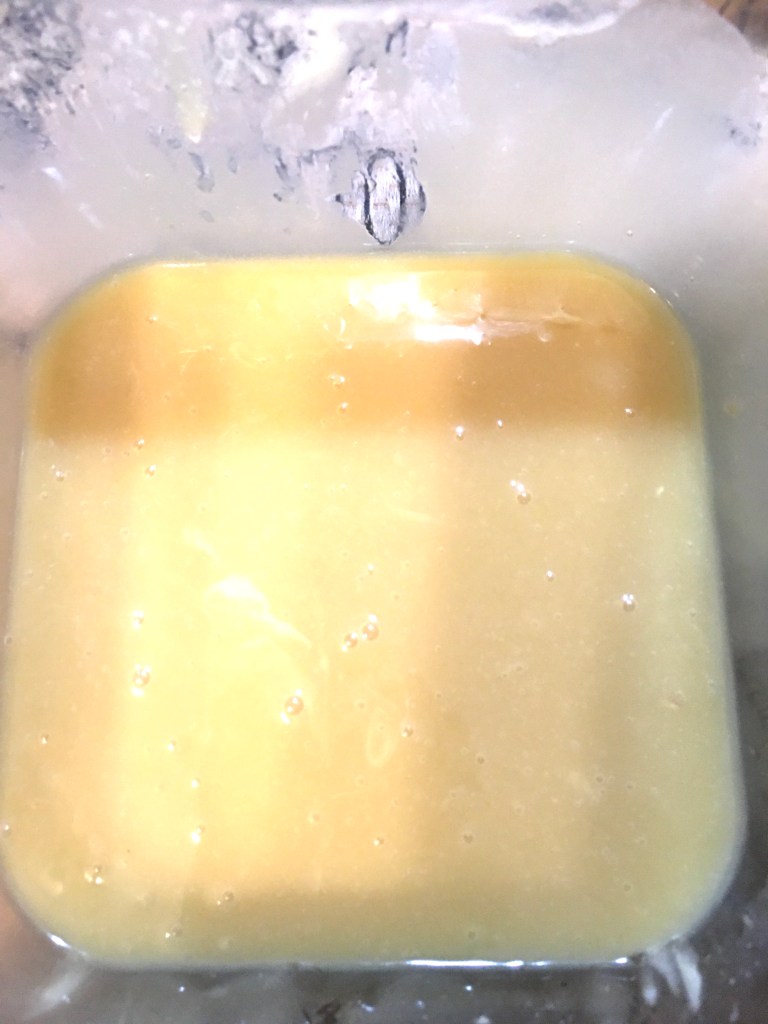
- Melt few crayons on a parchment paper in oven to get magma. When this magma cools, igneous rock is formed.
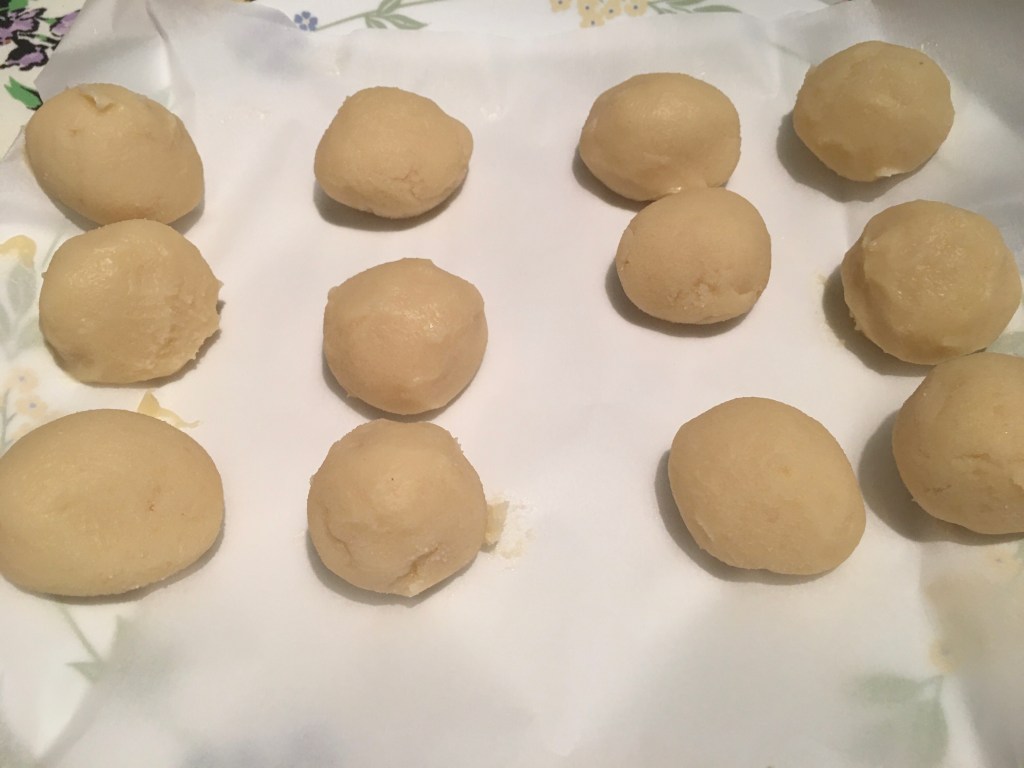
- Now erode the igneous rock with a knife to get sediments.
- Take another piece of aluminum foil; put the sediments into it and compress it until it is compacted to form the sedimentary rock.
- Make a boat of aluminum foil. Take some water in a bowl and microwave it for around 4 minutes.
- Put the sedimentary rock in the boat and place it in the heated water to show the effects of heat and pressure. Soon we see traces of molten matter on the foil.
- Let this cool and carefully take it out. The structure so formed is a metamorphic rock.
- You can again completely melt any of the rocks to form magma.
- Stick these pieces of rocks on your rock cycle diagram.
Make a Da Vinci bridge

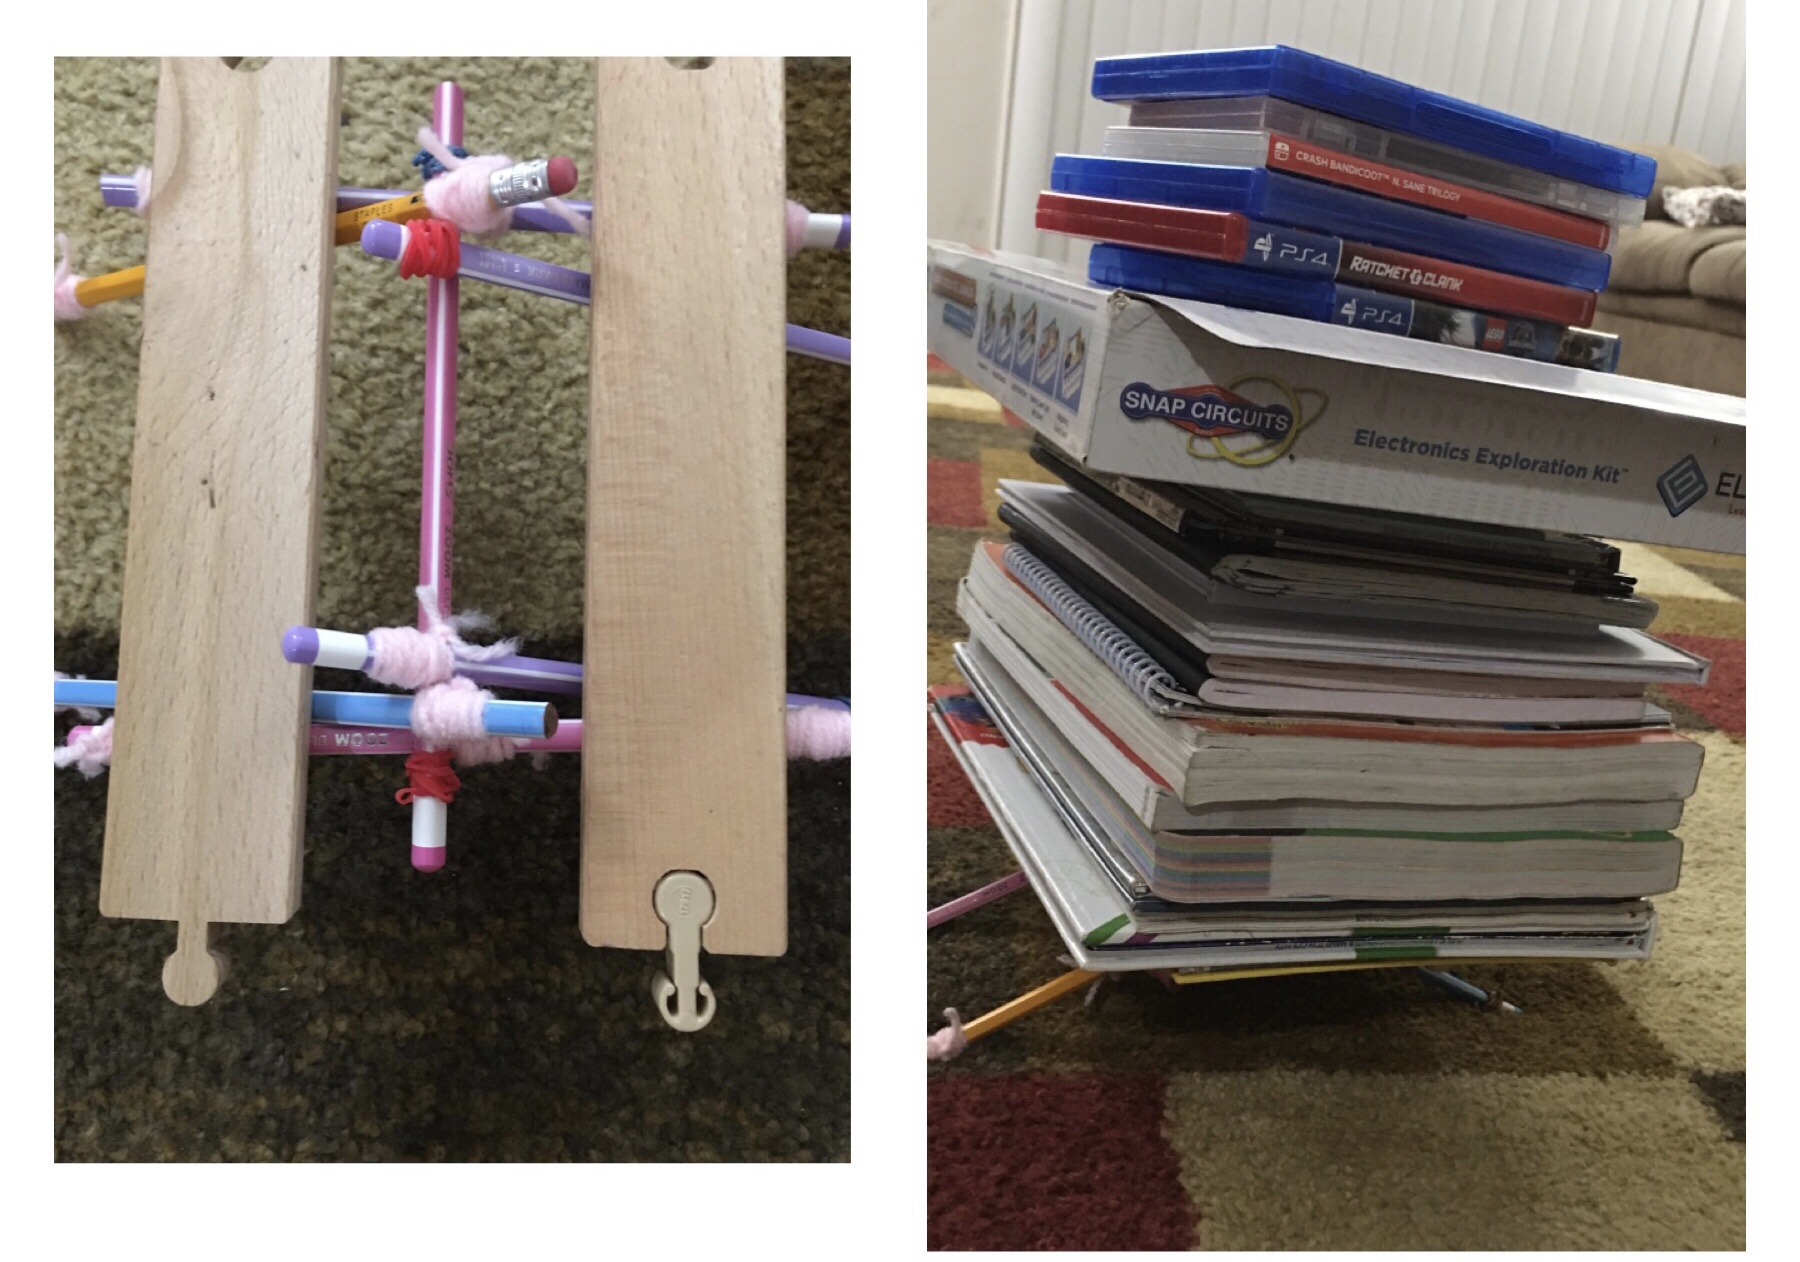
Da Vinci bridge is an interesting self supporting structure that can help kiddos learn the science behind how designing of structure works on their performance. You can also take up challenges to see whose bridge can carry the maximum weight. Ours could carry around 4 kgs and above.
Materials required:
9 Pencils
27 strings or rubber bands
Instructions:
- Begin with keeping tying three strings on each pencil; one at the centre and the other at the end.
- Place two pencils vertically and two horizontally above it so that they are secured by the strings on both the ends.
- Now keep one more pencil in the centre on either side of the strings underneath.
- Now slowly raise either of the vertical pencil and fit in two pencils like this.
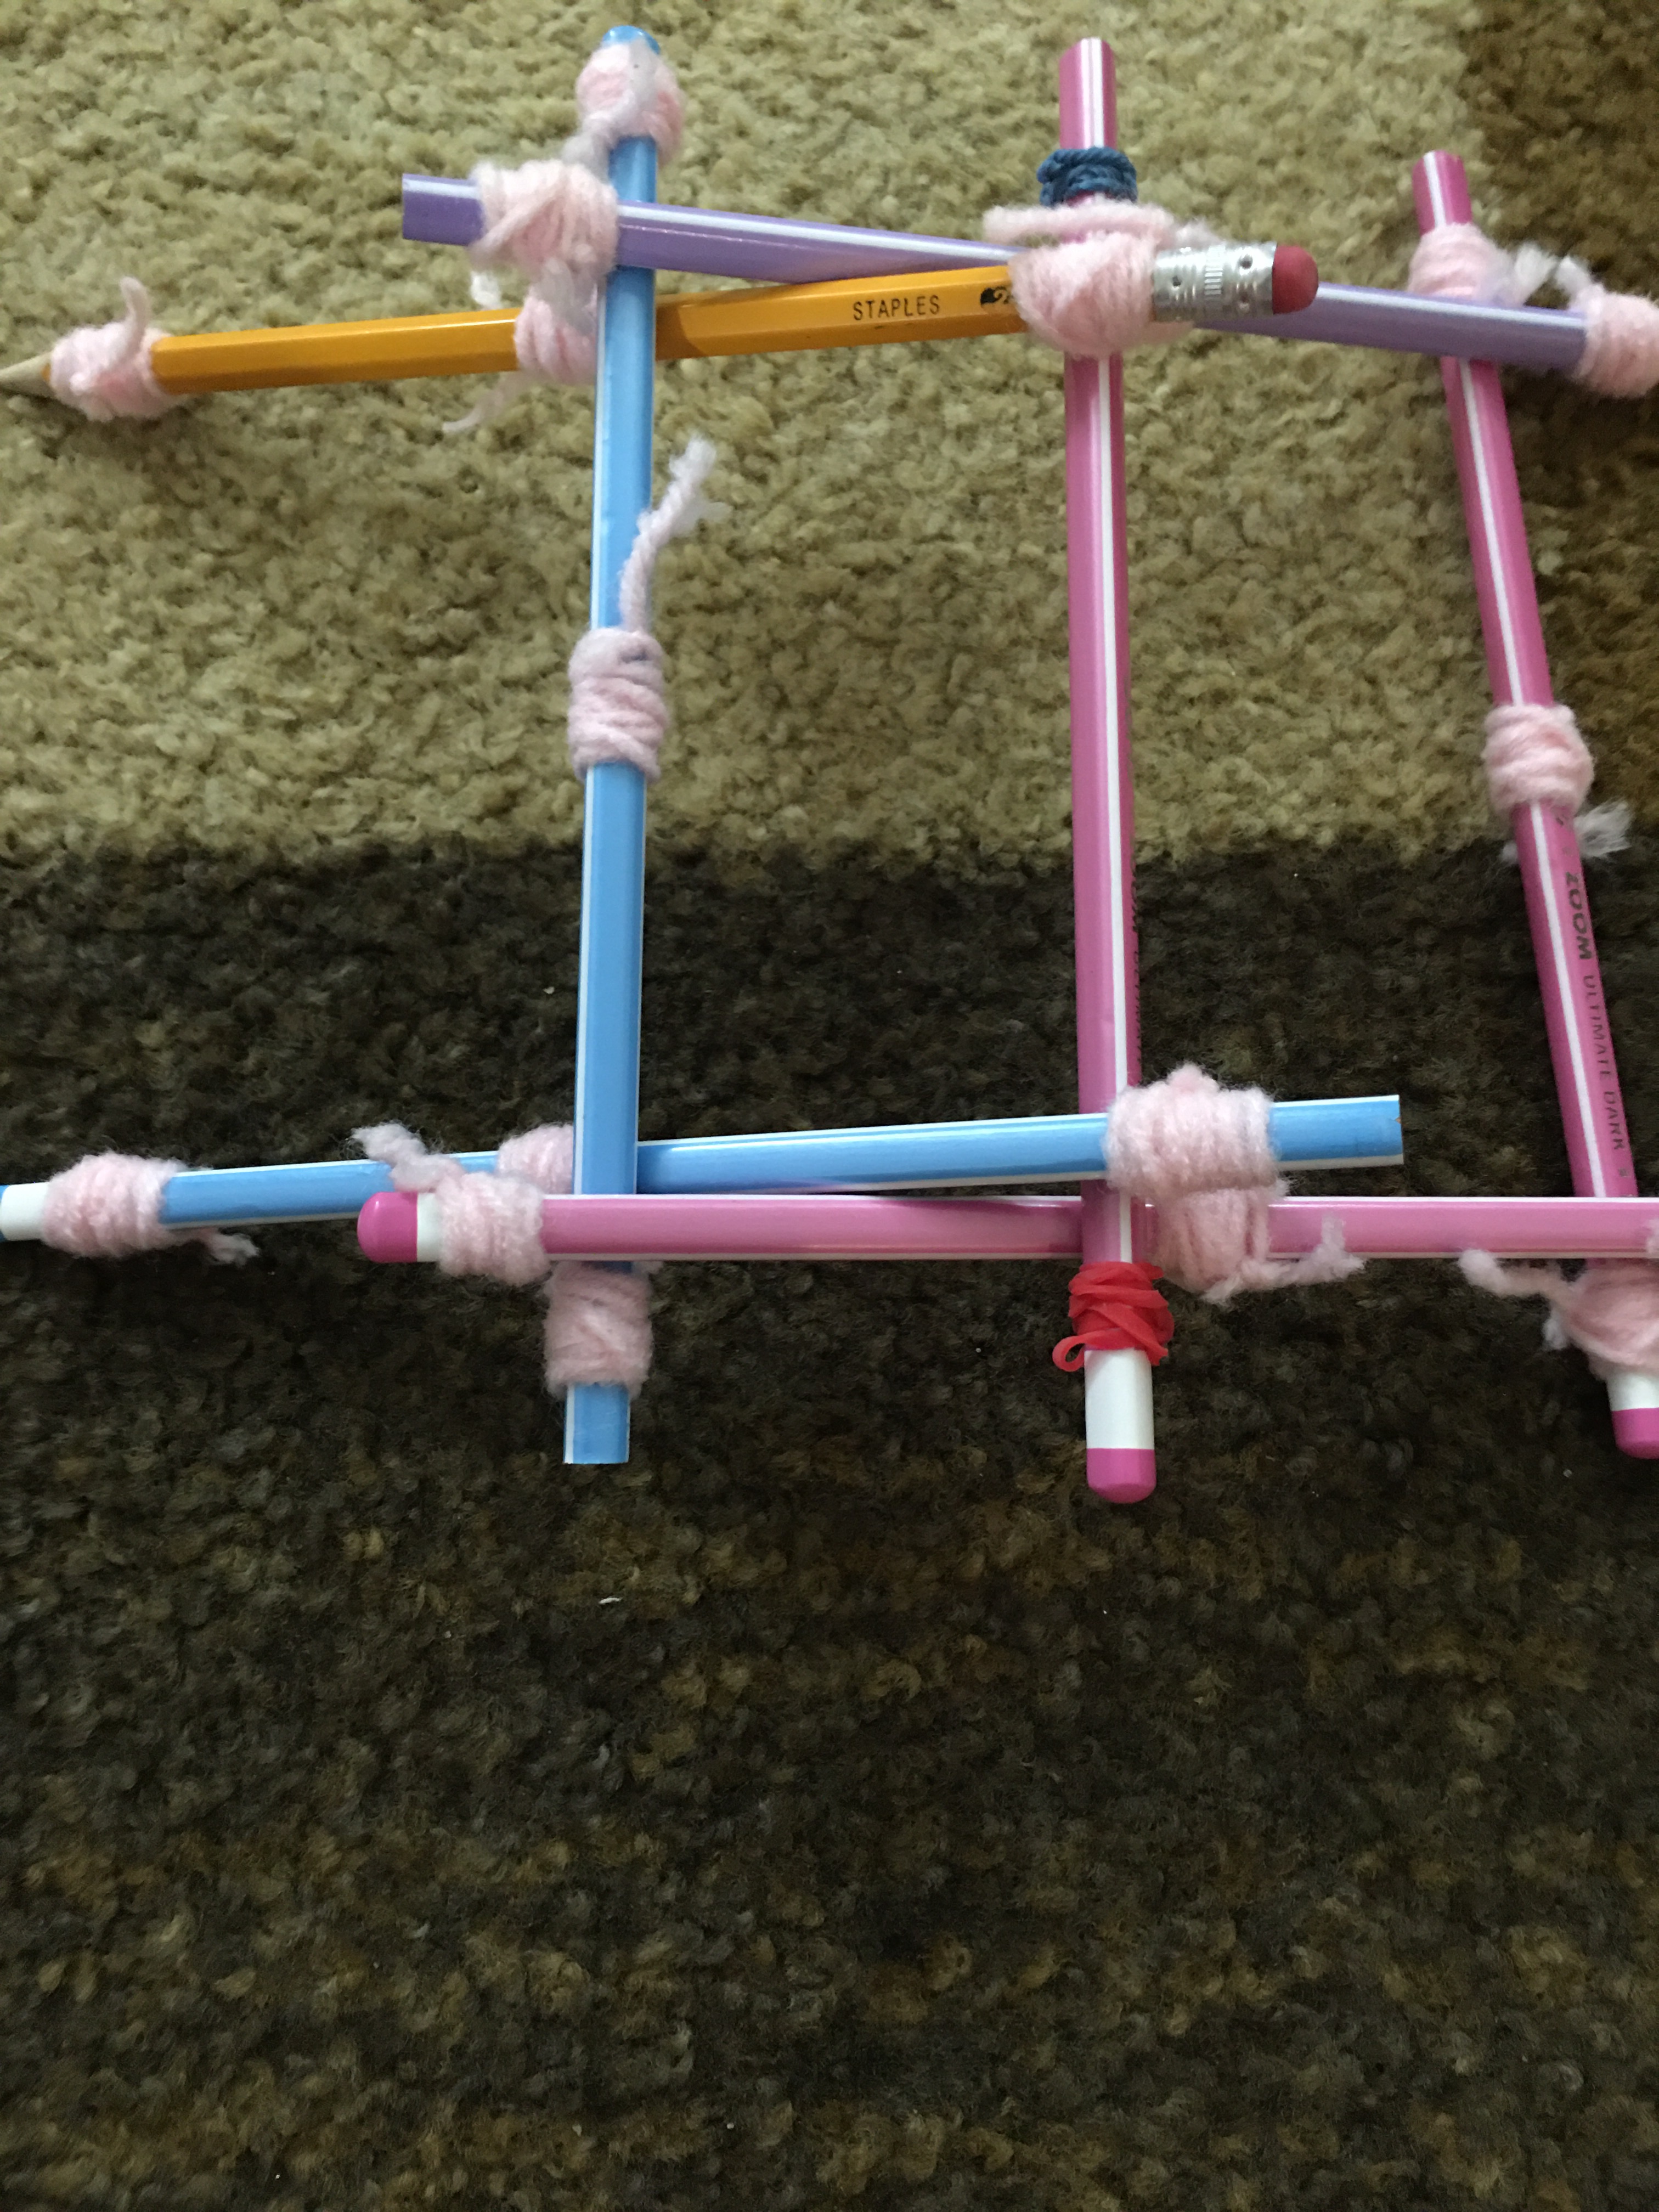
- Do the same thing on the remaining side and your bridge is ready.
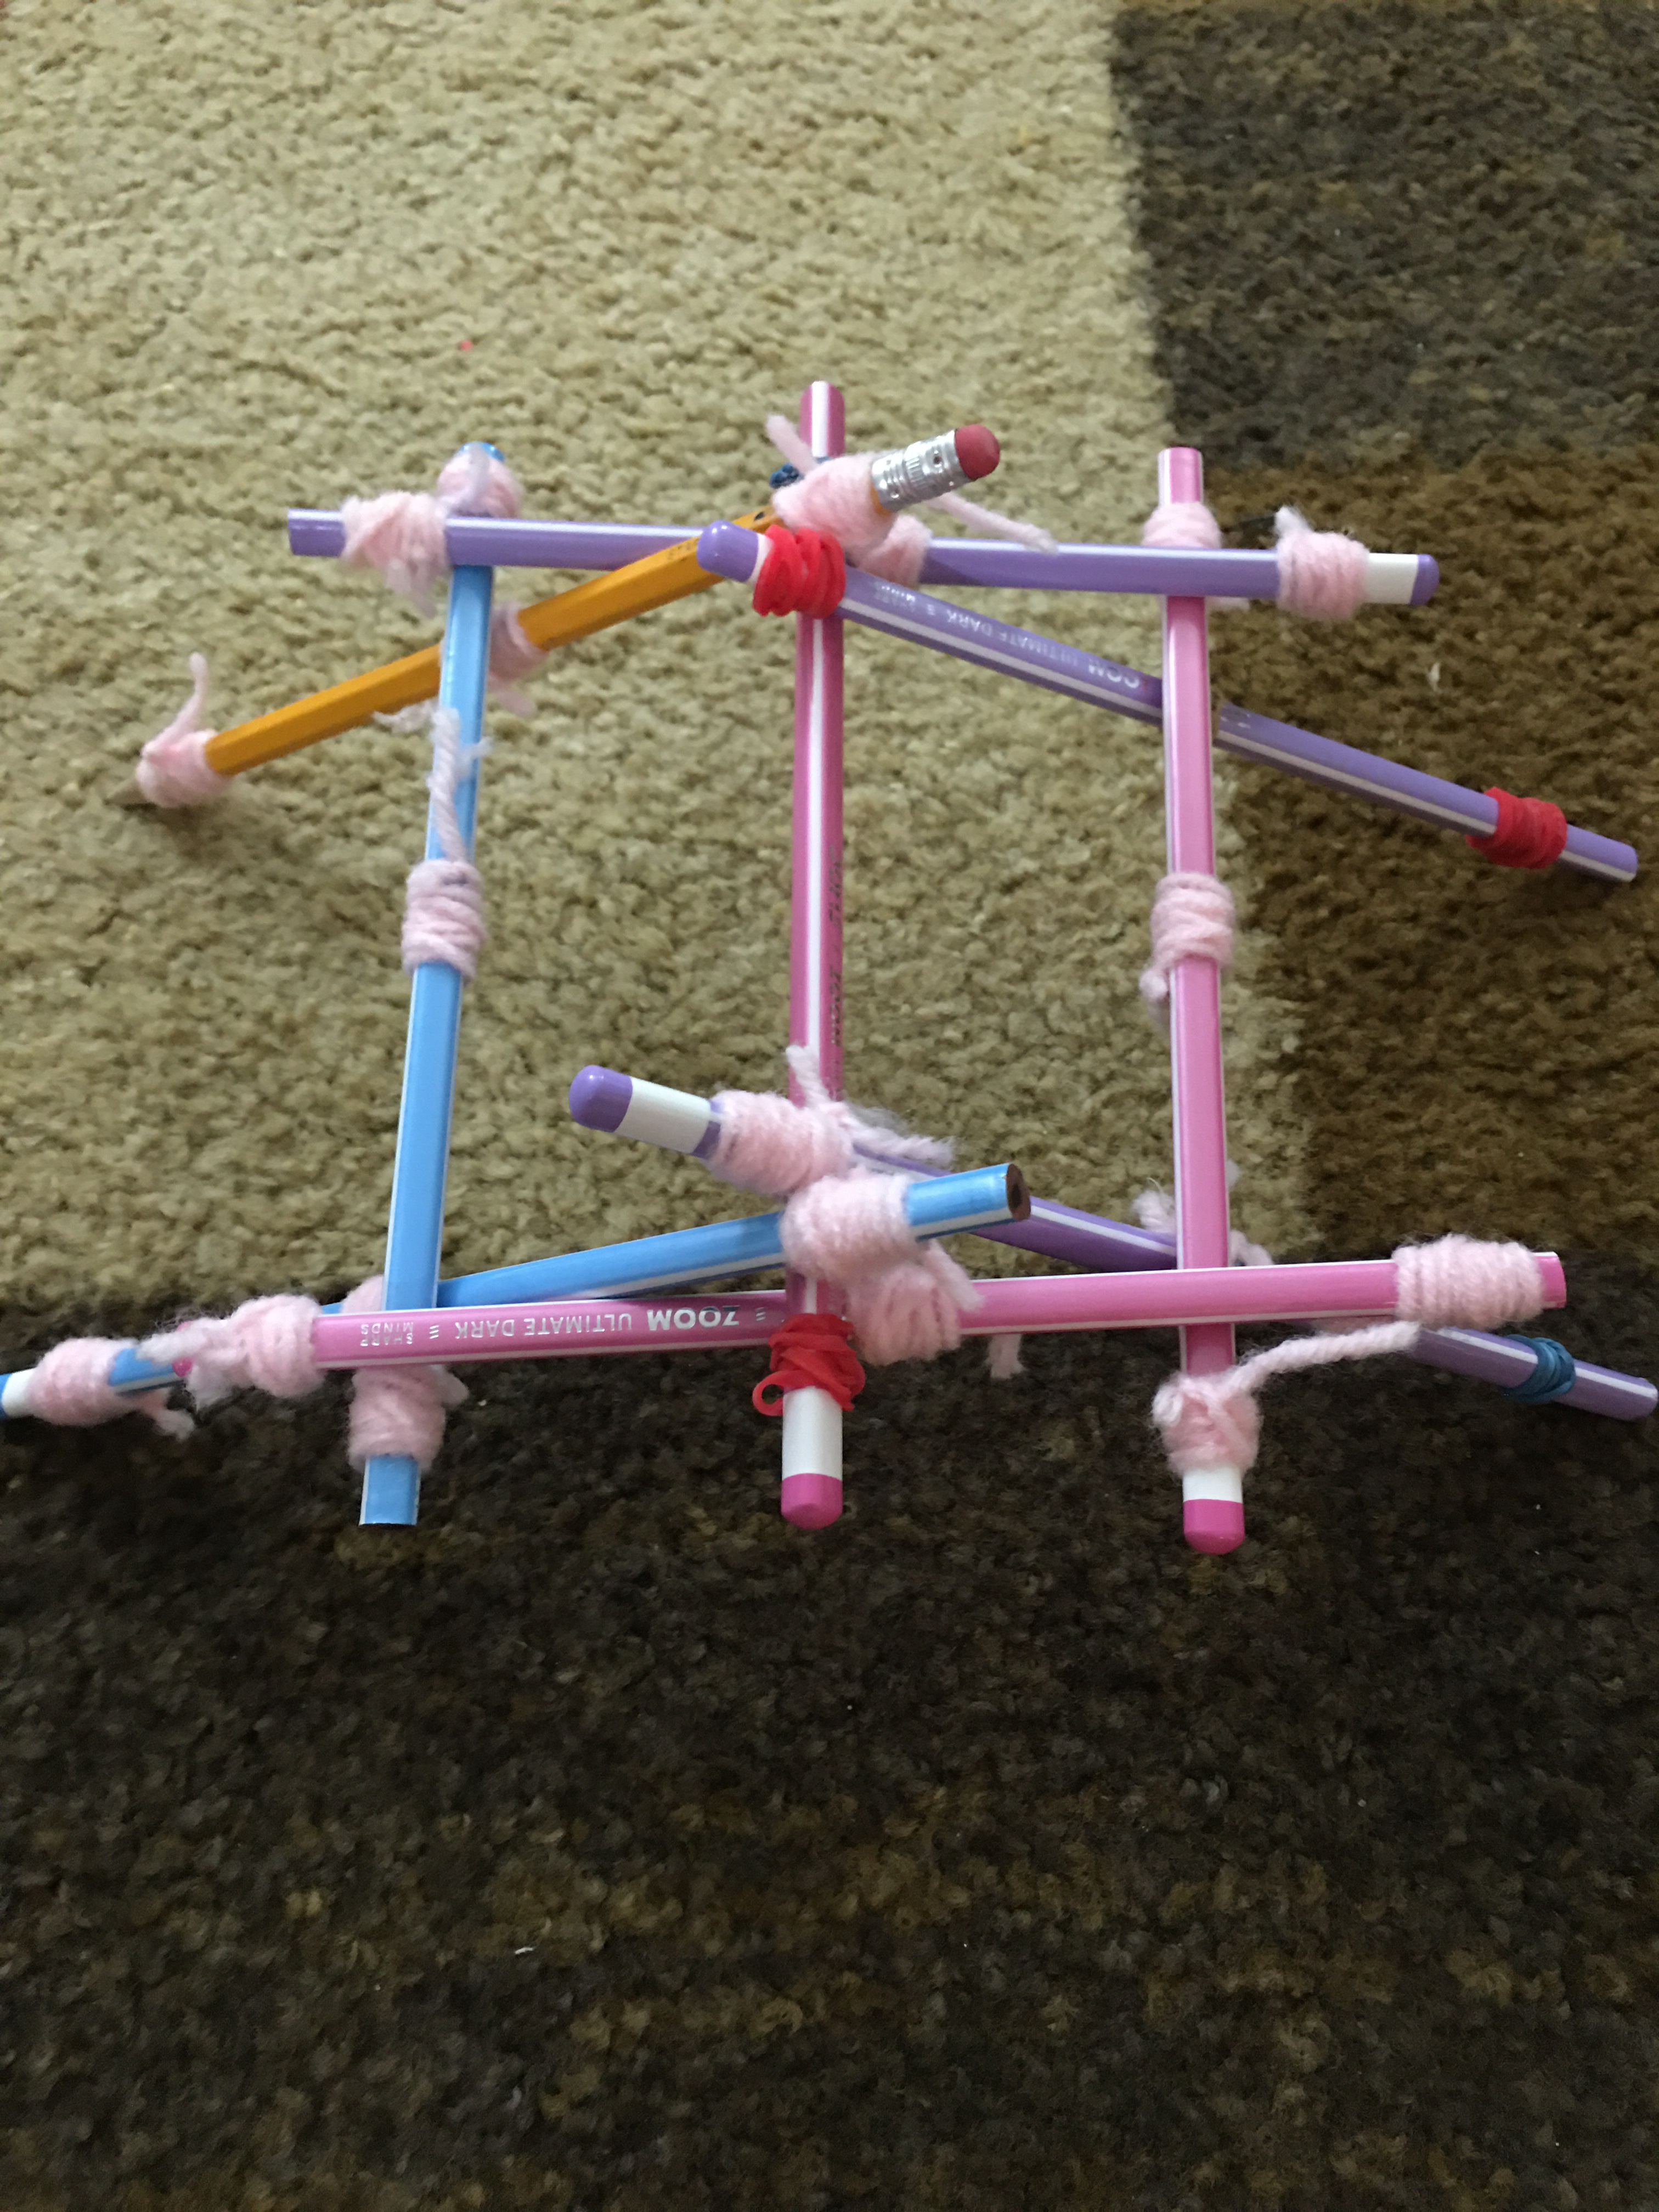
- Now carefully add weight to the bridge and see its capacity.
Make Invisible Ink

Making invisible ink is a lot of fun, you can share secret messages and reveal in an interesting way. All you need is some basic household objects and the hidden power of lemon juice.
Materials needed:
Half a lemon
Bowl
Paint brush
White paper
Lighter/Candle
Instructions:
- Squeeze some lemon juice into the bowl.
- Dip the paint brush into it and write a message onto the white paper.
- Wait for the juice to dry so it becomes completely invisible.
- When you are ready to read your secret message or show it to someone else, heat the paper by holding it close to the candle or the lighter.
What’s happening?
Lemon juice is an organic substance that oxidizes and turns brown when heated. Other substances which work in the same way include orange juice, honey, milk, onion juice, vinegar and wine. Invisible ink can also be made using chemical reactions or by viewing certain liquids under ultraviolet (UV) light.