My Hot Chocolate Bar DIY

Who doesn’t love hot chocolates, specially in winter. So this winter we thought to do our own hot chocolate bar. The idea was that my little one (who is all love with chocolate) can relish his own cup of hot chocolate specially on weekends or after a cold day or a snow day.

This hot chocolate bar is made with minimal items available at home and is quite budget friendly. Just select a corner in your home, get some decor and cutlery and you are set to go.

By the way this hot chocolate bar was an ultimate hit at my home. So do your own cocoa bar and sip a mug of hot chocolate with your favorite book. Nothing beats this combination on the planet, I am sure you will agree to it! Lets get into making!

You need to do the following to set up your own hot chocolate bar.

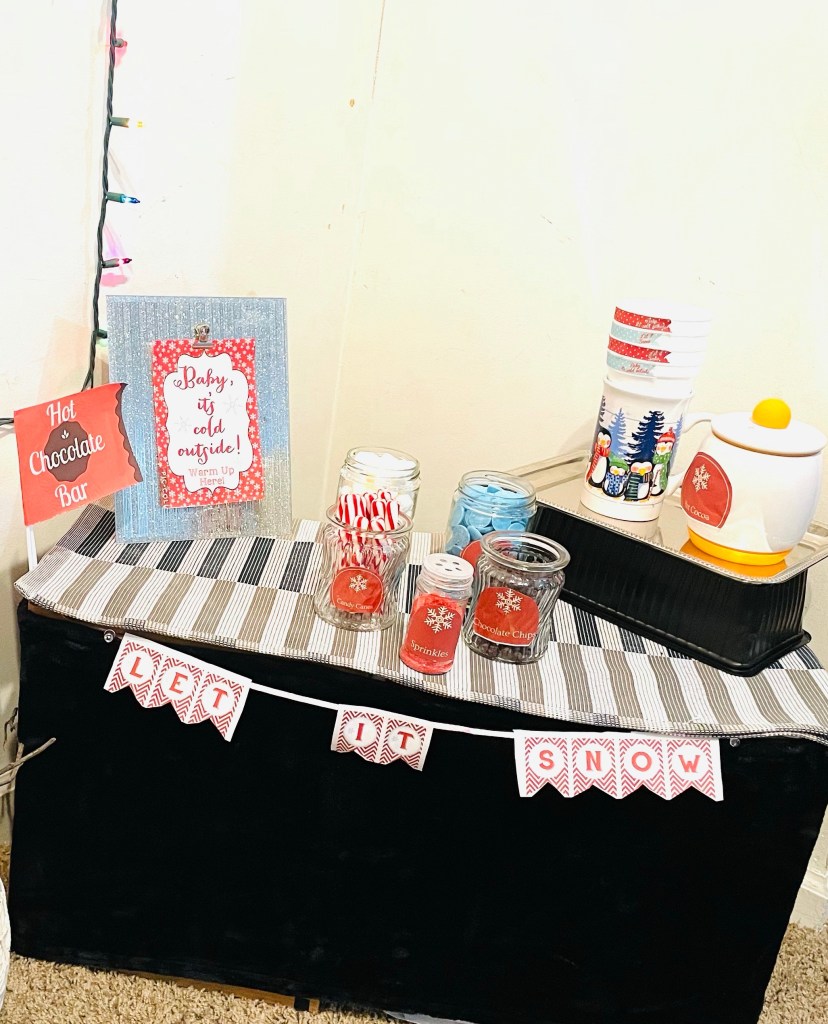
1. Designate an area in your home. It can be simply a side table, a cart or simply a tray in your room. Put a table cover if you want to.

2. Pick up a theme. Your theme will help you select decor like banner or other accents that you will use for the bar. I chose a theme in red, white and black generally to give a wintery feel. This theme will also go well around Christmas.

3. Your favorite packet of cocoa for quick cups or your own homemade recipe of cocoa. I used Swiss miss hot cocoa.

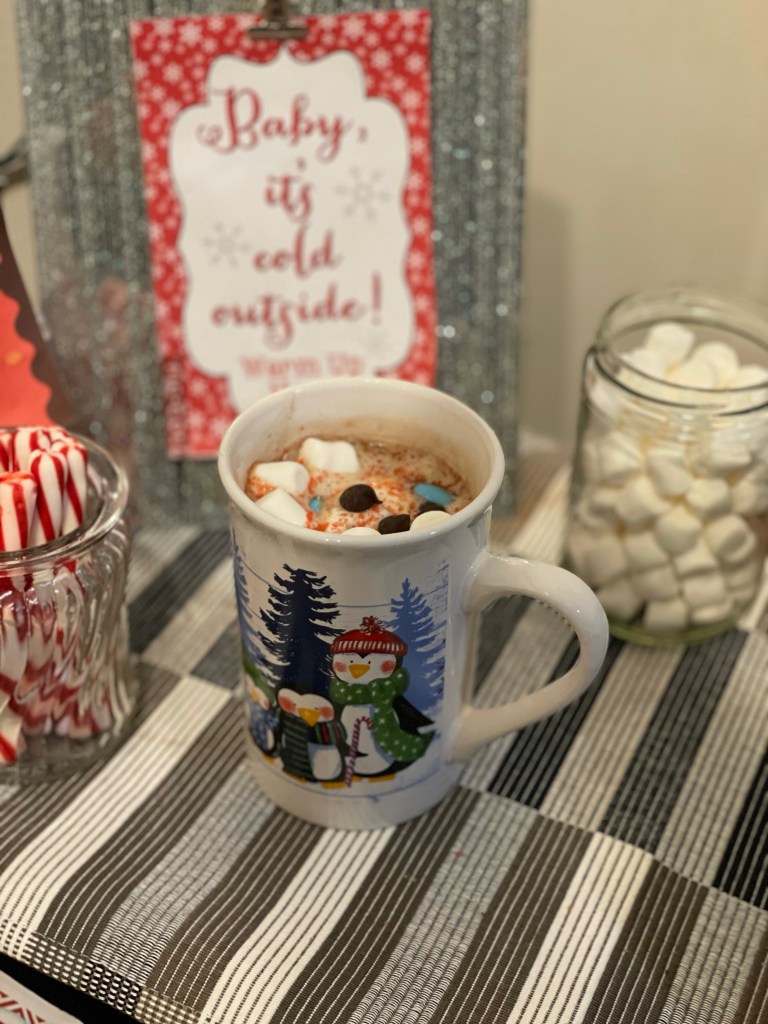
4. Some cute mugs which fit into your theme. I used mugs with snowman and other winter things print.

5. Jars to keep cocoa and other toppings.

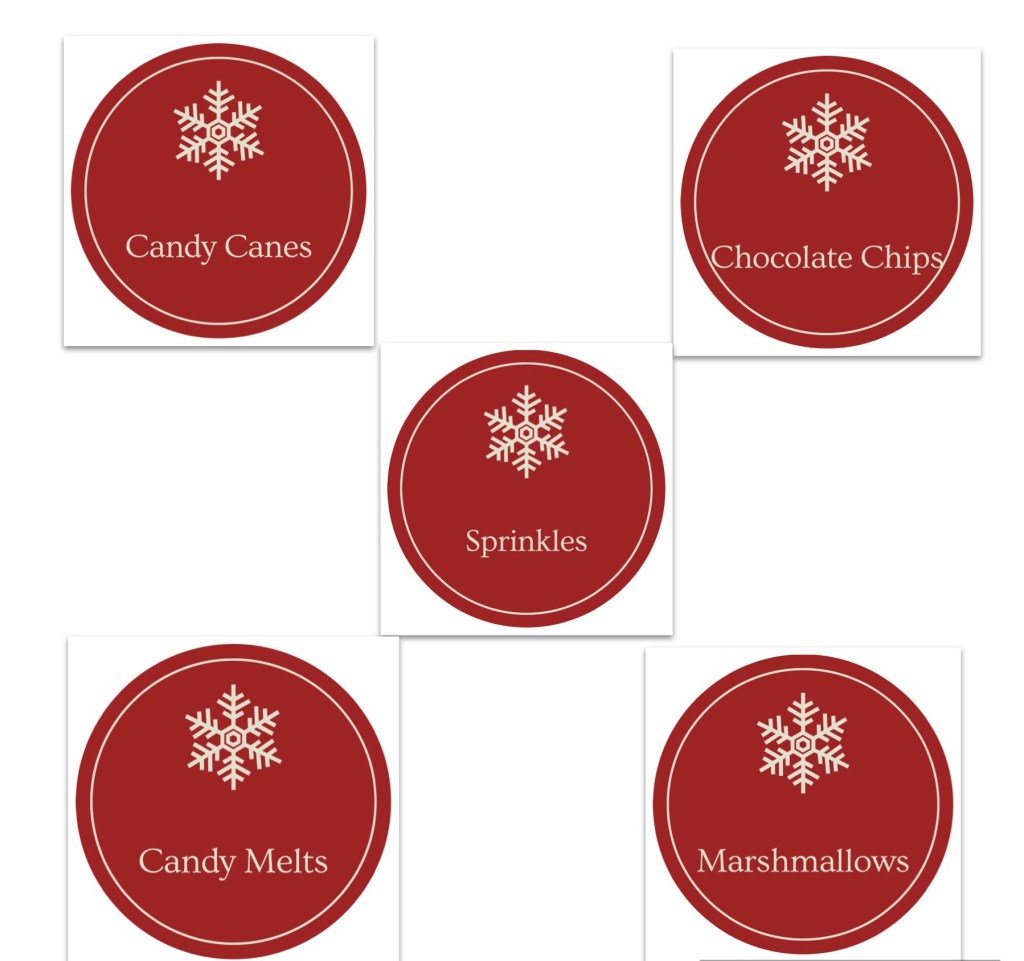
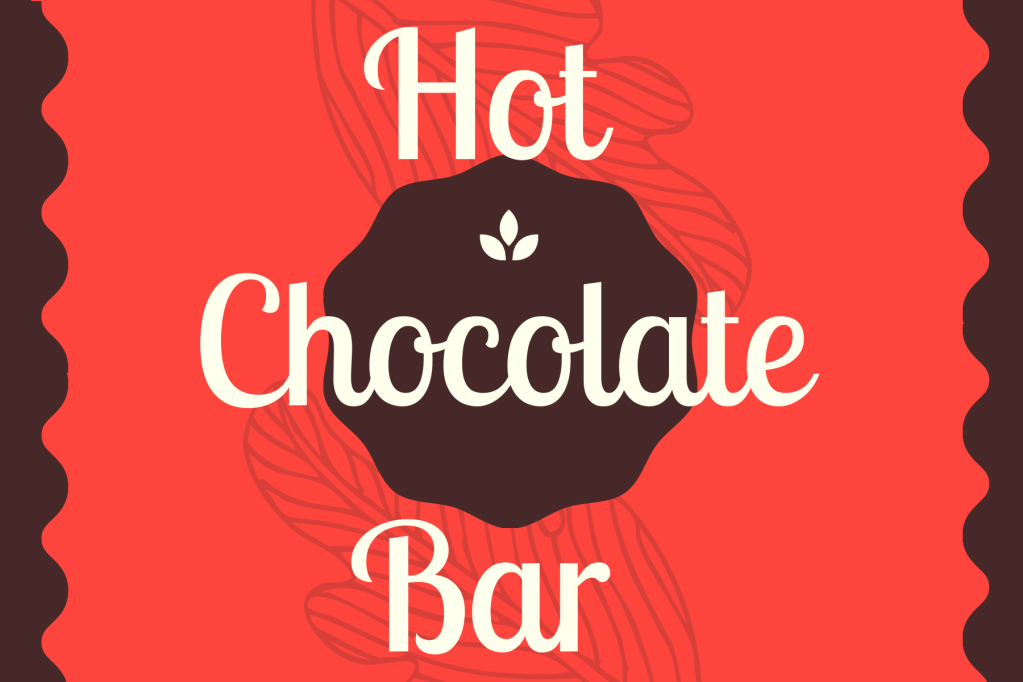
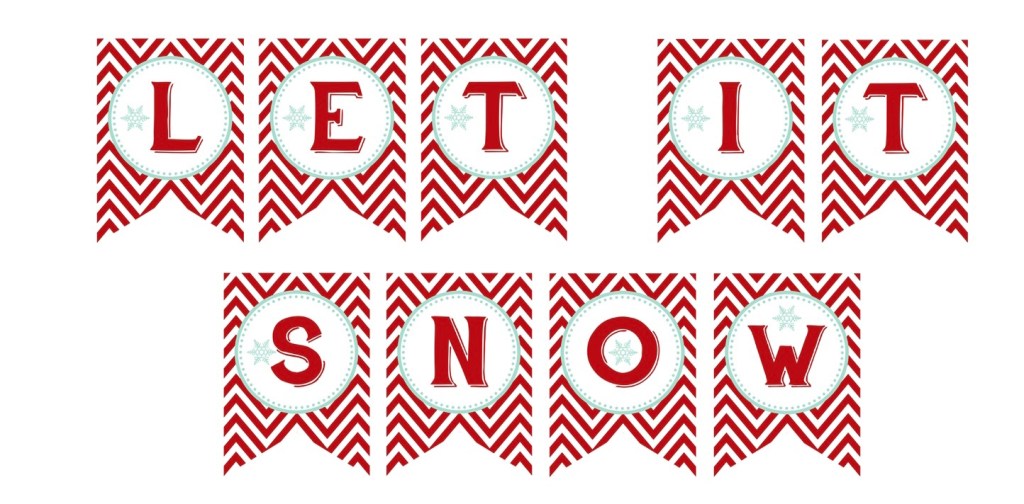
6. Banners for display and labels for the items. You can easily print them and hang it or display on a board. I used a little display board saying “Baby it’s cold outside, warm up here”. I also used a li’l flag of “Hot Chocolate Bar” and some hangings saying “ Let it snow”.

7. A raised tray or a stand to add an element of height to your set up.

8. Toppings of your choice. I used marshmallows (which is generally a must), whipping cream, chocolate chips, candy melts, candy canes and sprinkles.

Some options for hot cocoa toppings are:

• Whipped cream

• Marshmallows of different sizes and flavors

• Chocolate Bits

• Coconut shavings

• Chopped nuts

• Mini chocolate cookies

• Toffee bits

• Sprinkles

• Crushed Candy Canes

• Pirouettes

• Butterscotch chips

• M&Ms

• Chopped mints

• Pretzel rods

• Ice cream

• Cinnamon

• Caramel drizzle

• Chocolate syrup

Some of the printables I used for my DIY are given below:

DIY Solar Oven

This DIY Solar Oven is an interesting project to study how sun’s energy can be used as a clean source of power. It not involves a interesting steps of crafting but also each step demonstrates important concepts of science involved.

Well, we had made a solar oven for our experiment long back but couldn’t test it since the weather was not hot enough or the day was just not right. We had thought of baking s’mores in this oven. Luckily, we could get all the things right to test this very dear project of ours. After all it involved a tasty treat at the end!

What you need

Cardboard box with attached lid
Aluminum foil
Plastic wrap
Black construction paper
Tape
Glue stick
Skewer or a stick
Xacto knife (or scissors)
S’mores supplies: grahams, chocolate, marshmallows

How to make a solar oven?

1. Using an xacto knife, cut a three-sided flap out of the top of the box, leaving at least a 1-inch border around the three sides.

2. Glue aluminum foil to the inside of the top flap, keeping the foil as smooth as possible. The foil reflects the sun into the oven.

3. Line the inside base of the oven with aluminum foil, again keeping it as smooth as possible.

4. Glue a black construction paper to the bottom of the box. The black color absorbs the heat.

5. Tape the plastic over the opening of the door. This will allow the air inside the box to heat up but keep the heat trapped inside the box.

6. Place a graham cracker, marshmallow, and chocolate inside the oven.

7. Place your oven outside in the sun (so that the top lid faces the sun). Use a skewer or a stick to prop the lid open at an ideal angle.

The chocolate will start transforming into soft squishy state and the marshmallows will look more puffed up from the heat. It took us about 90 minutes to bake our s’mores. The temperature outdoors was around 100 degree Fahrenheit. You can just wait until the chocolate melts and can be called good enough, and your tasty treat is done. Place another graham over the baked graham or just sandwich the two of the baked grahams. Time to feast on your solar oven s’mores!

Functions of the components of the Solar Oven

Aluminum foil: The sunlight is reflected when it strikes its surface.

Black construction paper:  Since black absorbs maximum light, it absorbs the light reflected from the aluminum foil. In the oven, the light energy is transformed into heat energy which demonstrates the law of thermodynamics which states that energy can’t be destroyed but can be only transformed from one state to the other.

Plastic wrap: It traps the heat radiated from the black construction paper causing the temperature inside the oven to rise.

Cardboard box: It serves as a physical oven and acts as an insulator of heat.

Science behind the working of the Solar Oven

A solar oven works by energy from the sun that penetrates into the surrounding environment thus demonstrating the process of radiation.

The shiny surface catches the sunlight and acts as a reflector reflecting it onto the base surface of the oven. The base surface gets heated. This heat is transfered to another object through direct contact thus demonstrating the process of conduction.

Further the air that is trapped inside gets heated by the process of convection which occurs when warm air which is less dense rises up and the colder air which is more dense sinks.

We are using a black sheet of paper for the base surface since black color absorbs maximum light and is transformed into heat energy. Plastic wrap prevents the hot air inside the oven from escaping thus creating a Greenhouse effect.

Notes:

1. Solar ovens slow-cook food on a low heat over a longer period of time than conventional ovens, but they do work.
2. The box should be tightly sealed or insulated to prevent the heat from escaping.

Reindeer Cupcakes recipe

If you are still looking for some baking idea for holidays, you’d probably not want to miss on the reindeer faced cupcakes. These are made with a simple cupcake recipe and decorated with most of the items available at hand.

For frosting, I used store brought Betty Crocker whipped frosting. You can also make your own frosting. Similarly, I made eye balls using Betty Crocker white frosting and peices of chocolate chips. You can use eye ball candies for the same.

Getting kids decorate the cupcake adds another level of fun to the making process. There is nothing more enjoyable than to eat your own decorated cupcakes.

Infact, they can be done at any time of the year as these cakes are simple vanilla cupcakes, with a reindeer decoration.

Ingredients:

for cupcakes

1 1/2 cup all purpose flour
1 cup sugar
1 tsp vanilla extract
2 eggs
1/2 cup milk
1/2 cup unsalted butter
2 tsp baking powder

for frosting and decoration

Chocolate frosting (whipped)
Vanilla frosting (whipped), for eyes
Chocolate chips pieces for eyeball
Cracker (cut into piece) for snout
M & M’s for nose
Cashews for horn

Directions:

1. Preheat oven to 375 degree Fahrenheit and line cupcake baking tin with cupcake liners.

2. In a bowl take dry ingredients that is all purpose flour, baking powder and salt.

3. In another bowl, with an electric mixer, beat sugar and butter until smooth and creamy then add egg one at a time until well combined. Add milk and vanilla essence into it and mix.

4. Fold in dry ingredients into the wet ingredients.

5. Fill the cupcake liners 3/4 full and bake it for 15-18 mins or until a tooth pick inserted into it comes out clean.

6. Remove the cup cakes from the tin and let it cool completely.

7. Now make reindeer faces: First using a knife or a frosting tool spread a layer of chocolate frosting. For eyes, take a small ball of white frosting and a small dot of chocolate piece. For snout, take a piece of cracker (broken into 1/4th) and put M & M’s on it for nose. Use cashews for horns.

Happy baking!

Elf on the Shelf DIY

It’s December already and so is the time for Santa’s elves to arrive. These lovable characters are too cute to find place in homes before Christmas. As we know they are believed to be Santa’s helpers who every night report to Santa about kids’ daily activities. So just they being around, kids try to put up their best behaviour so that they are on Santa’s nice list.

There can be nothing more interesting than to make your own elf and perch it at different spots each morning. Kids can simply have fun spotting them. Here is a simple DIY for these cute North Pole characters.

Materials required:

Plain sheets of paper
Play dough (red, white)
Doll head
Scissors
Paint (red), paint brush
Knife
Glue
Rolling pin

Directions:

1. Using plain sheets of paper, make body of the shelf in form of a cylinder. Make paper tubes for hands (and pass them through the holes from the cylinder). Similarly, make the paper tubes for legs and stick it to the body using glue.


2. Using paper sheets, make a cone for the cap and a circle for its neck accessory and trim its edges to make it spiky.


3. Paint the body in red and its cap in red and white.


4. Fix the accessories and the doll head using glue.


5. Now taking a rolling pin, flatten the red play dough and cut it into rectangles to cover its body. Also, make white gloves with white play dough.

Some interesting elf on the shelf ideas:

Have a happy time doing your own elf on the shelf!

Those who are having it tough this Mother’s Day, we see you!

Mother’s day is round the corner. The day which mamas all around the world look forward to– to be loved, surprised and spoilt.

And why not! It’s such a feeling of pride, fulfillment and joy for mothers to be appreciated for what they do.

However, it might be a tougher road for some amongst us. The day might come rubbing some of the hidden bruises. Truly, they are the special ones, and this is just to appreciate their enormous strength and worth which is beyond words.

The mother who is far apart from her children.

Step by step, she has been there to see her child grow. When he started to sit, she waited for him to stand. When he could stand, she waited for him to walk. When he learnt to walk, she taught her how to fly. Now when he has learnt to fly, he is somewhere making her feel proud- working, raising, achieving.

The pangs of separation are bitter. Sometimes she has meltdowns, tearing her world apart. But again she stands strong, defiant and unbewildered; instilling in herself the spirit she infused in her child. And she finds joy in his achievements, pain in his sorrows, mirth in his laughter and life in his life.

The mother who is hopeful– that she will hold her own child someday.

There she has been through the journey of innumerable prayers, moments of disgust, lost hope and revived faith. She in her mind, has made a million pictures of their unborn; lived a thousand unlived moments of holding, playing, cuddling, and rejoicing. She just can’t hold over the fact that how beautiful their life would be when it happens. Days, months and years have passed, she has learnt to live in acceptance and anticipation.

But this journey has given her something which is beyond the superficial. An unfazed faith that there is nothing above God’s will– faith that everlasting happiness is worth the wait. Forbearance– to stay strong through the most vulnerable moments. Hope– that the best time is yet to come. And above all, the blessing of togetherness with her other half, standing by her through thick and thin.

The mother who is bereaving the loss of her child.

This can be the most devastating thing that can ever be in one’s life.  The child, who brought a new ray of hope, is gone now. The pain is excruciating.  She has questioned the almighty, willed her own end over her beloved’s, stood hopeless at the altar– all of it, times and over. But the truth is she has him no more– lost to the disease, lost to the mishap, lost to the crime. God willed this to her and the reason is beyond her understanding. 

Amidst all the mayhem, she understands that this the time of test. From somewhere in the universe, she gets forbearance and strength to bear something unimaginable like this. She finds connection with God and learns to withstand the deadliest of challenges that life has thrown at her. She learns to part away from something so precious. It was given by him and taken away by him. This is something that teaches her to face any circumstance whatsoever in life.

Someone who has lost her mother.

There can be nothing more terrible than this. Even a thought like this is enough to run shivers down anyone’s spine. A mother is the first symbol of strength, love and dedication. When she is gone, she leaves a void that is irreplaceable and a burden which is heaviest to bear. The pain might grow less with time but the memory is un-erasable.

However, God always compensates for what he takes away. He sends angels to take care of those in distress. He gives them a stronger mind to withstand; and an ability to connect to a deeper level. And there she finds a whole new strength; and discovers life through a whole new perspective.

Unfathomable gift of strength and more power to all such women. I love you, Happy Mothers Day!