If you are looking forward to some make ahead quick breakfast ideas, then these energy bars are something not to be missed upon. These are super easy to make and in only 3 steps.
These energy bars are our family’s favorite. I prefer making it in advance and storing it in an airtight container. They are a savior as quick to-go breakfast on busy mornings or a filling snack in the evenings. They remain nice and crisp for a good amount of time as well.
These bars are not only wholesome, but also highly adaptive and can be varied with a number of ingredients. I find that peanut butter gives a good binding to the ingredients as compared to almond butter. You can also add whipped frosting of any flavors, just to give an additional twist of taste.
Ingredients:
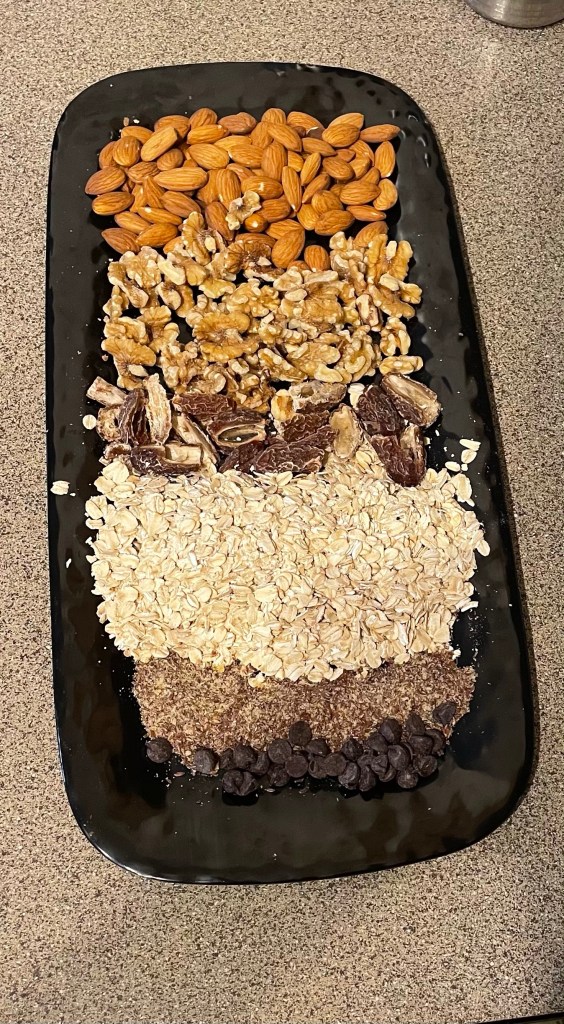
2 cups rolled oats
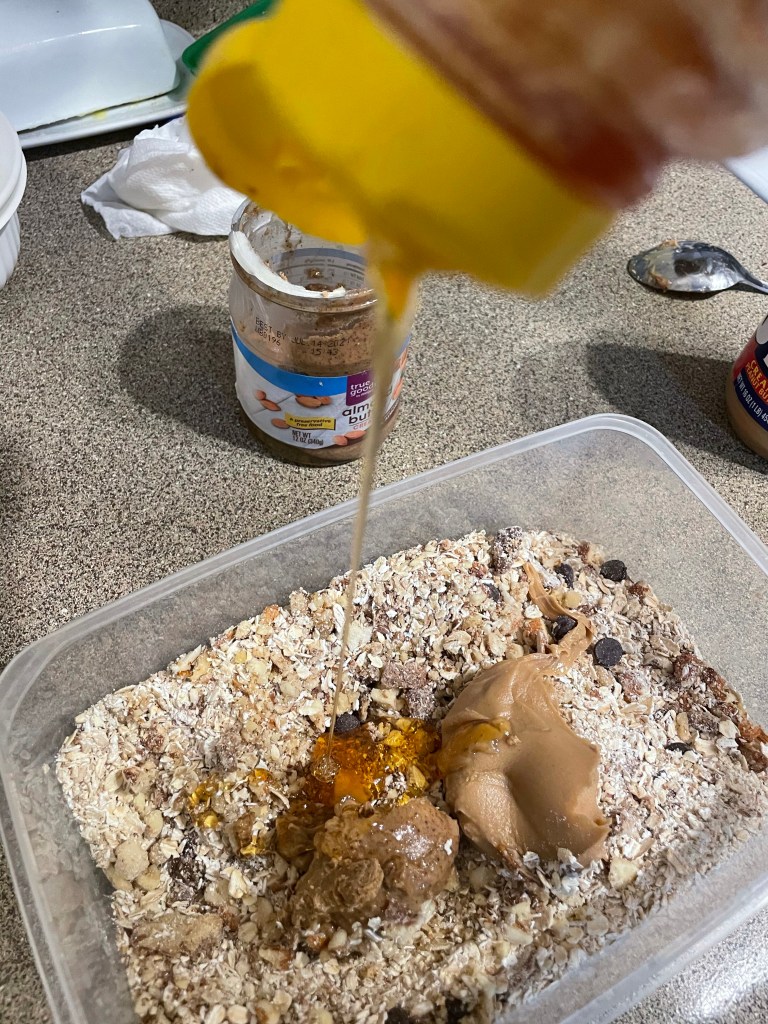
2/3 cups peanut butter (or any other nut butter)
I cup nuts such as almonds, walnuts, pistachios, dry dates etc.
2tbs flax seed
¼ cup honey
Chocolate chips
Directions:
1. Take rolled oats, dried fruits, flax seed powder, peanut butter, almond butter and honey in a dish.

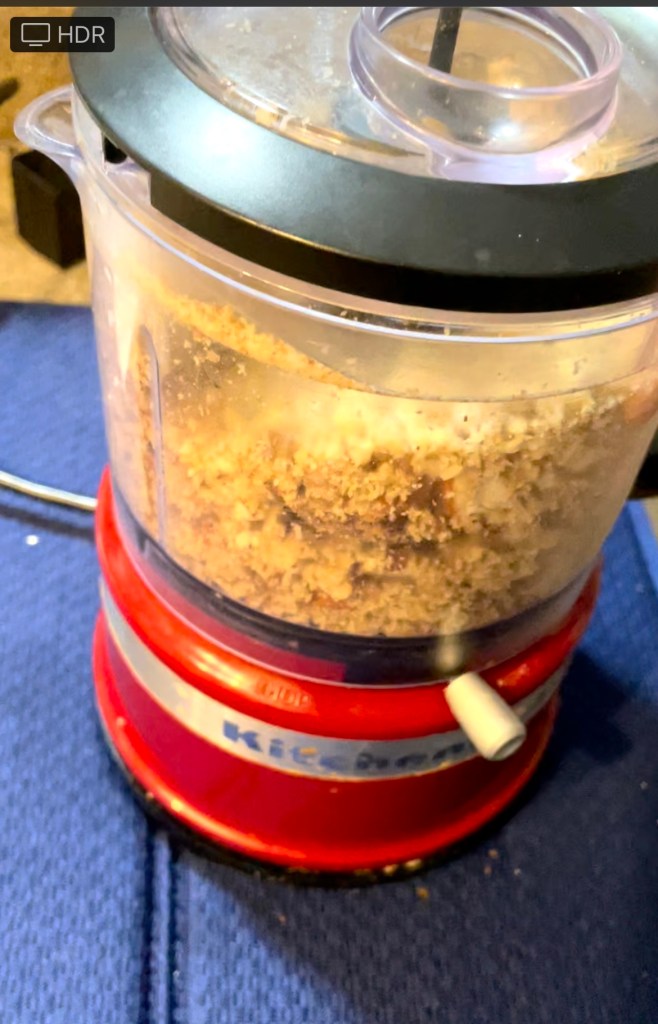
2. In a chopper, coarsely grind all the ingredients.
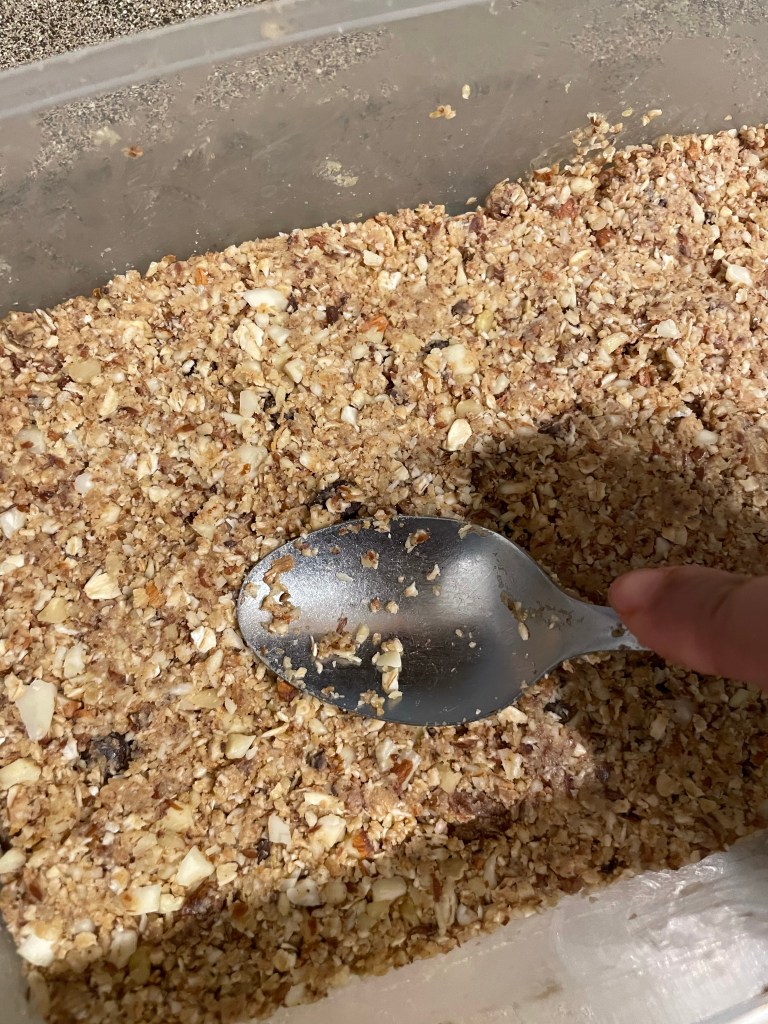
3. Now add choco chips to the mixture.
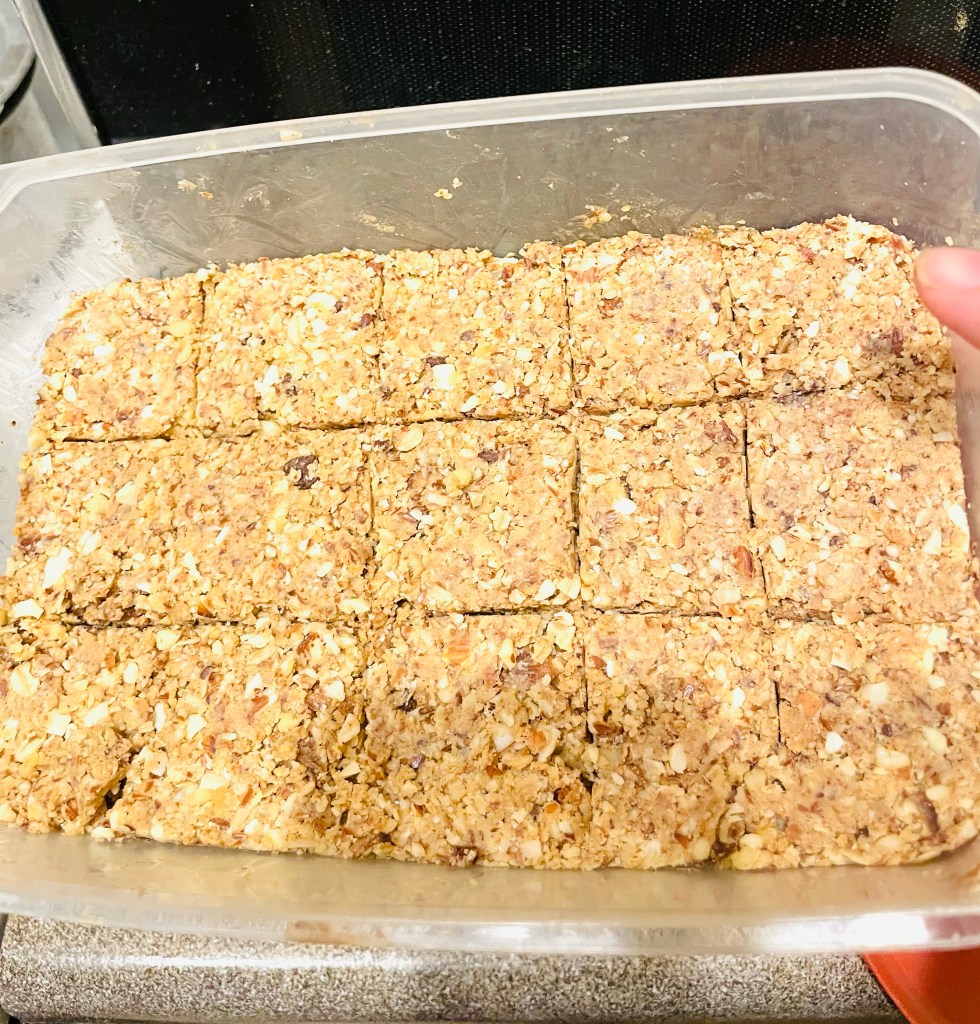
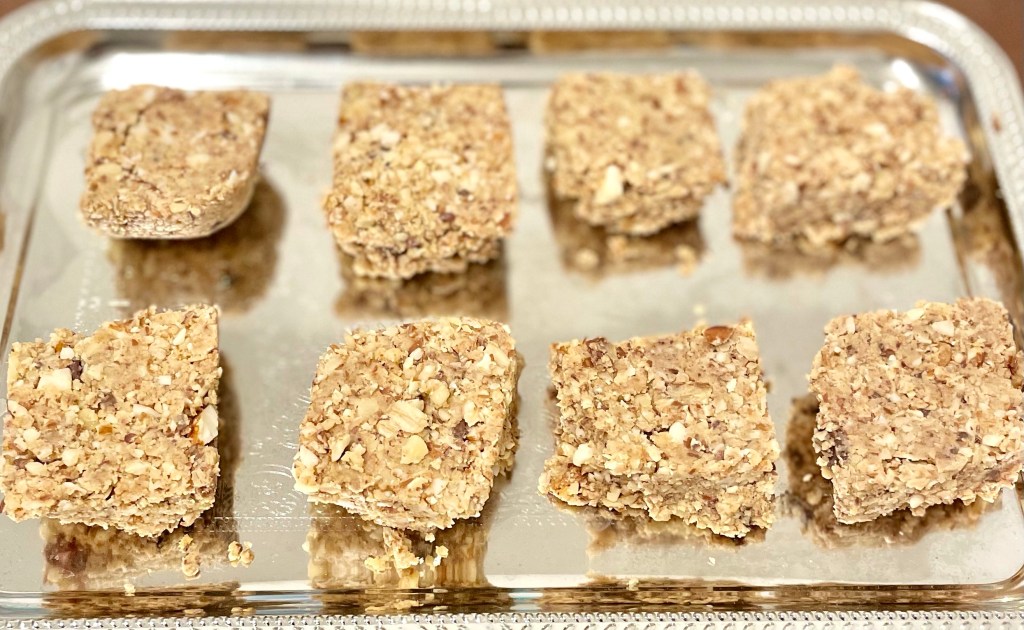
4. Next, take a raised baking dish, firmly press the mixture into it. Cover it for 2hrs or until firm.
4. Now using a knife slice it into bars. Store it into an airtight container.