A visit to LEGOLAND Discovery Center, Columbus

Are you an avid fan of LEGOS®?

; or you can spend hours building your own LEGO® creations?

; or just that LEGO® in any form tempts you?

Then LEGOLAND Discovery Center is the place meant for you.

We visited Legoland Discovery Center at Columbus, Easton Town Center. It is an indoor LEGO® playground and a heaven for any LEGO® lover.

The admission price is $ 24 for children above 2 years and $ 25 for adults. Pre-purchased online tickets are available at a discount of $ 5. LEGOLAND memberships are also available at $ 60 per family with more than 3 members. Children under 2 are free. It’s open all seven days a week from 10.00 am to 7.00 pm except Saturday when it’s open until 8.00 pm. Adults must be accompanied by at least one child.

What you will find inside LEGOLAND, Columbus.

The place provides hours of fun, to LEGO® lovers. Here is a quick peak into what you will find there.

The first attraction is Kingdom quest that allows the riders to board on a chariot and rescue the princess using laser guns at skeletons, spiders and bats. Kids less than 4’3” must be accompanied by someone over that height.

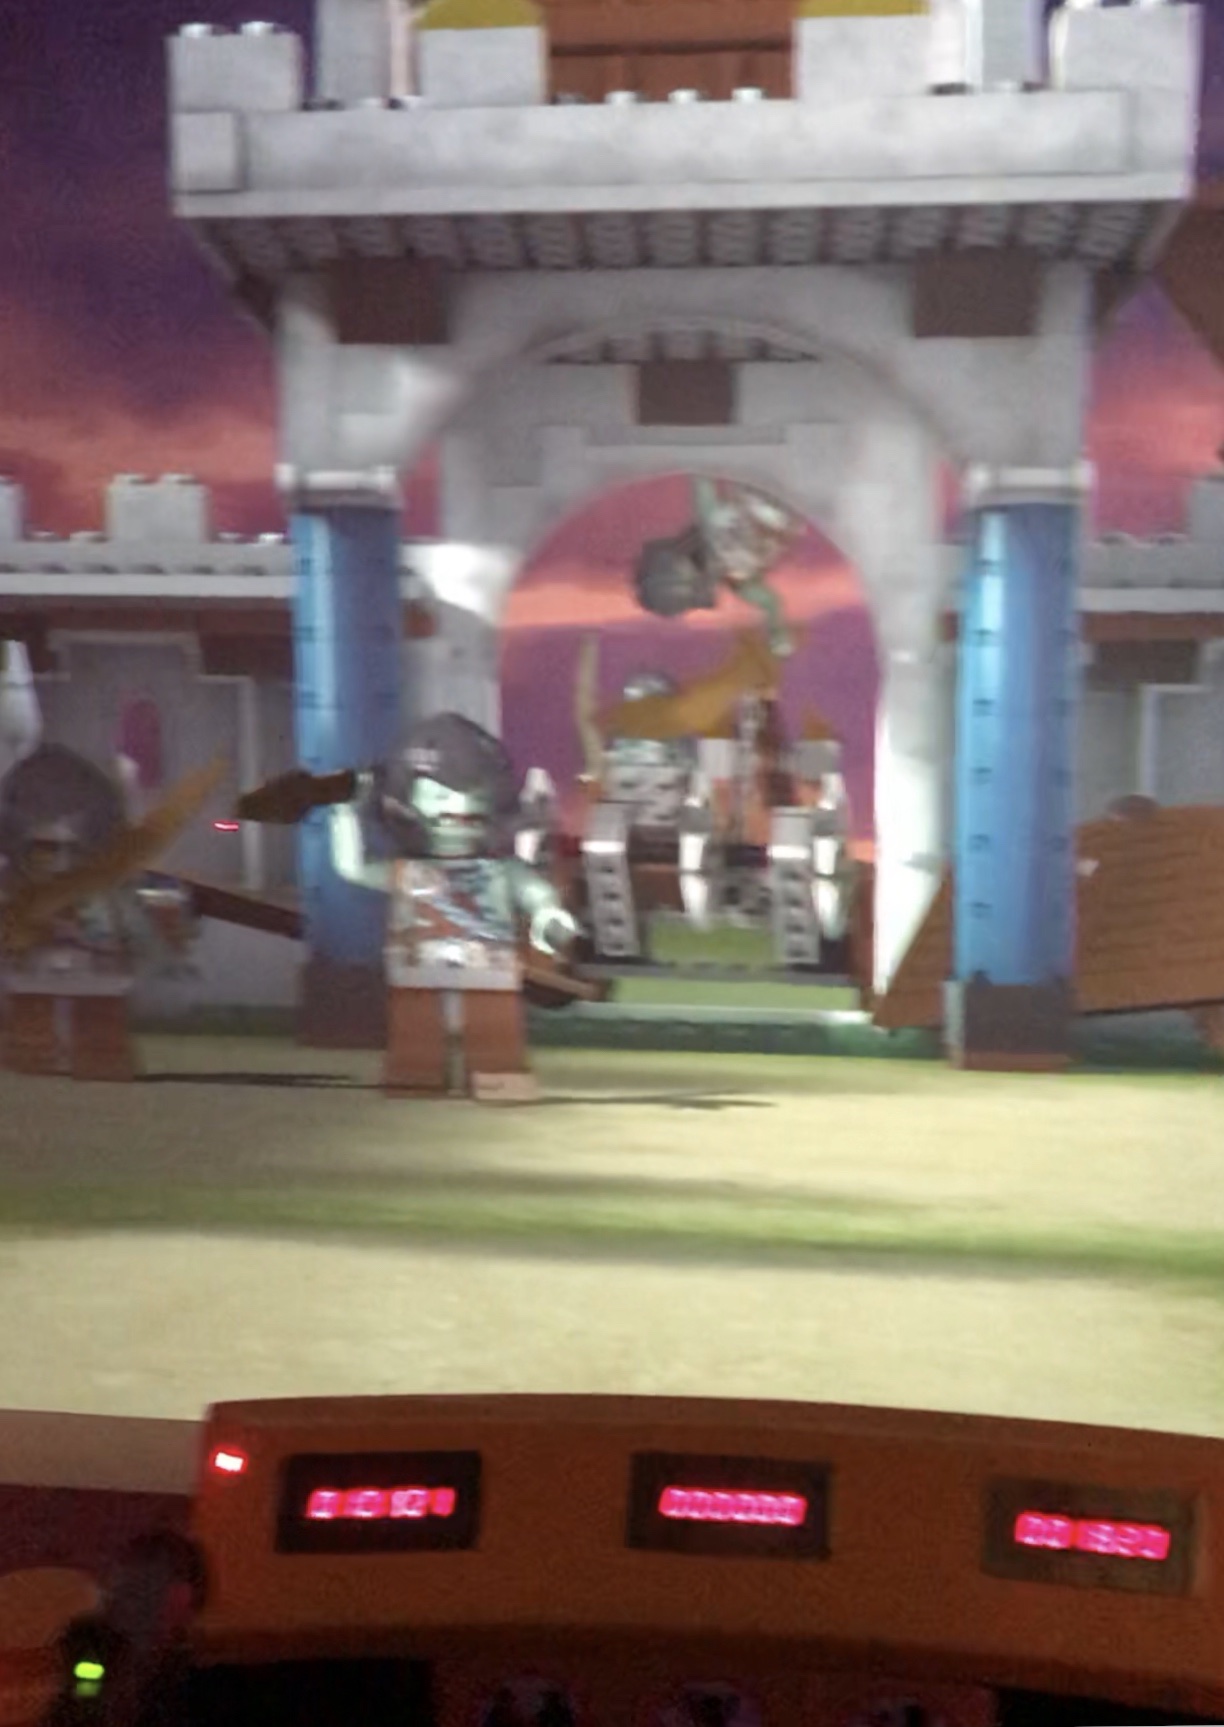
You can watch an adventure 4D Lego movie at the Lego 4D Cinema. The one running on the day of our visit was Nexo Knights. It is quite a fun- be prepared to get a bit wet though!

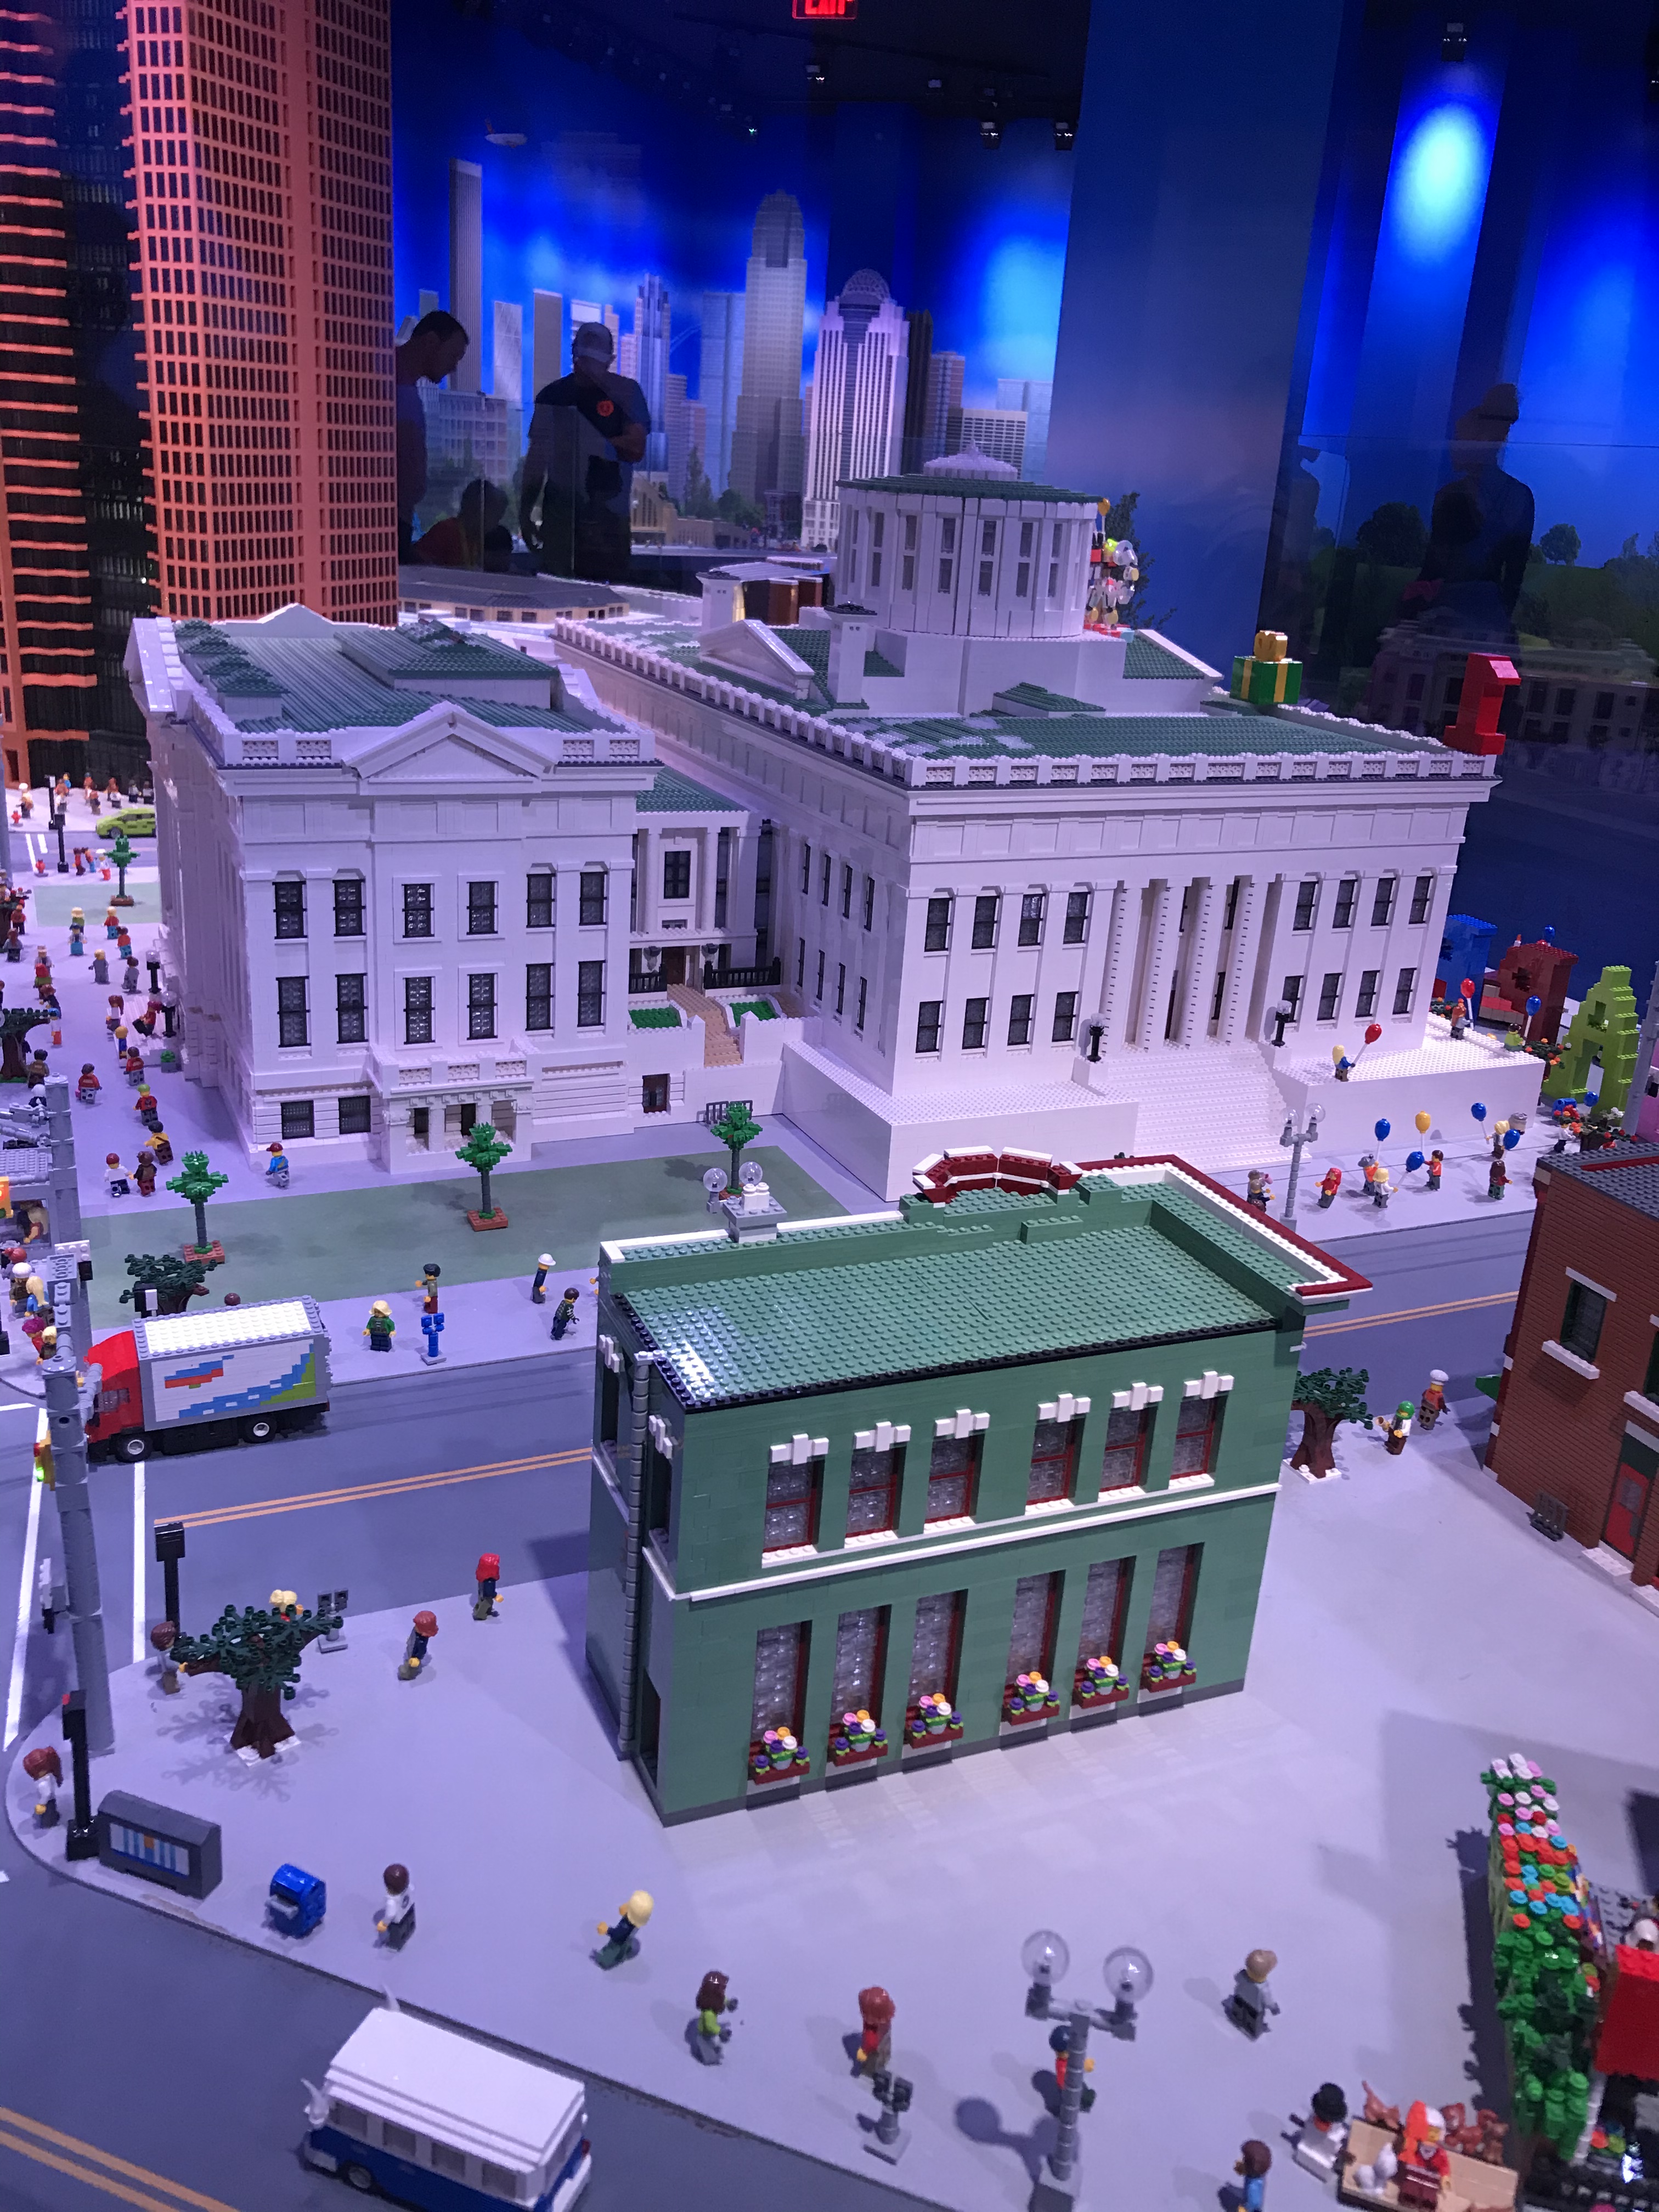
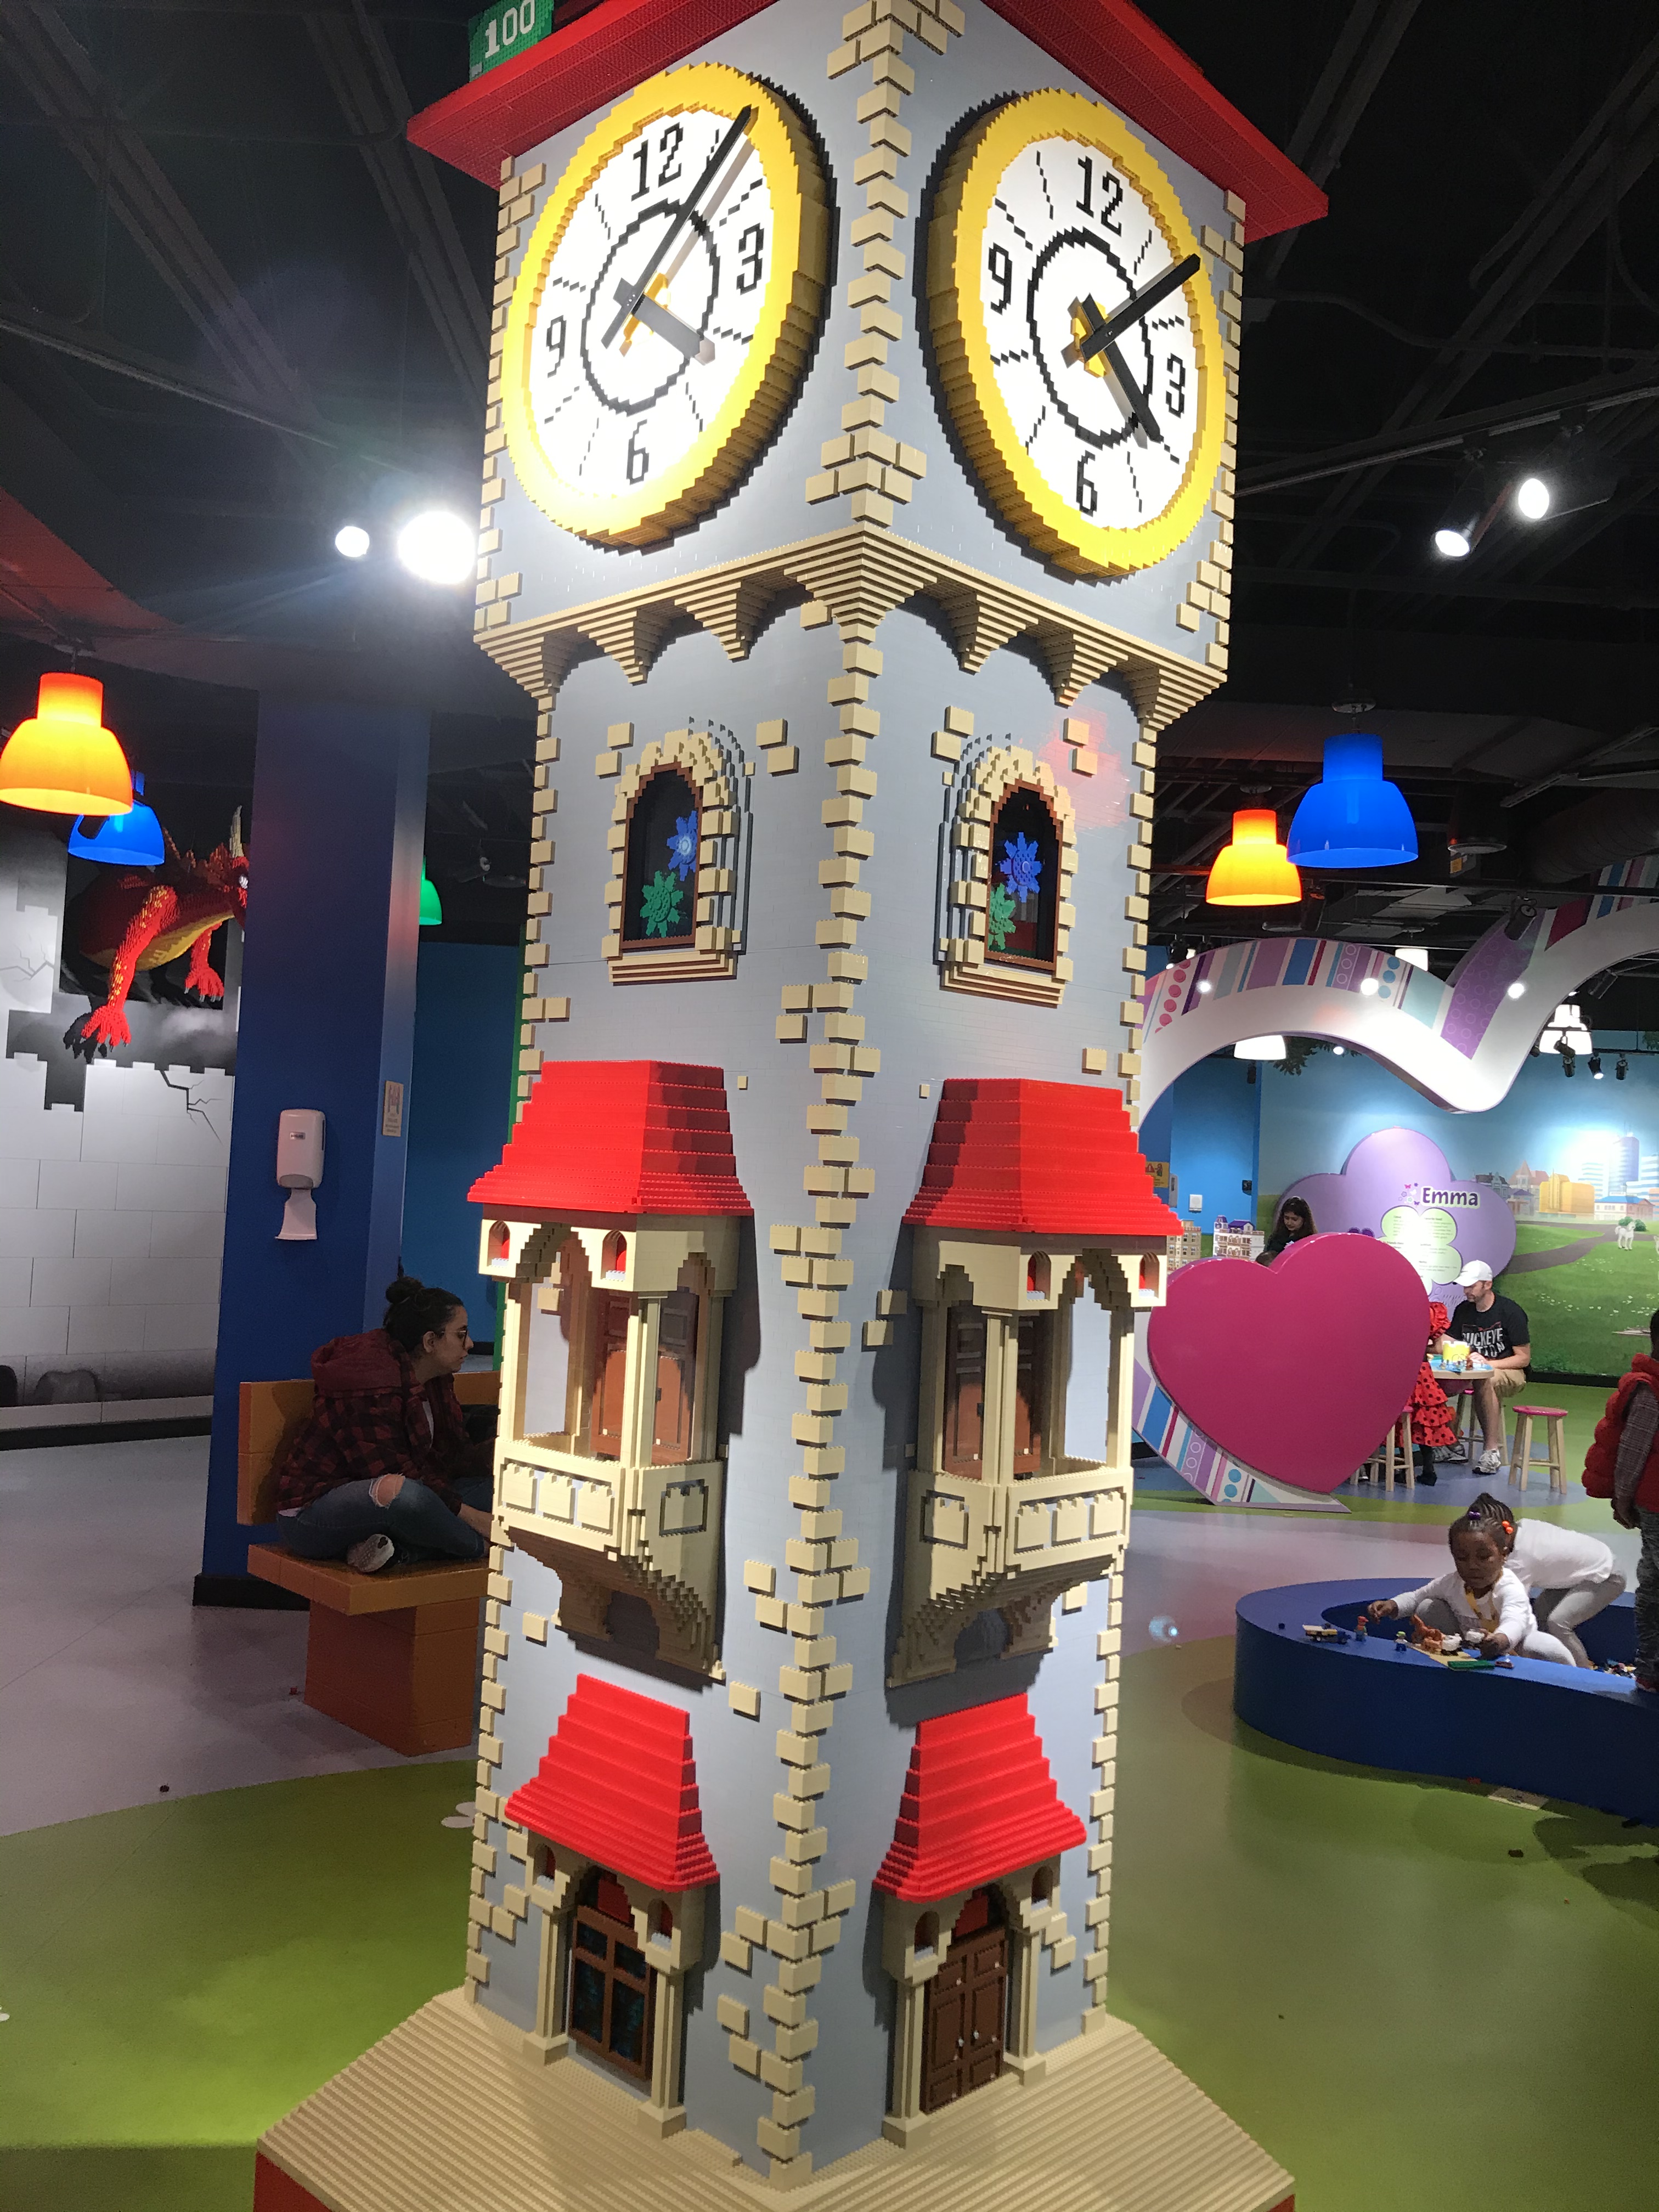
Miniland is one amazing creation and one of the highlights of the Center. It contains LEGO® sized replica of favorite spots at Ohio’s three cities- Columbus, Cleveland and Cincinnati.

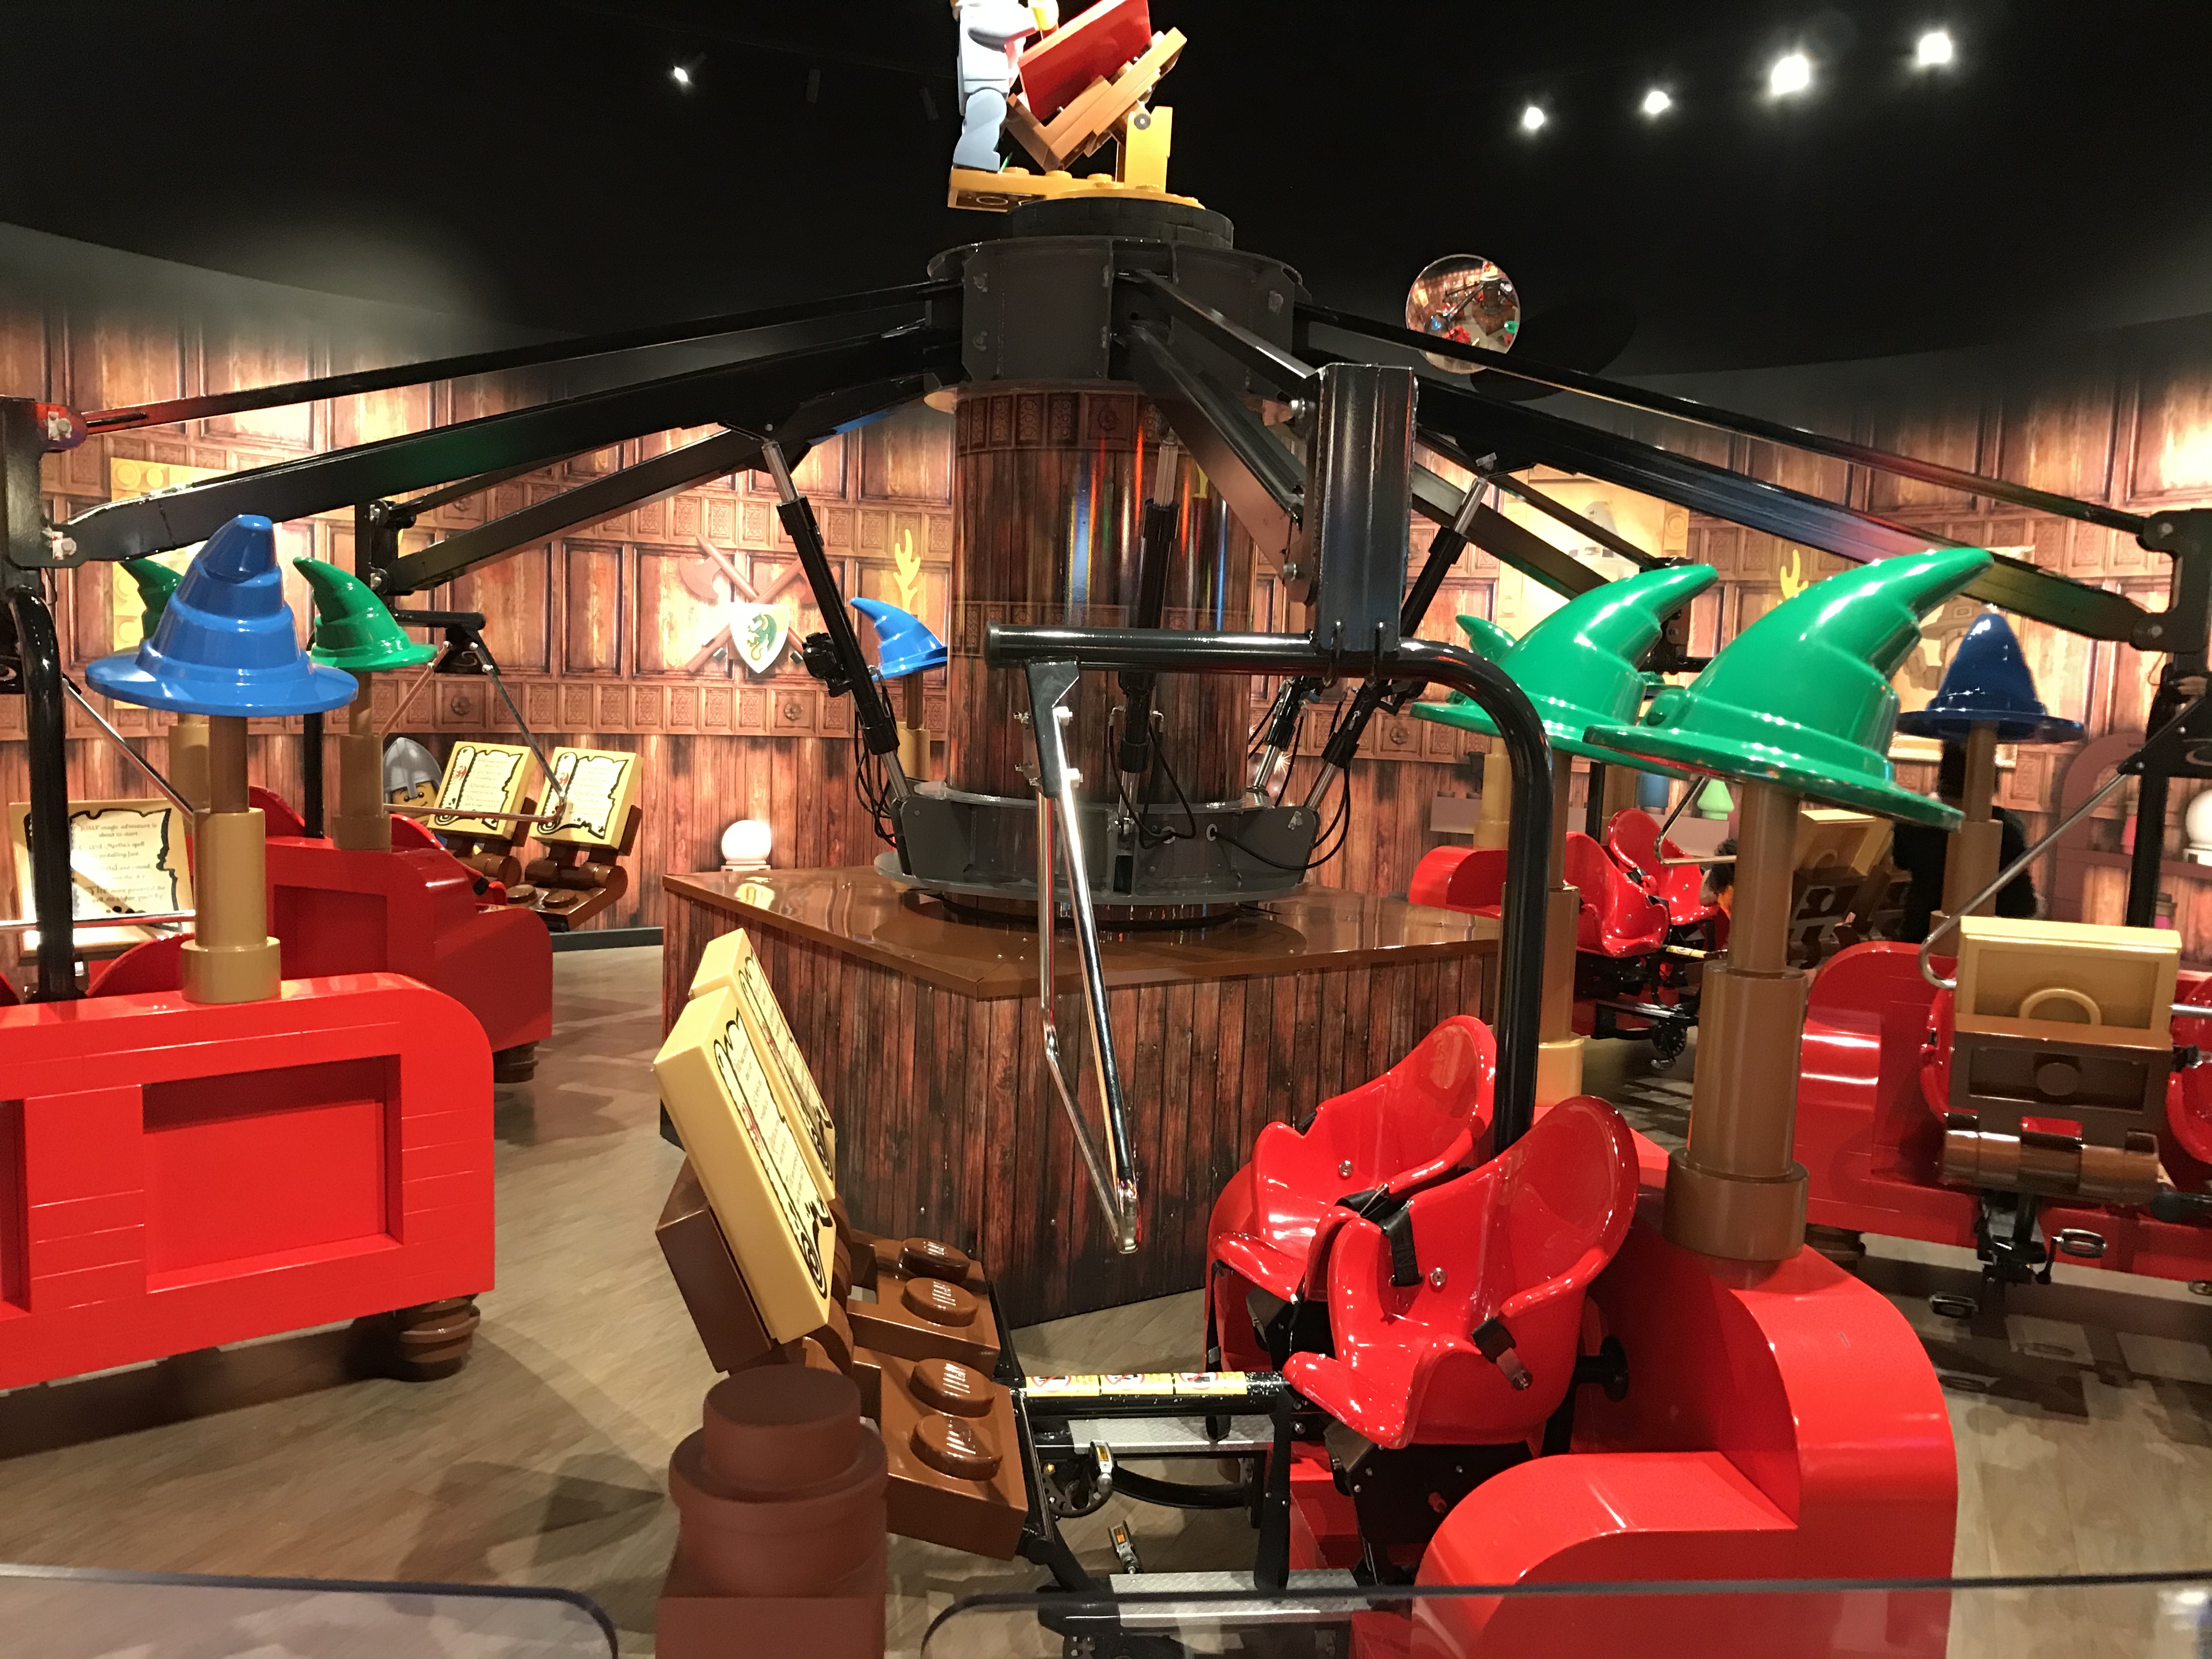
Then there is Merlin’s Apprentice Ride that lets you paddle and soar. You must be 3’ tall to ride this. Those under 4’, must accompany someone over that height.

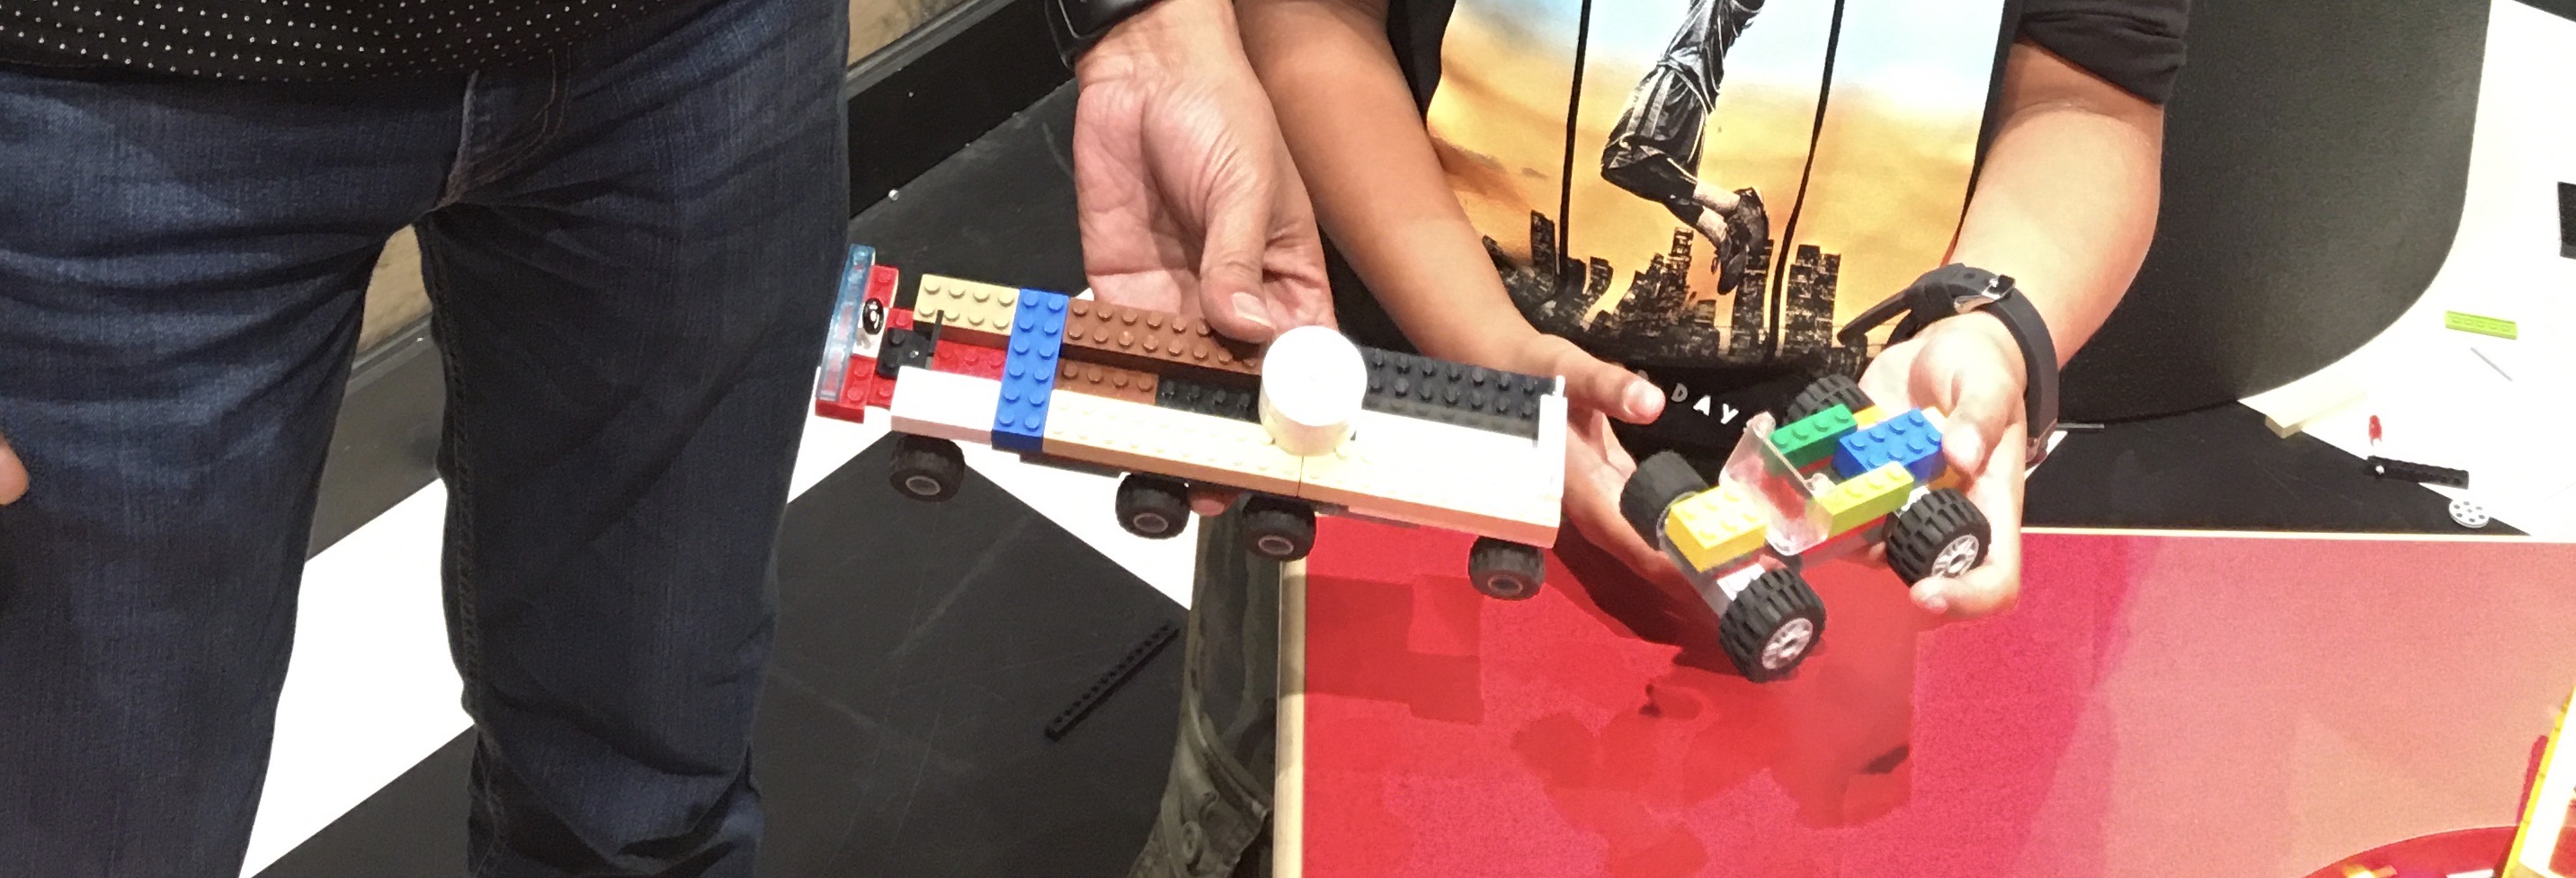
You can build your own vehicle and test on tracks built at LEGO® racers. Vehicle lovers are sure to have a great time building and finally racing their cars.

LEGO® City Play Area gives a good breather to kids for running, climbing and jumping.

There is DUPLO® Village and DUPLO® Farm for younger kids.

It’s your best chance to create almost anything under the sun at the LEGO Friends area.

You can also catch up special Creative Workshops with tips and tricks on building with LEGO®. Although, you need to check their schedule to catch up with their timings.

Amenities

The place is wheelchair and stroller accessible. It also has a small cafe with options like coffee, cold sodas, snacks and fresh meals. The party hall is especially available for hosting kid’s birthday parties. Unique shopping options are also available at the LEGO® store.

Give your own exciting twist to playing LEGOS®

The ways to play LEGOS® are just endless. With zillions of LEGO® pieces around at the Center, sky is the limit towards constructing marvellous creations. Even with your own set of pieces at home, you can experiment the following.

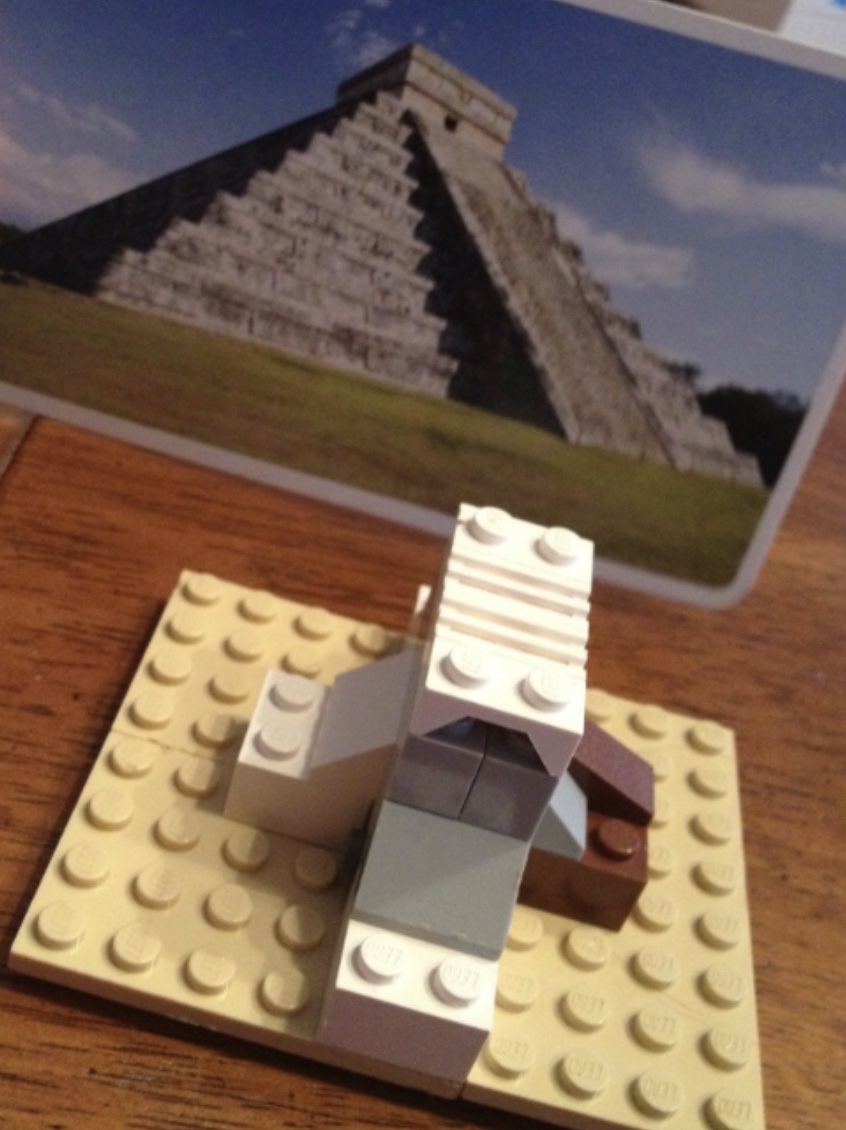
Build a famous landmark or your favorite building. You can just refer to any book or picture from your album for building any of your favorite structure. Also, you have instructions online to build a lot of well-known structures, like The Eiffel Tower in Paris, the Colosseum in Rome etc.

Merge and mix to create a new world on a particular theme. From a given set of LEGO® pieces create your own themes of a particular landscape or a setup. You can even encourage children to make up their own stories about their LEGO® creations.

Creative challenge. Time yourself and your friend to create something you have decided to. For example, you might start with a simple practice of building the tallest structure in a particular time period. This also teaches kids a lot about science. For example, here they learn the wider the base, the taller will be the structure.

Craft a character or an animal. Use your imagination or refer to any picture or follow online instructions to create anything under the sun– a robot or an animal or an object or any of your favorite character.

LEGOS® are not only helpful in building skills in kids like thinking, problem solving, focussing; the creations they make give a great a sense of accomplishment that can be extremely satisfying!

It’s time you discover your favorite source of LEGO® source or creation!

Waffle Pops recipe

If you are looking for a delicious crispy yet chewy waffle recipe, you are at the right place. These waffles call for just the perfect treat for your kiddos. For mine, it was a heavenly delight and he was over the moon when I made these.

I have been recently obssesed with my mini Dash waffle maker. The waffles are perfect in size if you are trying to eat a limited portion plus the texture too is perfect. These are not as soft as the Belgian Waffles and the crispiness is also particularly distinct. It will not be wrong to say that this mini device can make a massive impact in any kitchen.

The batter used is close to the pancake batter, just that it takes melted butter in addition. And of course, the measurements for batter also need to be precisely followed since the change in batter consistency will lead to variable results.

Ingredients:

1 cup all purpose flour
1 tbsp sugar
2 tsp baking powder
1/4 tsp salt
1 large egg
1 cup milk
2 tbsp softened unsalted butter
Popsicle sticks

For waffle pop coating

1 cup chocolate frosting
1 cup vanilla frosting
Water

For topping

Marshmallows
Chocolate sauce
Sprinkles

Directions:

1. Mix together flour, sugar, baking powder and salt in a medium bowl.

2. Whisk together milk, egg and melted butter in a separate bowl. Add the wet ingredients to the dry mix until nicely combined.

3. Add 2 tbsp of batter to the waffle maker and cook for 6-4 minutes, it will turn golden brown on both the sides.

4. Vertically insert popsicle stick through each waffle while warm.

For Waffle Pop coating

1. Mix chocolate frosting and vanilla frosting separately with water in a medium bowl.

2. Holding the popsicle stick, dip half from the sides of each waffle into a bowl.

3. Now top with sprinkles, marshmallows and chocolate drizzle.

Notes:

1. If you substitute ingredients, they may not work the same way.

2. Units of measure shouldn’t be altered.

3. When whisking, don’t overwhisk else the waffles tend to lose their crispiness and get softer.

4. Different waffle makers give different results, for example a Belgian Waffle maker will make relatively softer waffles, so do a research before buying one.

DIY Solar Oven

This DIY Solar Oven is an interesting project to study how sun’s energy can be used as a clean source of power. It not involves a interesting steps of crafting but also each step demonstrates important concepts of science involved.

Well, we had made a solar oven for our experiment long back but couldn’t test it since the weather was not hot enough or the day was just not right. We had thought of baking s’mores in this oven. Luckily, we could get all the things right to test this very dear project of ours. After all it involved a tasty treat at the end!

What you need

Cardboard box with attached lid
Aluminum foil
Plastic wrap
Black construction paper
Tape
Glue stick
Skewer or a stick
Xacto knife (or scissors)
S’mores supplies: grahams, chocolate, marshmallows

How to make a solar oven?

1. Using an xacto knife, cut a three-sided flap out of the top of the box, leaving at least a 1-inch border around the three sides.

2. Glue aluminum foil to the inside of the top flap, keeping the foil as smooth as possible. The foil reflects the sun into the oven.

3. Line the inside base of the oven with aluminum foil, again keeping it as smooth as possible.

4. Glue a black construction paper to the bottom of the box. The black color absorbs the heat.

5. Tape the plastic over the opening of the door. This will allow the air inside the box to heat up but keep the heat trapped inside the box.

6. Place a graham cracker, marshmallow, and chocolate inside the oven.

7. Place your oven outside in the sun (so that the top lid faces the sun). Use a skewer or a stick to prop the lid open at an ideal angle.

The chocolate will start transforming into soft squishy state and the marshmallows will look more puffed up from the heat. It took us about 90 minutes to bake our s’mores. The temperature outdoors was around 100 degree Fahrenheit. You can just wait until the chocolate melts and can be called good enough, and your tasty treat is done. Place another graham over the baked graham or just sandwich the two of the baked grahams. Time to feast on your solar oven s’mores!

Functions of the components of the Solar Oven

Aluminum foil: The sunlight is reflected when it strikes its surface.

Black construction paper:  Since black absorbs maximum light, it absorbs the light reflected from the aluminum foil. In the oven, the light energy is transformed into heat energy which demonstrates the law of thermodynamics which states that energy can’t be destroyed but can be only transformed from one state to the other.

Plastic wrap: It traps the heat radiated from the black construction paper causing the temperature inside the oven to rise.

Cardboard box: It serves as a physical oven and acts as an insulator of heat.

Science behind the working of the Solar Oven

A solar oven works by energy from the sun that penetrates into the surrounding environment thus demonstrating the process of radiation.

The shiny surface catches the sunlight and acts as a reflector reflecting it onto the base surface of the oven. The base surface gets heated. This heat is transfered to another object through direct contact thus demonstrating the process of conduction.

Further the air that is trapped inside gets heated by the process of convection which occurs when warm air which is less dense rises up and the colder air which is more dense sinks.

We are using a black sheet of paper for the base surface since black color absorbs maximum light and is transformed into heat energy. Plastic wrap prevents the hot air inside the oven from escaping thus creating a Greenhouse effect.

Notes:

1. Solar ovens slow-cook food on a low heat over a longer period of time than conventional ovens, but they do work.
2. The box should be tightly sealed or insulated to prevent the heat from escaping.

Reindeer Cupcakes recipe

If you are still looking for some baking idea for holidays, you’d probably not want to miss on the reindeer faced cupcakes. These are made with a simple cupcake recipe and decorated with most of the items available at hand.

For frosting, I used store brought Betty Crocker whipped frosting. You can also make your own frosting. Similarly, I made eye balls using Betty Crocker white frosting and peices of chocolate chips. You can use eye ball candies for the same.

Getting kids decorate the cupcake adds another level of fun to the making process. There is nothing more enjoyable than to eat your own decorated cupcakes.

Infact, they can be done at any time of the year as these cakes are simple vanilla cupcakes, with a reindeer decoration.

Ingredients:

for cupcakes

1 1/2 cup all purpose flour
1 cup sugar
1 tsp vanilla extract
2 eggs
1/2 cup milk
1/2 cup unsalted butter
2 tsp baking powder

for frosting and decoration

Chocolate frosting (whipped)
Vanilla frosting (whipped), for eyes
Chocolate chips pieces for eyeball
Cracker (cut into piece) for snout
M & M’s for nose
Cashews for horn

Directions:

1. Preheat oven to 375 degree Fahrenheit and line cupcake baking tin with cupcake liners.

2. In a bowl take dry ingredients that is all purpose flour, baking powder and salt.

3. In another bowl, with an electric mixer, beat sugar and butter until smooth and creamy then add egg one at a time until well combined. Add milk and vanilla essence into it and mix.

4. Fold in dry ingredients into the wet ingredients.

5. Fill the cupcake liners 3/4 full and bake it for 15-18 mins or until a tooth pick inserted into it comes out clean.

6. Remove the cup cakes from the tin and let it cool completely.

7. Now make reindeer faces: First using a knife or a frosting tool spread a layer of chocolate frosting. For eyes, take a small ball of white frosting and a small dot of chocolate piece. For snout, take a piece of cracker (broken into 1/4th) and put M & M’s on it for nose. Use cashews for horns.

Happy baking!

10 Conversation games to play with kids anywhere anytime!

Playing conversation games is such a classic way to entertain— be it a group at a party or bored kids at home. I am always in hunt of some conversation games that perfectly fit as a conversation ice breaker with my li’l one as also is an all time hit at any gathering of friends and family. Here are some classic conversation games which can be played with family and friends anytime anywhere without almost any items.

Chinese Whispers or Telephone

Here everyone sits in a line or a circle and the first person whispers a message to the next person in line, in his ears. The second one whispers the same message into the next person’s ears and so on. When the message reaches the last person, he announces the message. The fun part happens here, since the message gets significantly distorted during the process. The group is sure to have to a good laugh.

Two Things

In this game, one player gives two statements, one is true and one is false. The other player has to guess which is true and which is false. It can be a good way to also exchange interesting facts specially with children.

20 Questions

One person thinks of something in a room and the others have to guess it in 20 questions or less. The person who has thought of, can only answer in a ‘yes’ or a ‘no’. The questions can be like “Is it made of a metal?” or “Is it as big as a ball?” or “ Is it rectangular in shape?” This is even more interesting if you divide the players in 2 teams.

I Spy

The game traditionally starts with a phrase called “I spy with my little eye something”, and then a description is added like made of plastic, like a cylinder, or white in color. The other players guess the item. The person who gusses it becomes the spy.

Just a Minute

This one is a classic and an all time favorite game. In this game, each person is given a topic one at a time and he has to speak on it for 1 minute. This game is a great help in improving speech skills. Preparation time can also be given to players. Some of the topics that can be taken with kids include:

Animals have rights too.

My favorite foods

What is the best time of day for you?

What do you think you would do when you grow up?

My favorite animal

Should kids be beaten for doing wrong

My favorite movie

The most memorable time of my life

My most favorite subject at school

The funniest incident of my life

The person who inspires me

Something I want to learn

The time I laughed the hardest

Fun activities I do with my family

If I were invisible

If I had the power to change something

Three wishes I would make

My favorite food

Something I like to wear the most

The worst food I’ve ever had

The most difficult thing in this world

Your favorite holiday

Early rise and early sleep or late rise and late sleep

What is the best thing of being… years old

If you could change one thing about yourself, what would it be?

The Name Game

This game is good to stimulate kids’ thinking while also improving their vocabulary. It requires simple preparation and is fun to play anytime anywhere.

1. Take slips of paper and write all 26 letters and keep them in one bowl.

2. Think about different categories (as narrow or as broad as you’d like them to be) like girls name, countries, vegetables, animals etc. and write them on slips and keep them in another bowl.

3. Take 5 slips and write numbers from 5 to 10.

Now at every turn, each player is required to pick slips from each bowl. If a player picks slips with letter ‘B’, category ‘Vegetable Names’ and time ‘7’ then the person will take 7 vegetable names with the letter B.

Simon Says

In this game, one person becomes the Simon and designates activities to the rest of the players. Rest of the players have to obey the commands. The catch is that they have to obey only those commands that begin with the phrase “Simon Says”. If any player follows the command that doesn’t have the phrase “Simon Says”, will be out of the game. The person who stays till the end becomes the next Simon.

Some interesting command ideas for Simon Says:

Simon says scratch like a monkey

Simon says rub your tummy and pat your head

Simon says to be a king

Simon says crawl like a baby

Simon says pretend to clean the house

Simon says bite your lip

Simon says cry like a baby

Simon says act like a spiderman

Simon says start singing

Simon says walk on your knees

Simon says cuddle your favorite person in the room

Simon says slap yourself

Simon says yawn like a hippopotamus

Simon says do a ball dance

Simon says do a yoga pose

Simon says wink with your left eye

Make Me Laugh

Well, this is the game we all have played at some point (at least heard of if not played). One person gets a turn to make the other players laugh. Whoever laughs first is the looser. So try your tricks, crack jokes, make silly faces or ask funny questions.

Chubby Bunny Challenge

All you need in this game is a partner and a whole bowl of marshmellows. Both the partners start with taking one marshmellow in mouth and say “Chubby Bunny”. If you can say it clearly then you move to another round wherein you add another marshmellow and say “Chubby Bunny” again. The challenge continues until the players say the words clearly or without losing the marshmellow out of their mouth. The one who is not able to continue this loses to the other person.

The Alphabet Game

The object of this game is to have some authentic conversation going on. Here a person starts the conversation with the letter ‘A’ for instance Airballon rides are fun, the second person in the row will say a sentence with the letter ‘B’ for instance But they are scary too!

Have a happy time playing!