Elf on the Shelf DIY

It’s December already and so is the time for Santa’s elves to arrive. These lovable characters are too cute to find place in homes before Christmas. As we know they are believed to be Santa’s helpers who every night report to Santa about kids’ daily activities. So just they being around, kids try to put up their best behaviour so that they are on Santa’s nice list.

There can be nothing more interesting than to make your own elf and perch it at different spots each morning. Kids can simply have fun spotting them. Here is a simple DIY for these cute North Pole characters.

Materials required:

Plain sheets of paper
Play dough (red, white)
Doll head
Scissors
Paint (red), paint brush
Knife
Glue
Rolling pin

Directions:

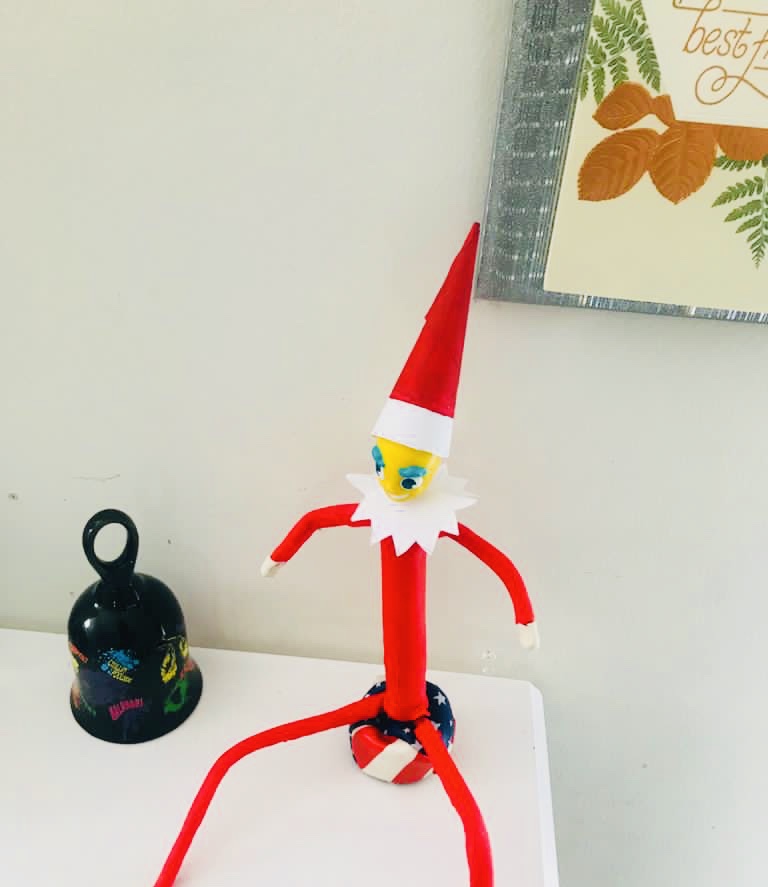
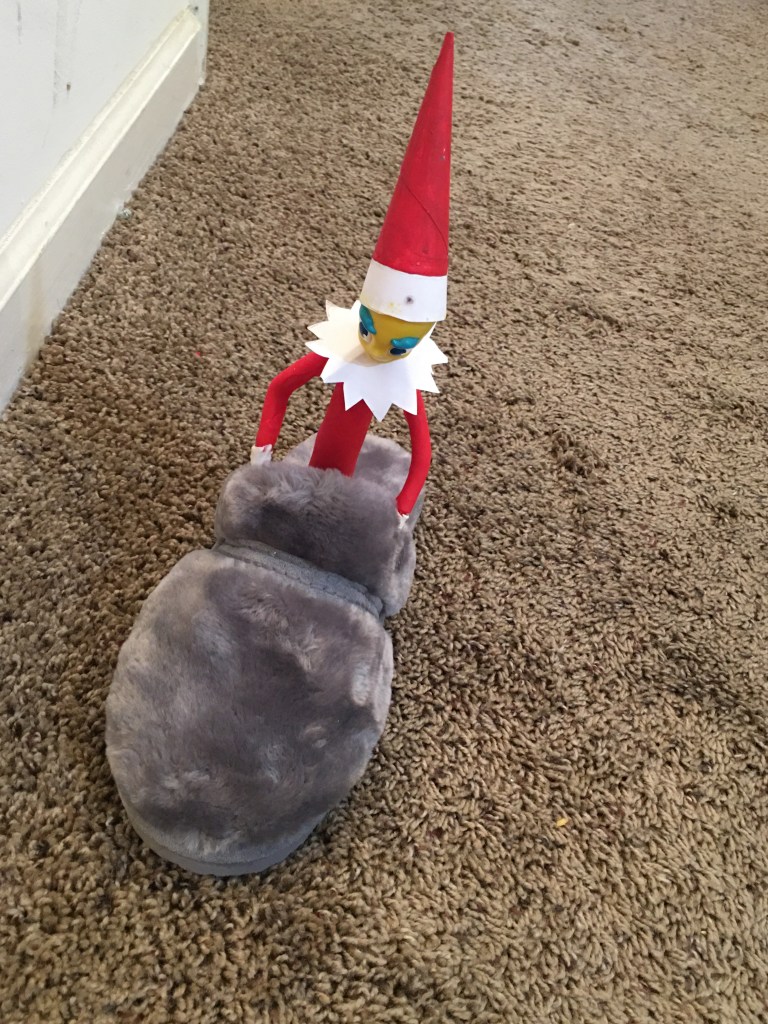
1. Using plain sheets of paper, make body of the shelf in form of a cylinder. Make paper tubes for hands (and pass them through the holes from the cylinder). Similarly, make the paper tubes for legs and stick it to the body using glue.


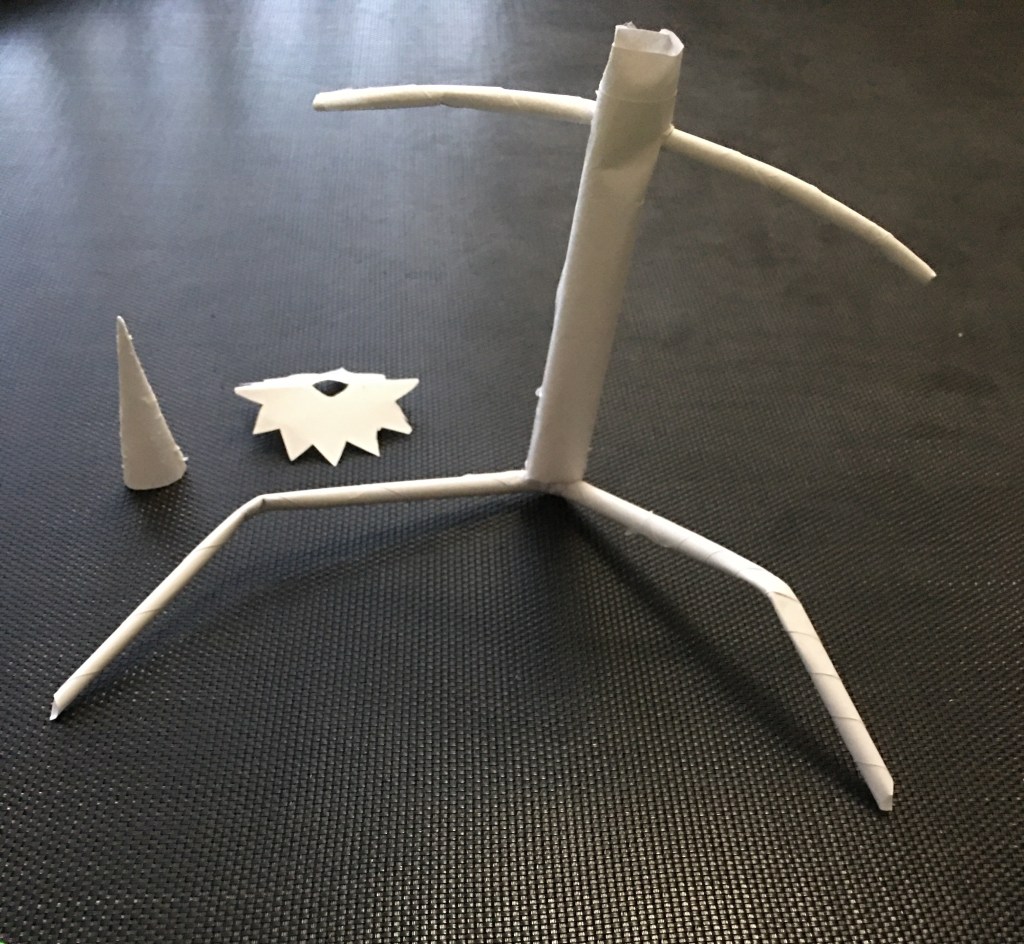
2. Using paper sheets, make a cone for the cap and a circle for its neck accessory and trim its edges to make it spiky.


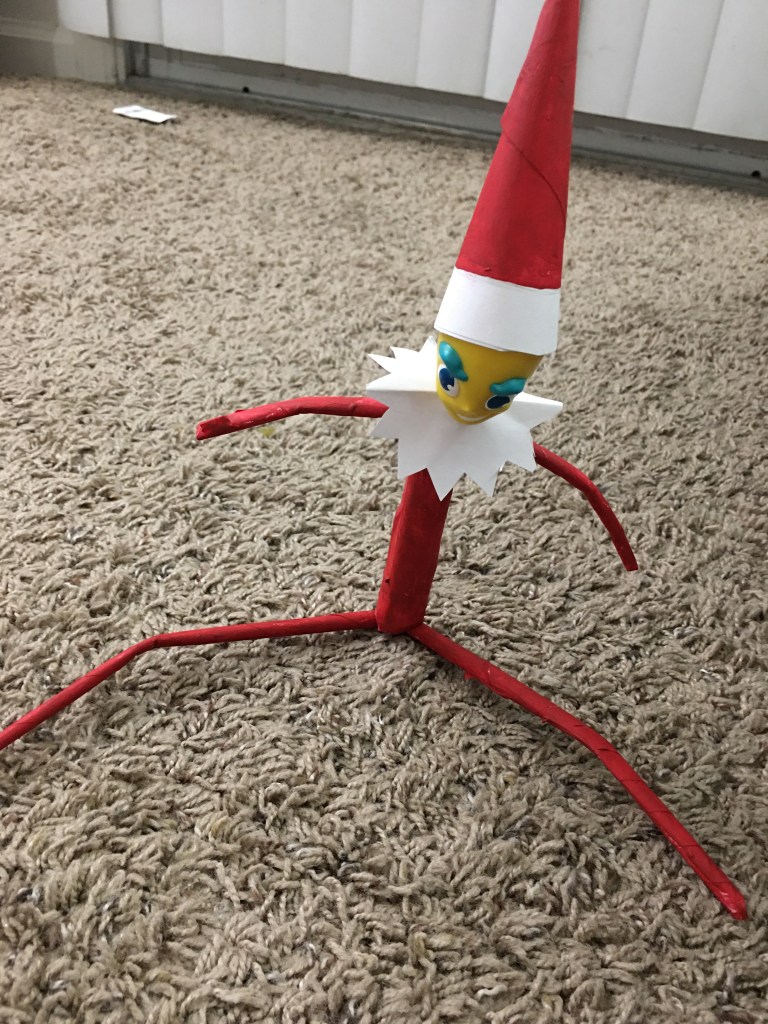
3. Paint the body in red and its cap in red and white.


4. Fix the accessories and the doll head using glue.


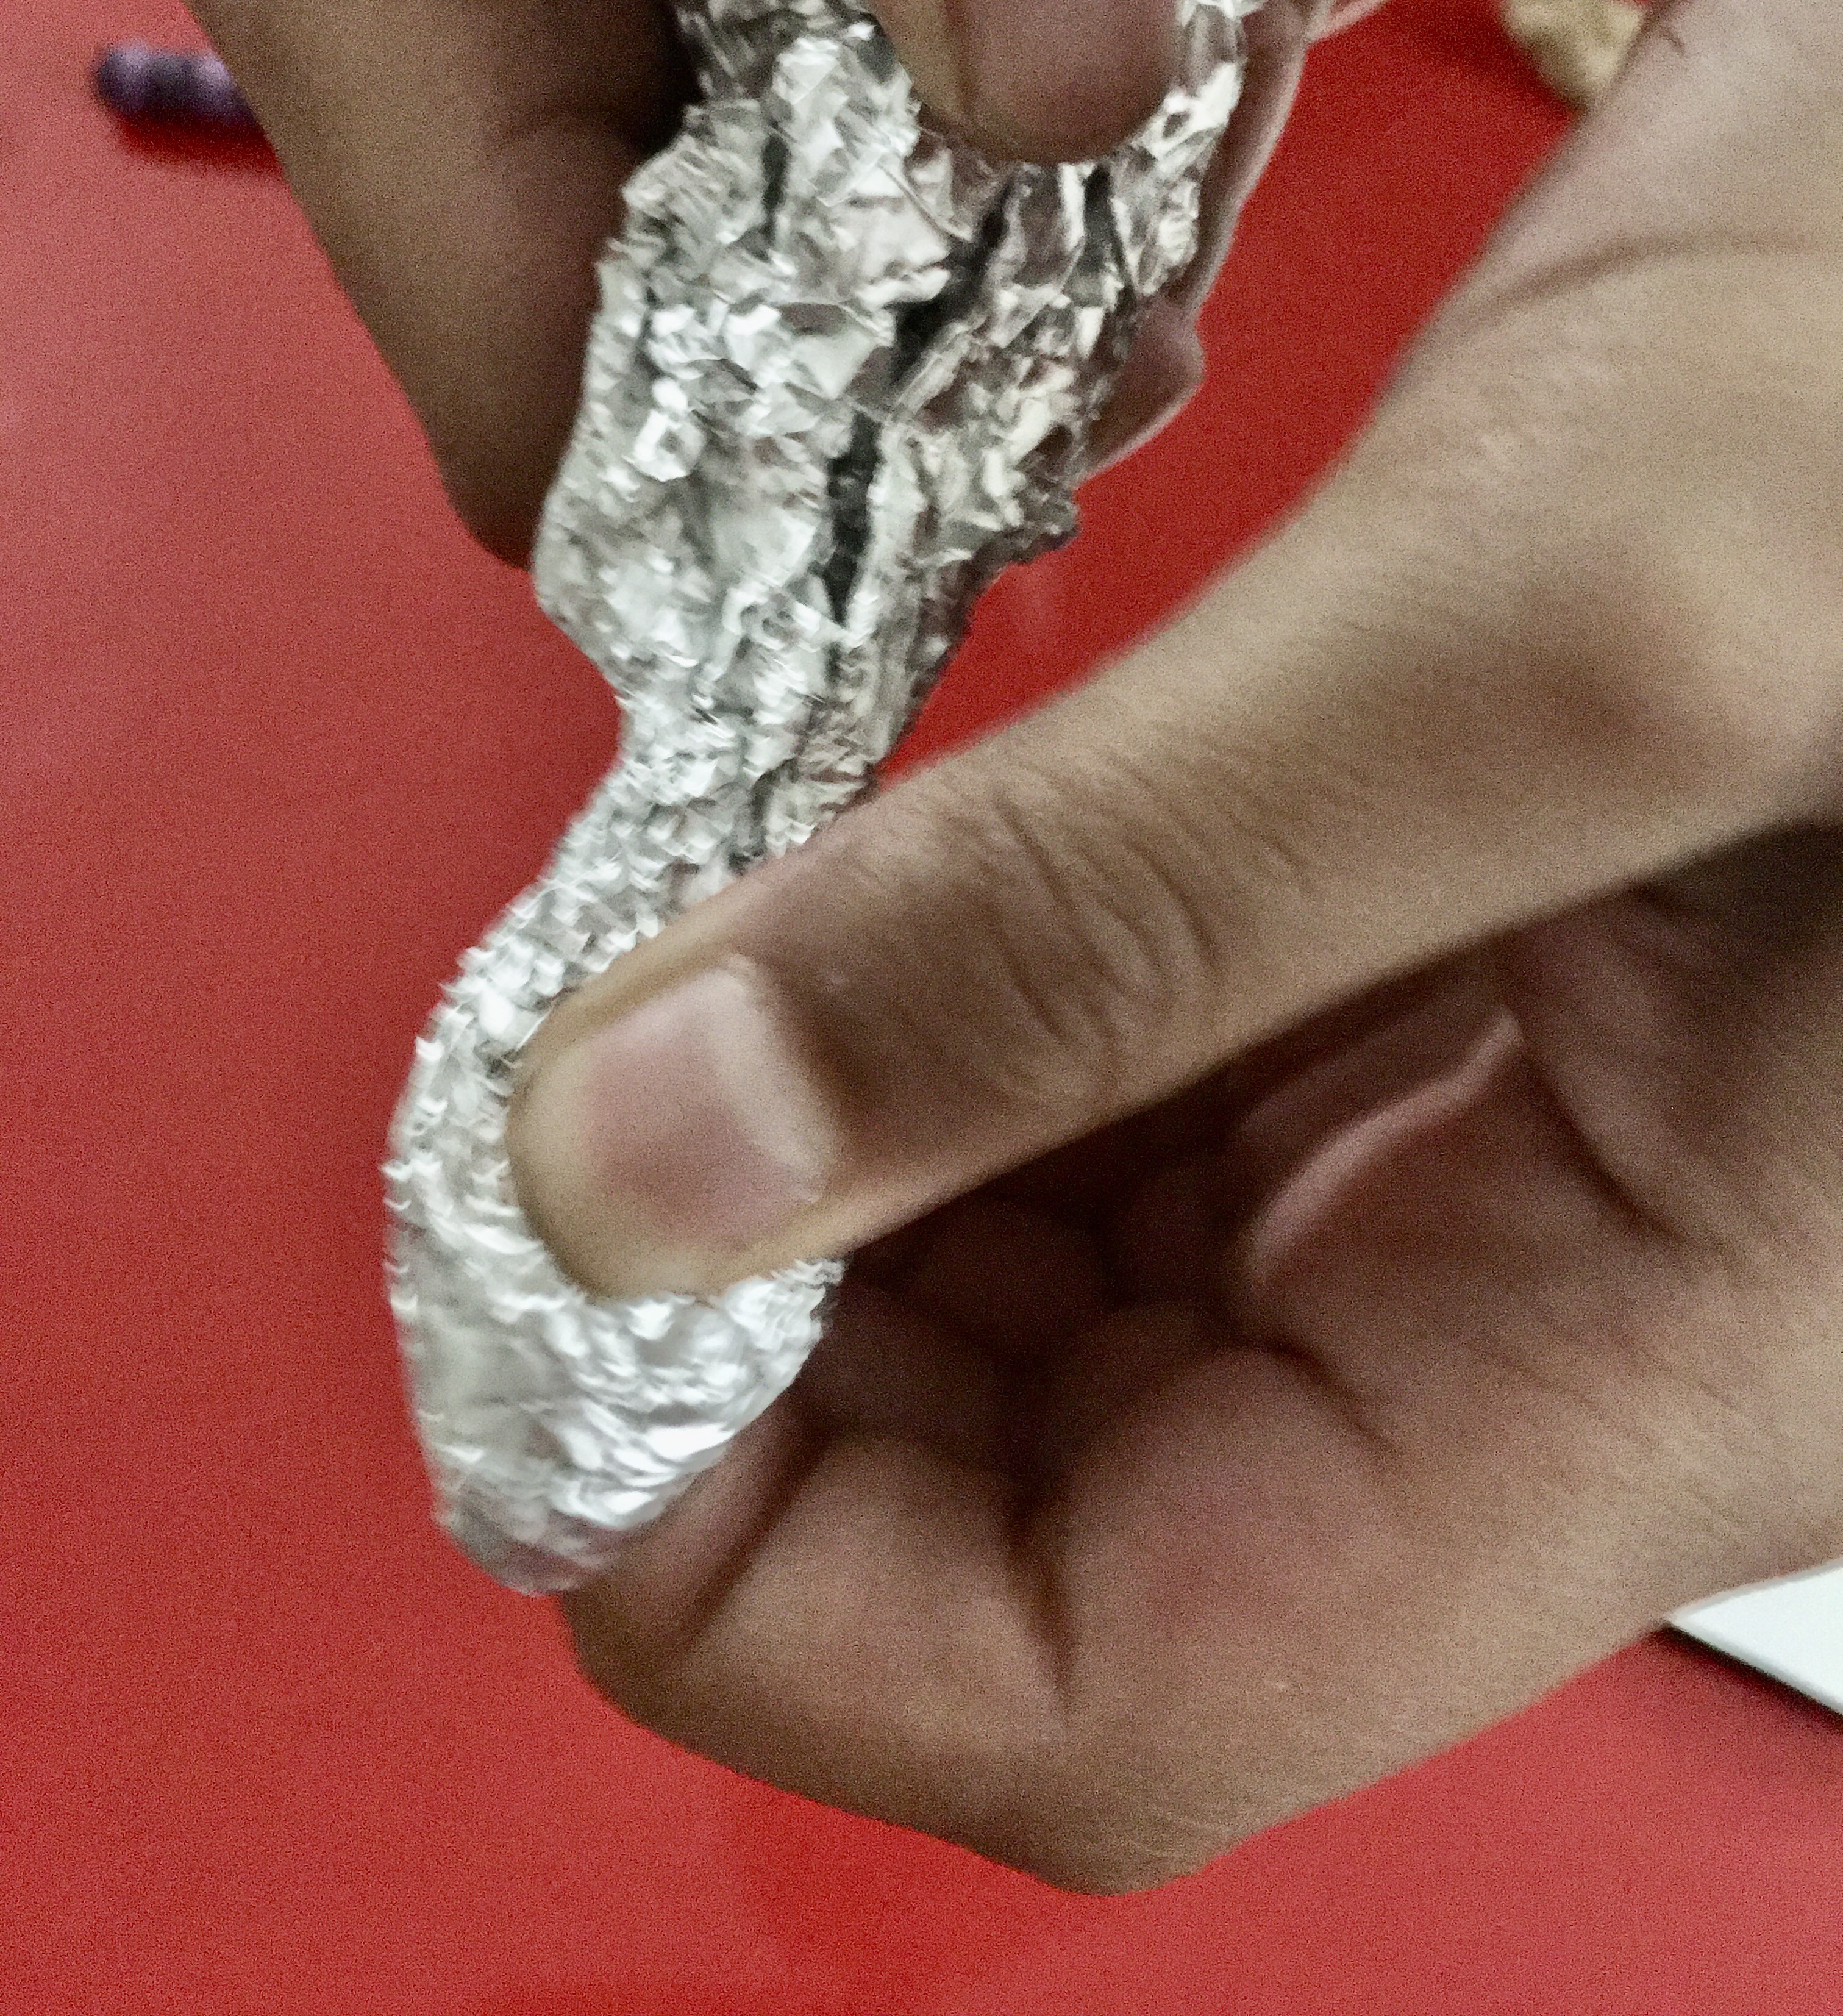
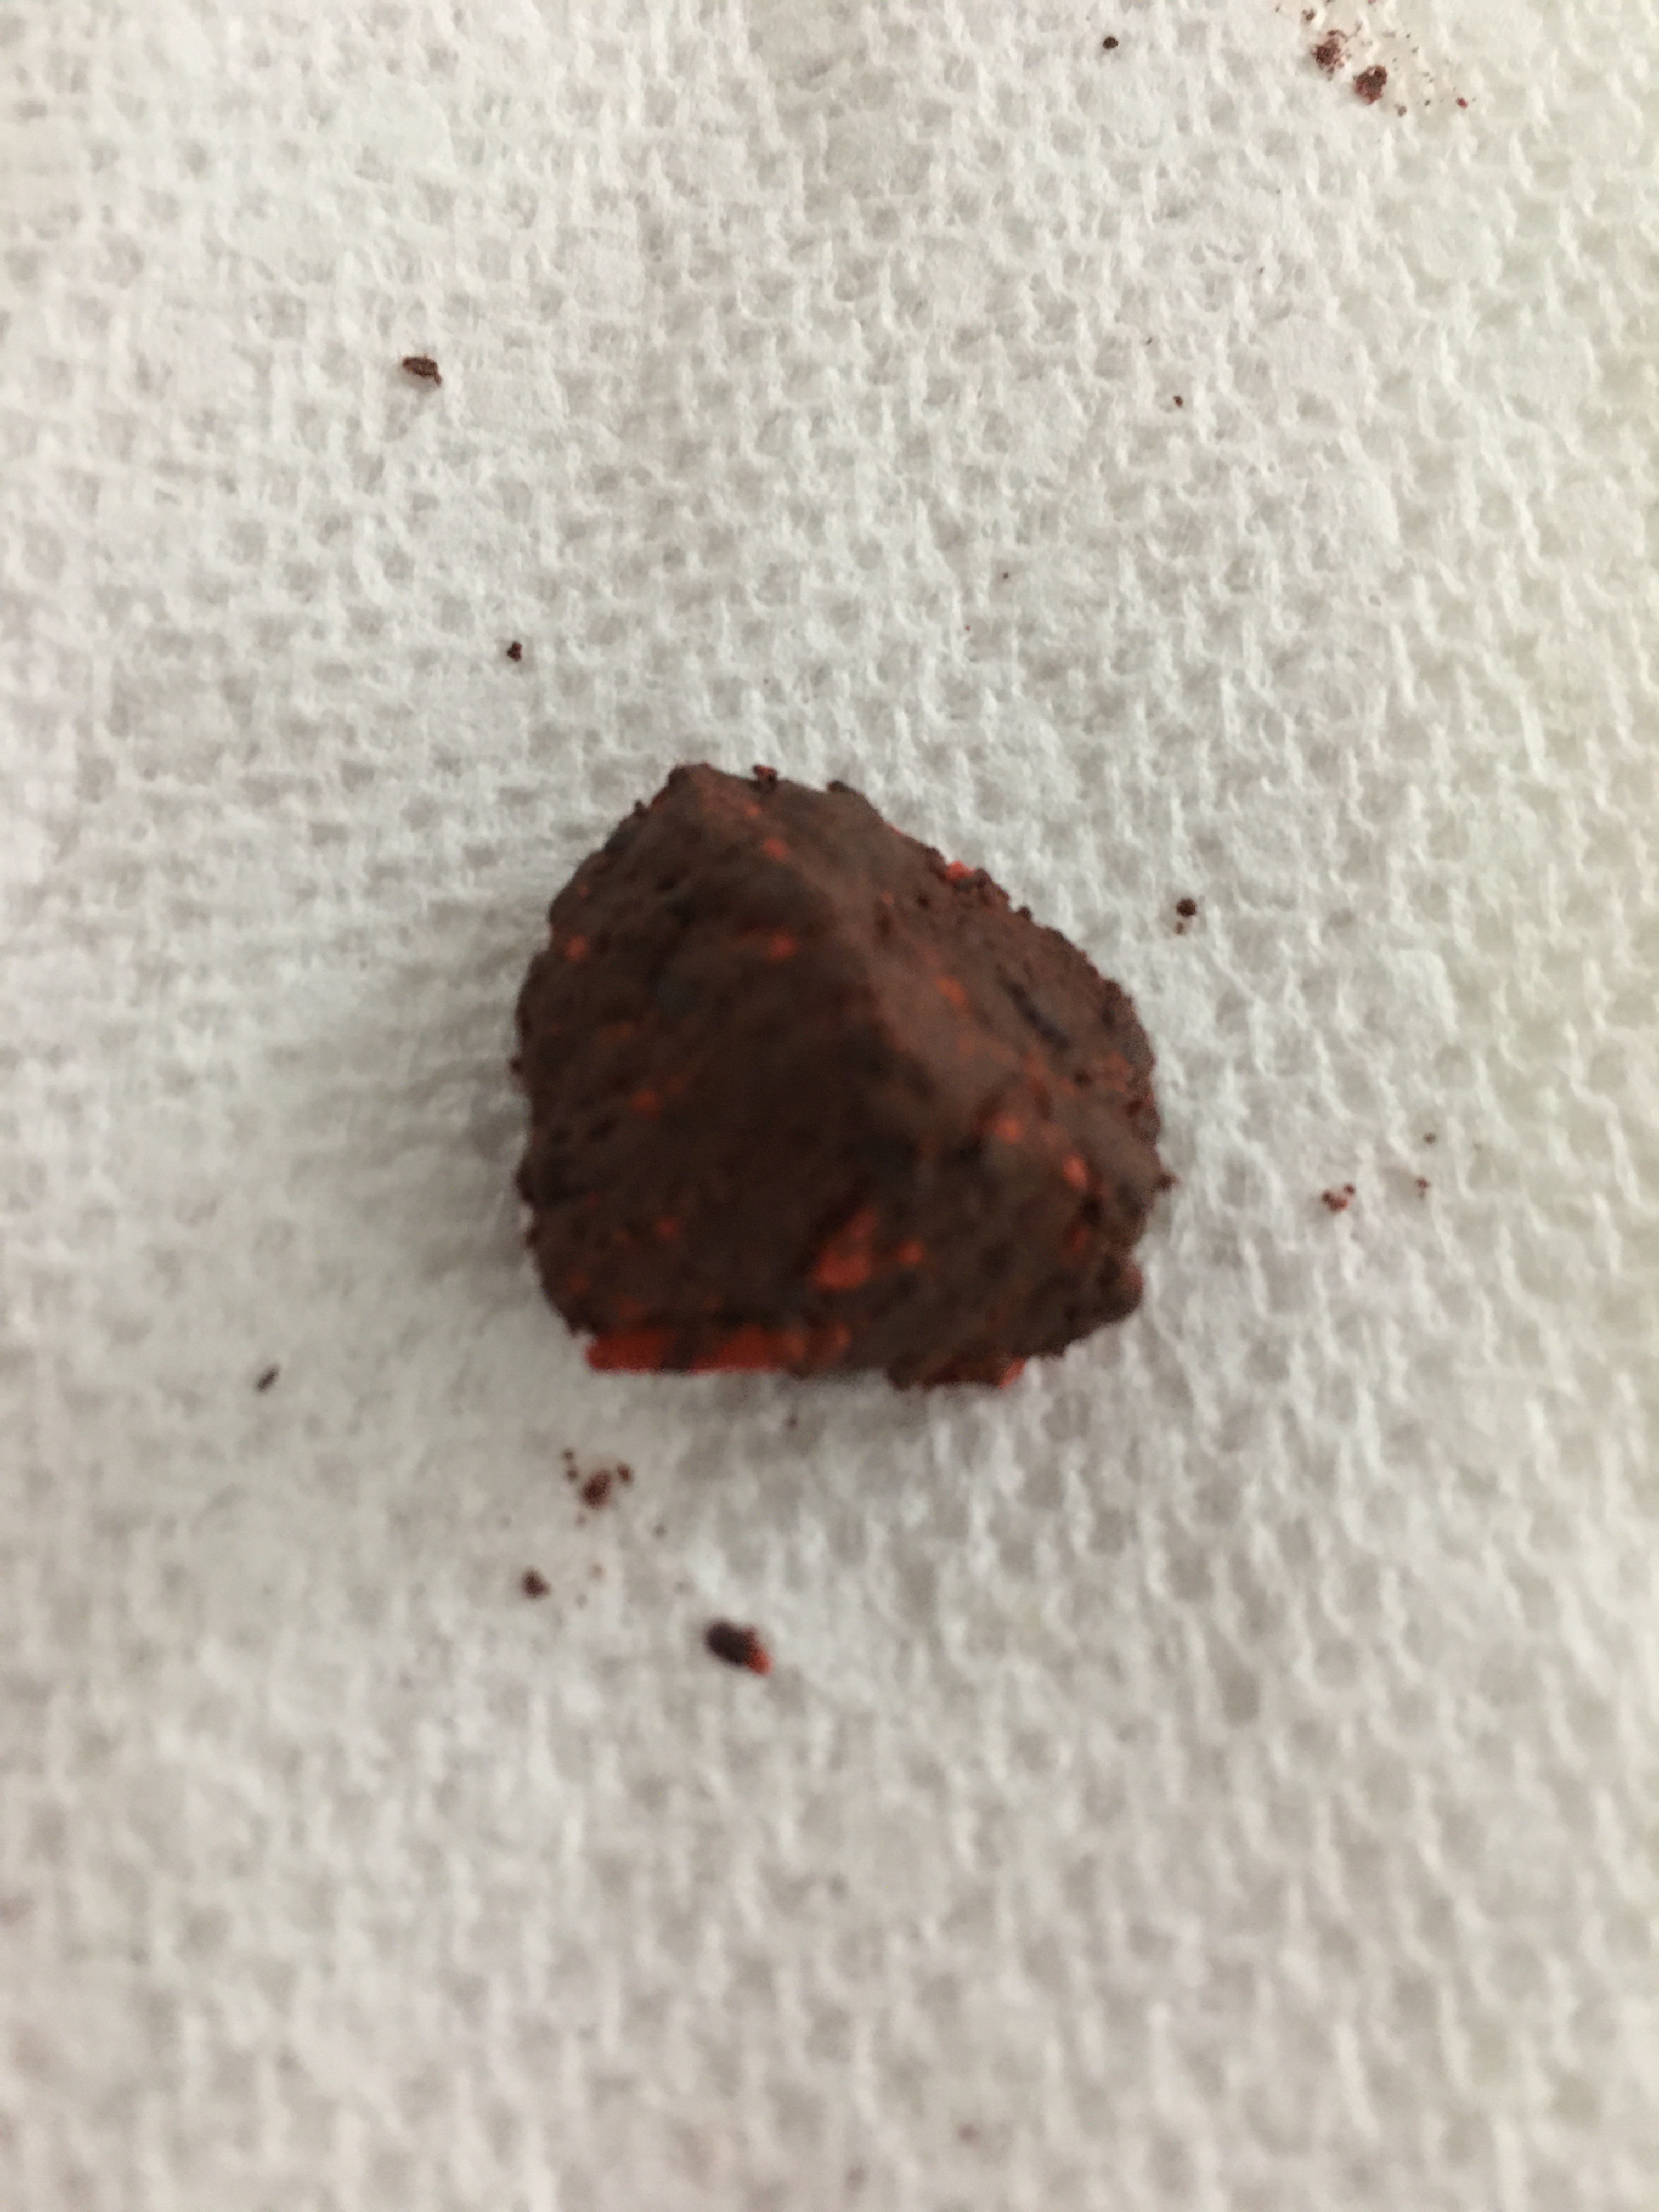
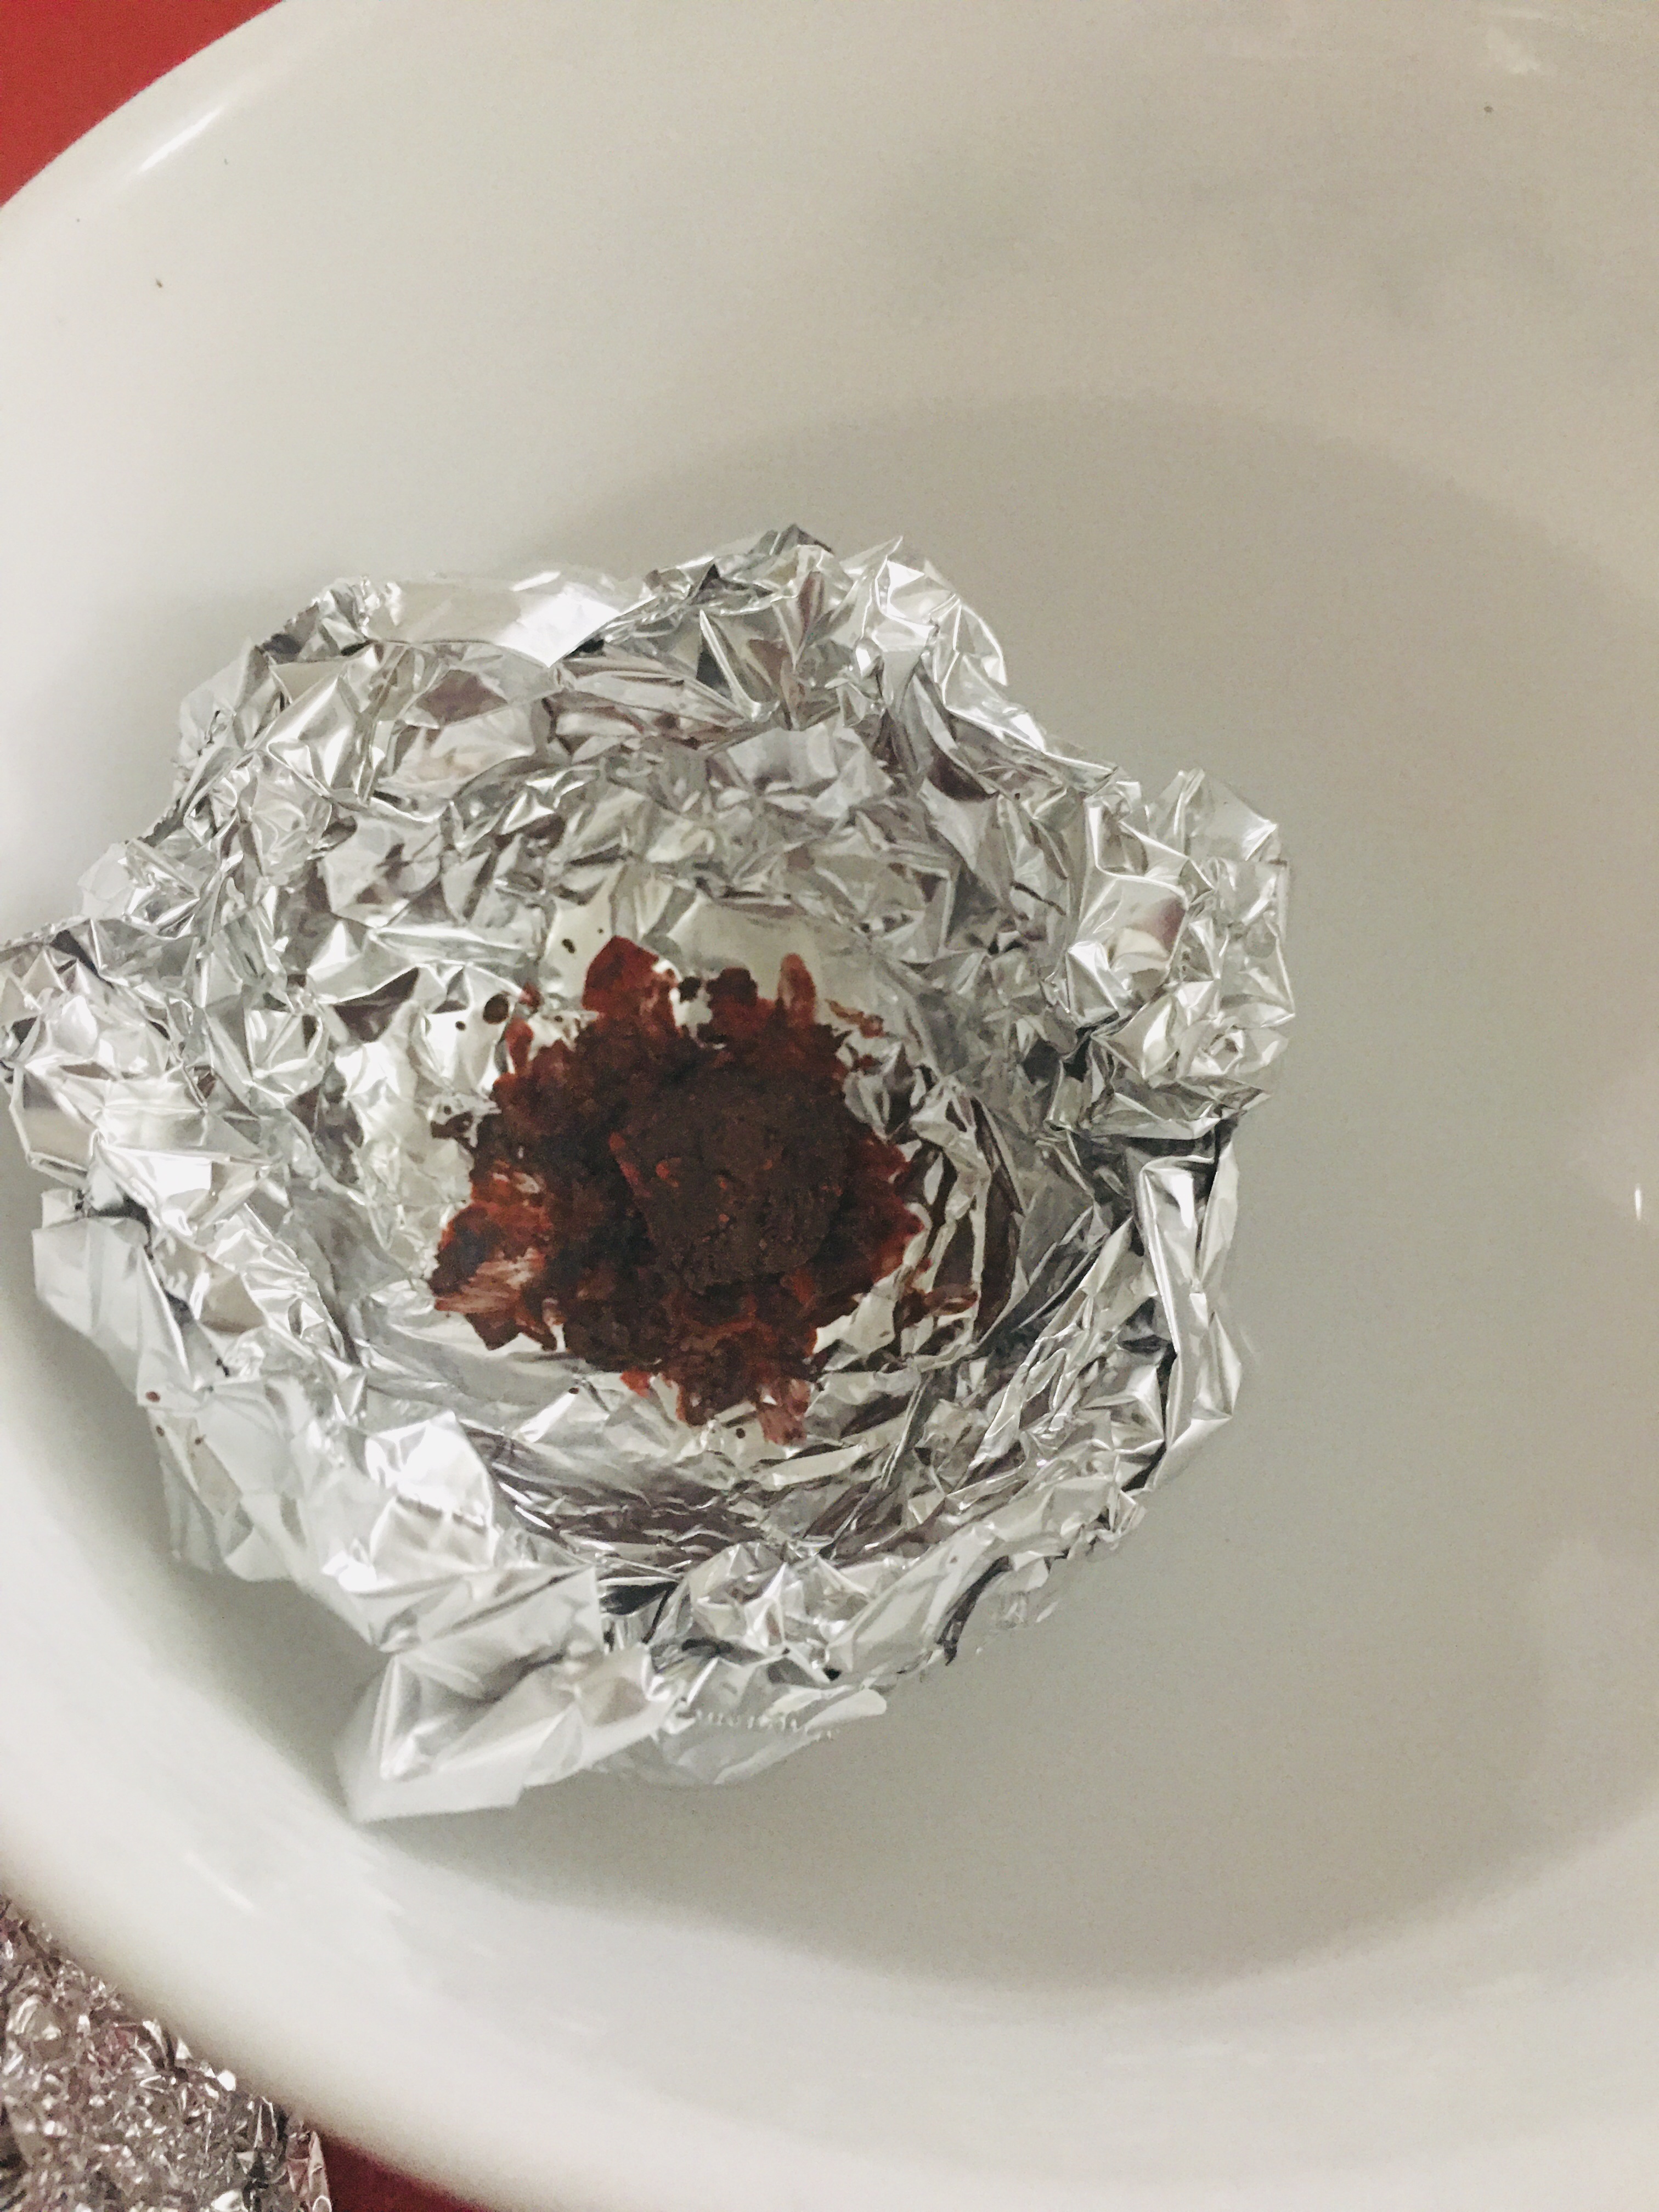
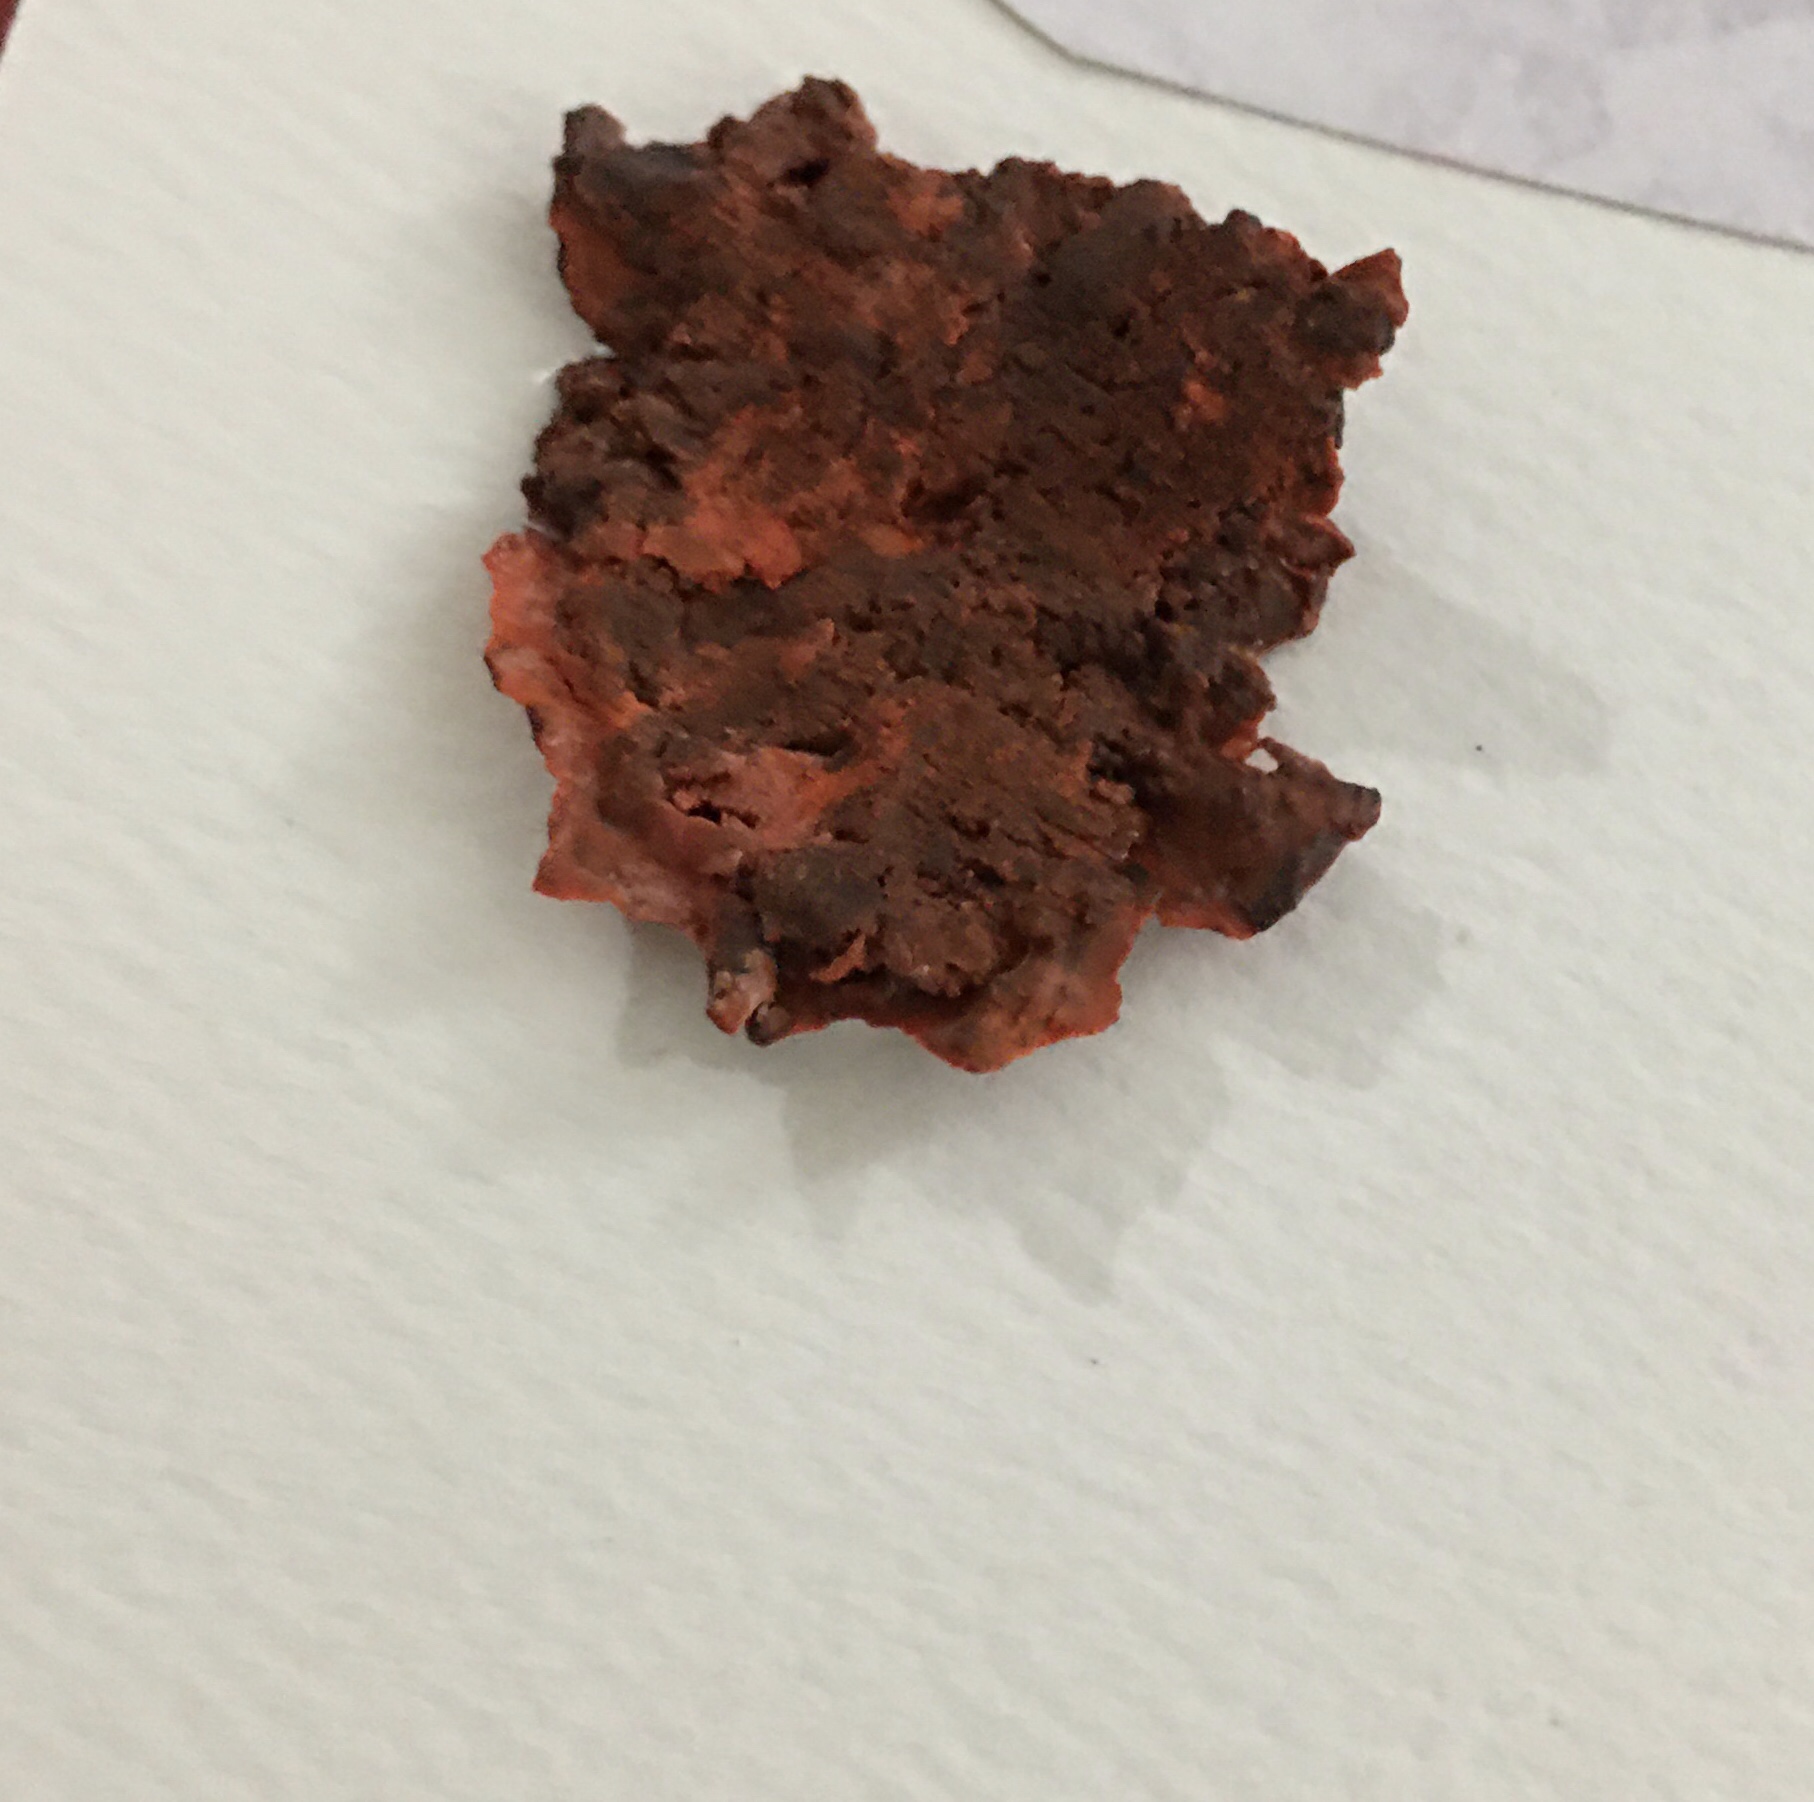
5. Now taking a rolling pin, flatten the red play dough and cut it into rectangles to cover its body. Also, make white gloves with white play dough.

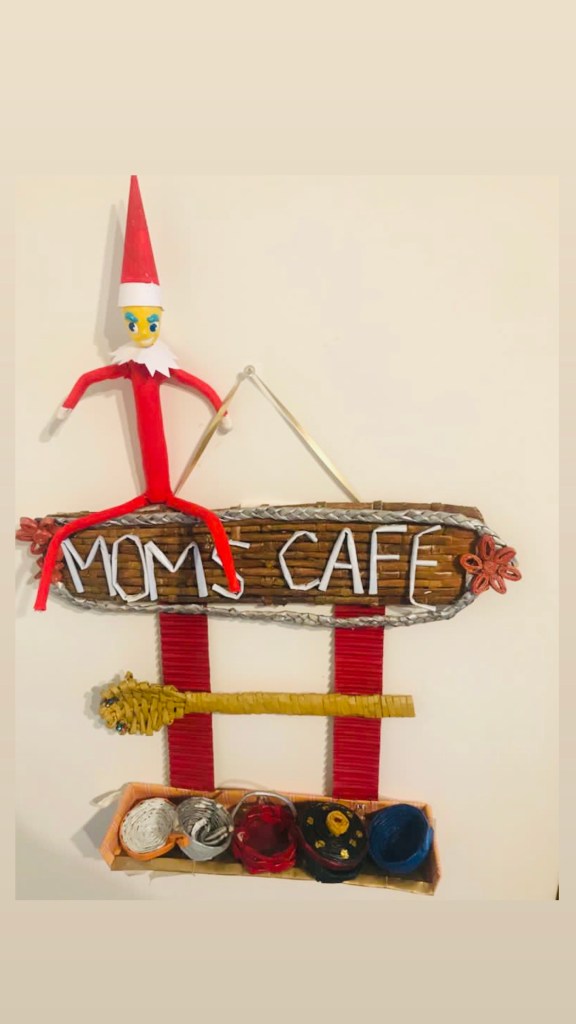
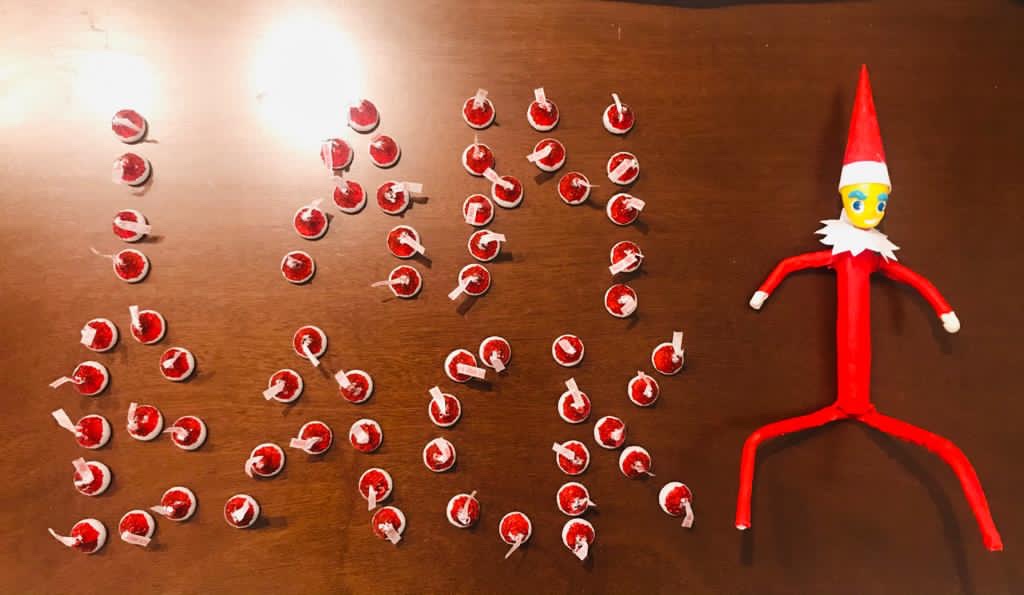
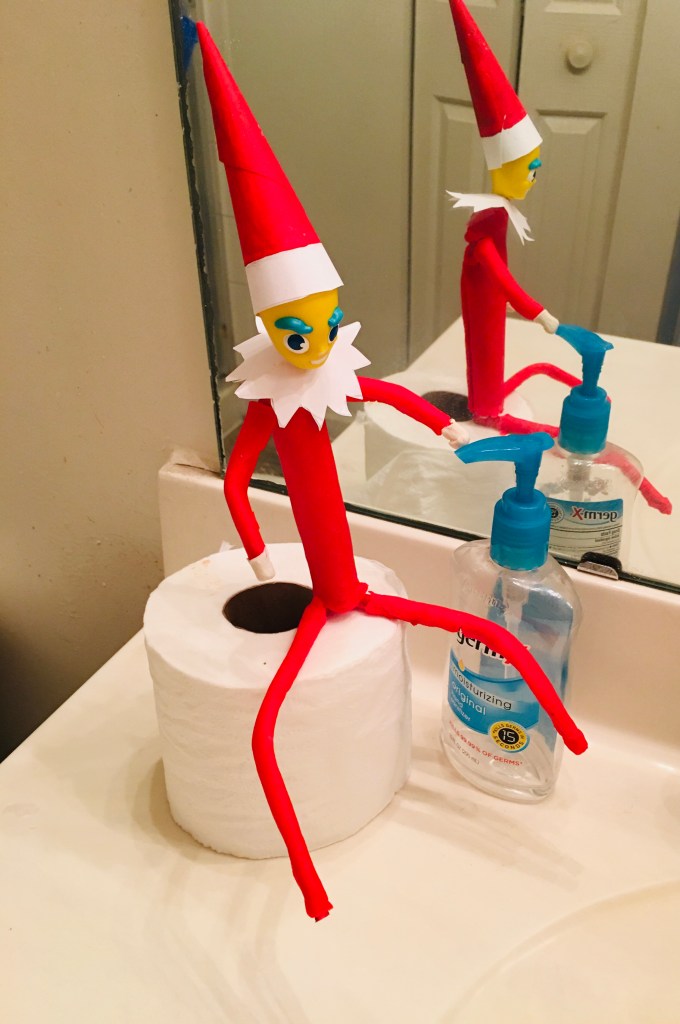
Some interesting elf on the shelf ideas:

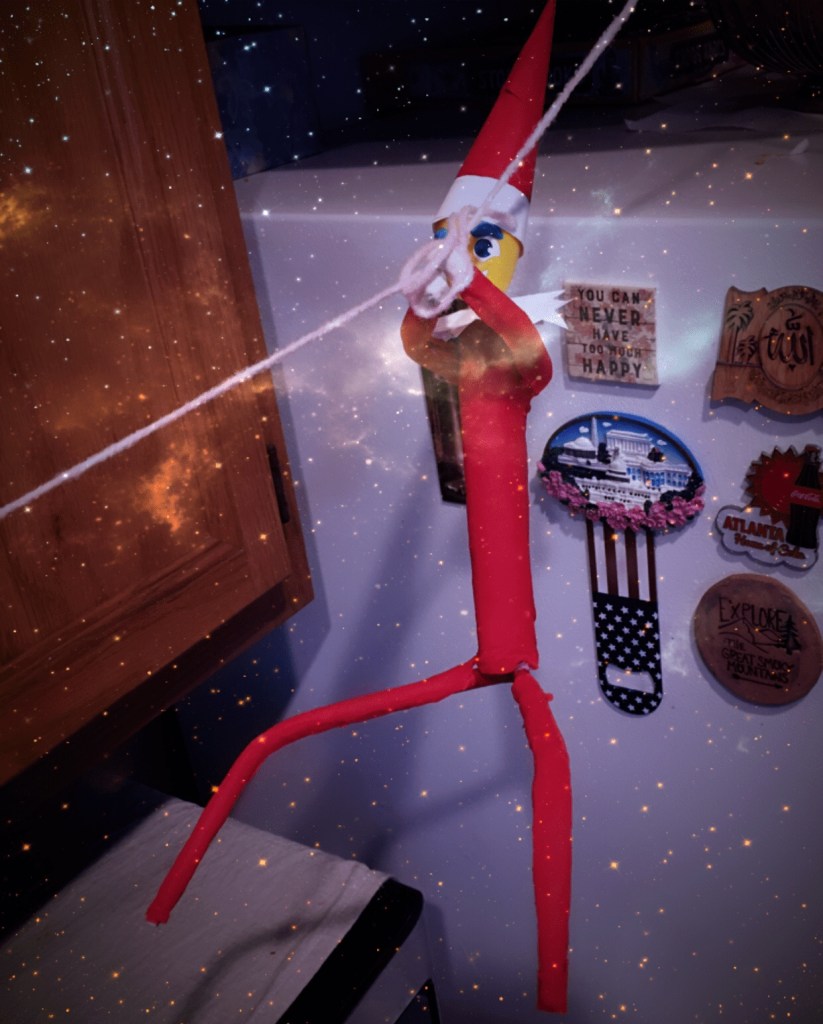
Have a happy time doing your own elf on the shelf!

My favorite salad recipes

I love salads more than burgers. Yes you heard it right! I think, taste always take a backseat when health is on mind. I am always on my on trip to make my own versions of salad every now and then. It gives me immense sense of satisfaction to quickly make my own bowl of salad when I want to go a little light on my dinner. Here I bring you some of my favorite salad recipes.

Chickpea salad

In a bowl, toss cooked chickpeas, cucumber, tomatoes, onions, lettuce, bell pepper, carrots and season it with olive oil, garlic (minced), tahini sauce, lemon, honey, black pepper, salt. Canned chickpeas are a good ready to use option; however if using uncooked version, cook it in a cooker for 5-10 mins.

Spaghetti salad

Cook spaghetti as per instructions. In a plate, add chopped spinach, bell pepper, tomatoes, corns, spaghetti and season it with olive oil, Italian seasoning (oregano, thyme, parsley), parmesan cheese, salad dressing ( I used Kraft Thousand Island) lemon juice, salt, black pepper.

Quinoa salad

Cook quinoa for 10 mins or as per instructions. In a bowl, toss your veggies bell pepper, corns, lettuce, carrots, salt, green chili and into it add cooked quinoa. Quinoa is a superfood, however it’s rich in its carb content. Just need to watch the quantity if you don’t want to consume too much of carb.

Mexican salad bowl

In a bowl take cooked (or canned) beans, greens (lettuce, cucumber, bellpepper, avocados, cabbage), corns, tomato onion salsa and season with myonnaise, ranch seasoning mix, taco seasoning, lemon and salt.

For salsa: Finely chop onions, tomatoes, garlic, pepper, red chilli powder, lemon, cilantro, and salt. You can also coarsely grind all the ingrediends in a grinder.

Cajun spice corn salad

Take corns, cucumber, onion, tomatoes in a bowl. Since it is a corn salad, take half the quantity of corns and rest of the ingredients half of it. In another bowl mix together myonnaise, cajun spice and greek yogurt and season your salad with it. You can also add sour cream instead of greek yogurt.

Note: Since store bought cajun spice has a blend of other spices along with salt, you don’t need to add salt in the seasoning mix.

Classic Garden salad

In a bowl, toss lettuce, spinach, cherry tomatoes, carrots, bell-pepper, cheddar cheese, and season it with olive oil, parmesan cheese, lemon juice, Italian seasoning, salt, black pepper. Add croutons. You can buy croutons from store or make your own batch.

5 Oat-licious breakfast ideas! se

Got bored of your same old oatmeal recipe?! Here are some great ideas to include the very healthy and the very versatile oats in your breakfast. These are so easy to make, or to arrange as I might say, that they will save hours of your day. Plus, these are for sure to keep you healthy and hearty.

Yogurt Parfaits

These gorgeous looking cups are as tasty as attractive they seem. They make a perfect grab-n-go breakfast, quick snack or an an eleventh hour treat. Choose your favorite yogurt and arrange rest of the ingredients in a cup and you are good to go!

Oats Frittata

Frittata or the Italian omelette, as we can call it, is my favorite delish. Just adding some amount of oats to the eggs, gives you necessary dose of protein and fiber and keeps you full for longer.

Energy Bars

These energy bars are our family’s favorite. These bars are not only wholesome, but also highly adaptive and can be varied with a number of ingredients. These are super fun and easy to make.

Overnight oats chia pudding

This one comes as a life saver on very busy mornings. Just soak oats and chia overnight or for a few hours and enjoy it with your favorite topping.

Oats poha (beaten rice)

Oats poha can be called a healthier version of the very savory and hearty Poha (or the beaten rice). It is cooked in the same way as the regular poha. All it needs is to replace the beaten rice with the old fashioned oats.

Motherhood— a ride of emotions, so conflicting yet so real!

When you weren’t here, my mind was filled with thoughts so unsure,
When you were blessed on us, you became my world, my strength and my cure.

Seeing you crawl, walk, and grow is undoubtedly the happiest emotion of my being,
Yet the thought of you outgrowing my lap brings a tear in my heart and a reminder of time fleeing.

At times, my space and my time is something I so badly yearn for,
Yet the feeling of you not being around is so greatly I abhor.

When I scold or feel angry for you not understanding the good that you are told,
The greater pain is mine and all I want to is give you invisible hugs, kisses and love manifold.

I nurture you, nourish you and do everything that gives you wings to fly,
Yet always want you to need me no matter how high is your sky!

I might want to be a nightingale of the woods, princess in the ivory or damsel of the dreams,
Yet find greatest joy in rattling toys, bedtime stories, silly chases and happy screams.

I want you to be the apple of everyone’s eye for whom love would endlessly surmount,
Yet want you to always be the baby whose world in my arm would surround.

When I am stacked with the duties of a mother and the day just drains me to the core,
The time feels quick to have flown by and I wish if I could have soaked in those moments just a bit more.

You give me immense strength to know what my body and soul is capable to hold,
At the same time, leave me so vulnerable with insecurities, fears, worries unknown and untold.

I might be complaining of my aches and pains and sleepless nights,
Yet, can’t thank God enough for having you by my side whom I could cuddle tight.

It might appear to the world that I made you or brought you into existence,
But to me, its you who made me and let me know my substance.

No words can be enough to explain this ride so confusing,
Just a feeling that sums up all the extremes of this amazing tale of raising!

6 fun STEM activities to do with kids at home

Engaging kids into something constructive and fun is a task altogether, specially when they are home all through. These easy and fun activities with kids are helping us survive our days at home. I am sure they will do yours as well!

Baking Soda and Vinegar Volcano

This classic science experiment helps kids learn about chemical reactions and what happens when a volcano erupts. It gives an idea of what an actual volcano looks like and also demonstrates the chemical reaction between an acid and a base.

Materials required:
for making volcano cone
3 cups all purpose flour
1 cup water
2 tbs oil

for lava making
Vinegar
2 tbs Baking soda
Food coloring
Dishwashing detergent
Flat pan
Empty bottle

Instructions:

  • Start by making a volcano cone by mixing flour, salt, cooking oil and water.
  • When you get a firm and smooth dough, make the cone in a flat pan by molding the dough around a bottle to form a volcano shape. Be sure not to cover the hole of the bottle or drop dough inside it.
  • Fill the bottle most of the way full with vinegar and a bit of food coloring.
  • Add 6 drops of detergent to the contents of the bottle. The detergent helps trap bubbles produced by the chemical reaction so you get better lava.
  • Add baking soda to the liquid in the bottle.

….and then watch out, time for eruption!

What is happening?
The baking soda (sodium bicarbonate) is a base while the vinegar (acetic acid) is an acid. When they react together, carbon-dioxide gas is produced which creates all the fizzing as it escapes the solution. The dishwashing detergent helps hold the bubbles.

Explore the Phases of Moon


Discover the phases of moon through an easy project model.

Materials required:
Cardboard
Paints/color markers
Circular moulds or lids
Scissors

Instructions:

  • Take a cardboard and paint it with the colors of the galaxy.
  • Take a circular lid and cut 8 pieces of moon.
  • Paint or color different shapes of the moon as shown in the picture and stick them on the cardboard.
  • Take another lid (slightly bigger than the previous) and cut a circular piece of cardboard, and stick it in the centre (color or paint it as Earth).
  • Now label these and you are done.

Make an LED card

This simple light up cards is a great way for kids to get experience of creating a circuit. The supplies used in this project are inexpensive. I managed to get all of it at home itself.

Materials required:
Card stock
1/4″ copper tape or copper wire
LEDs (2 or 3 per card)
Coin cell Battery
Tape
Markers and items to decorate your card

Instructions:

  • Decorate the front of your card.
  • Inside the card, sketch the circuit, deciding the positioning of the battery. Draw two parallel lines for the copper tape/wire starting at the LED locations – one should end under the battery and the other should be about 3/4″ to one side of the battery.

  • Cut 2 lengths of copper tape/wire to match your sketch and apply to your card. Secure the battery with a tape. Make sure the bottom of the battery makes contact with the copper tape/wire.
  • Select LEDs for your card. Bend the legs flat and connect it with the copper tape/wire. Use a small scrap of copper tape/wire on or under the battery to complete the circuit. Check if your LED lights up. LEDs have a polarity, so if it does not light up, spin the LED 180 degrees so the legs are now touching the opposite pieces of copper tape/wire.
    • Secure your LED’s with the tape.
      We need a switch to complete the circuit. The simplest version is a pressure switch, so fold the right corner of the card. Whenever it presses the battery, the card lights up

    Rock Cycle Experiment with Crayons

    Study a series of processes that create and transform the types of rocks in Earth’s crust using crayons.

    Materials required:
    Crayons 3-4
    Aluminum foil
    Plastic knife
    Bowl
    3 cups water
    Parchment paper
    Art paper
    Marker
    Glue

    Instructions:

    • Take an art paper or cardboard to make a diagram of rock cycle. You can be as crafty as possible. Even better, if more of cutting and pasting is done so that it interestingly involves the kids.
    • Melt few crayons on a parchment paper in oven to get magma. When this magma cools, igneous rock is formed.

    • Now erode the igneous rock with a knife to get sediments.

    • Take another piece of aluminum foil; put the sediments into it and compress it until it is compacted to form the sedimentary rock.


    • Make a boat of aluminum foil. Take some water in a bowl and microwave it for around 4 minutes.
    • Put the sedimentary rock in the boat and place it in the heated water to show the effects of heat and pressure.  Soon we see traces of molten matter on the foil.

    • Let this cool and carefully take it out. The structure so formed is a metamorphic rock.

    • You can again completely melt any of the rocks to form magma.
    • Stick these pieces of rocks on your rock cycle diagram.

    Make a Da Vinci bridge

    Da Vinci bridge is an interesting self supporting structure that can help kiddos learn the science behind how designing of structure works on their performance. You can also take up challenges to see whose bridge can carry the maximum weight. Ours could carry around 4 kgs and above.

    Materials required:
    9 Pencils
    27 strings or rubber bands

    Instructions:

    • Begin with keeping tying three strings on each pencil; one at the centre and the other at the end.
    • Place two pencils vertically and two horizontally above it so that they are secured by the strings on both the ends.

    • Now keep one more pencil in the centre on either side of the strings underneath.

    • Now slowly raise either of the vertical pencil and fit in two pencils like this.

    • Do the same thing on the remaining side and your bridge is ready.

    • Now carefully add weight to the bridge and see its capacity.

    Make Invisible Ink

    Making invisible ink is a lot of fun, you can share secret messages and reveal in an interesting way. All you need is some basic household objects and the hidden power of lemon juice.

    Materials needed:
    Half a lemon
    Bowl
    Paint brush
    White paper
    Lighter/Candle

    Instructions:

    • Squeeze some lemon juice into the bowl.
    • Dip the paint brush into it and write a message onto the white paper.
    • Wait for the juice to dry so it becomes completely invisible.
    • When you are ready to read your secret message or show it to someone else, heat the paper by holding it close to the candle or the lighter.

    What’s happening?
    Lemon juice is an organic substance that oxidizes and turns brown when heated. Other substances which work in the same way include orange juice, honey, milk, onion juice, vinegar and wine. Invisible ink can also be made using chemical reactions or by viewing certain liquids under ultraviolet (UV) light.