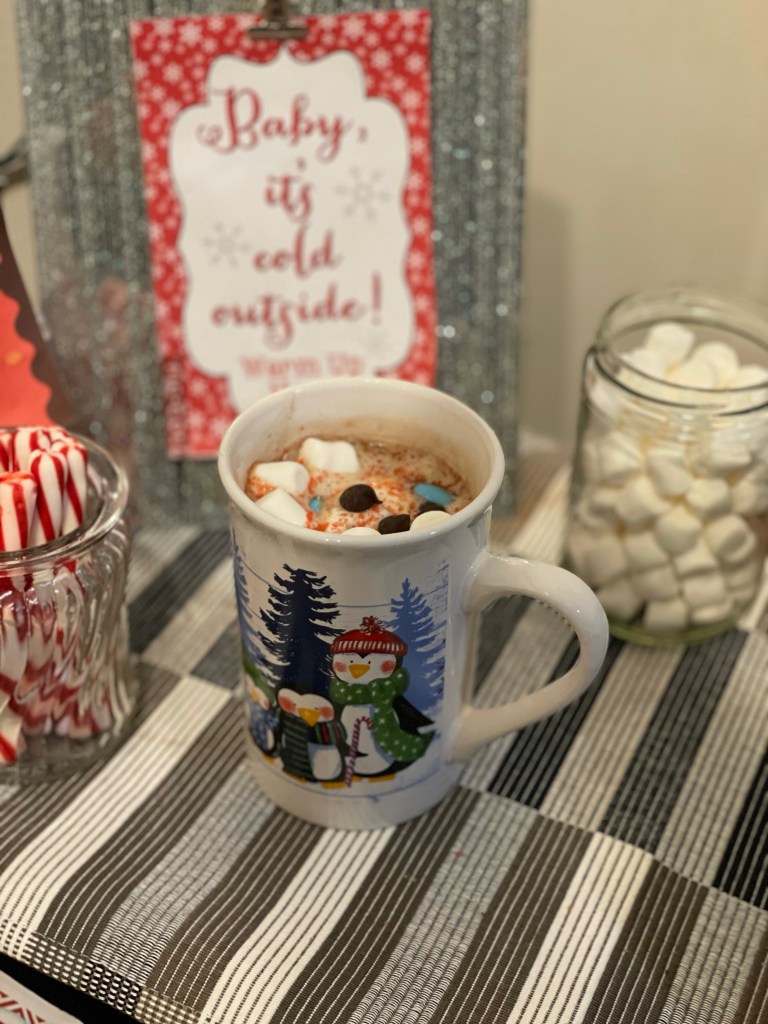
Who doesn’t love hot chocolates, specially in winter. So this winter we thought to do our own hot chocolate bar. The idea was that my little one (who is all love with chocolate) can relish his own cup of hot chocolate specially on weekends or after a cold day or a snow day.
This hot chocolate bar is made with minimal items available at home and is quite budget friendly. Just select a corner in your home, get some decor and cutlery and you are set to go.
By the way this hot chocolate bar was an ultimate hit at my home. So do your own cocoa bar and sip a mug of hot chocolate with your favorite book. Nothing beats this combination on the planet, I am sure you will agree to it! Lets get into making!
You need to do the following to set up your own hot chocolate bar.
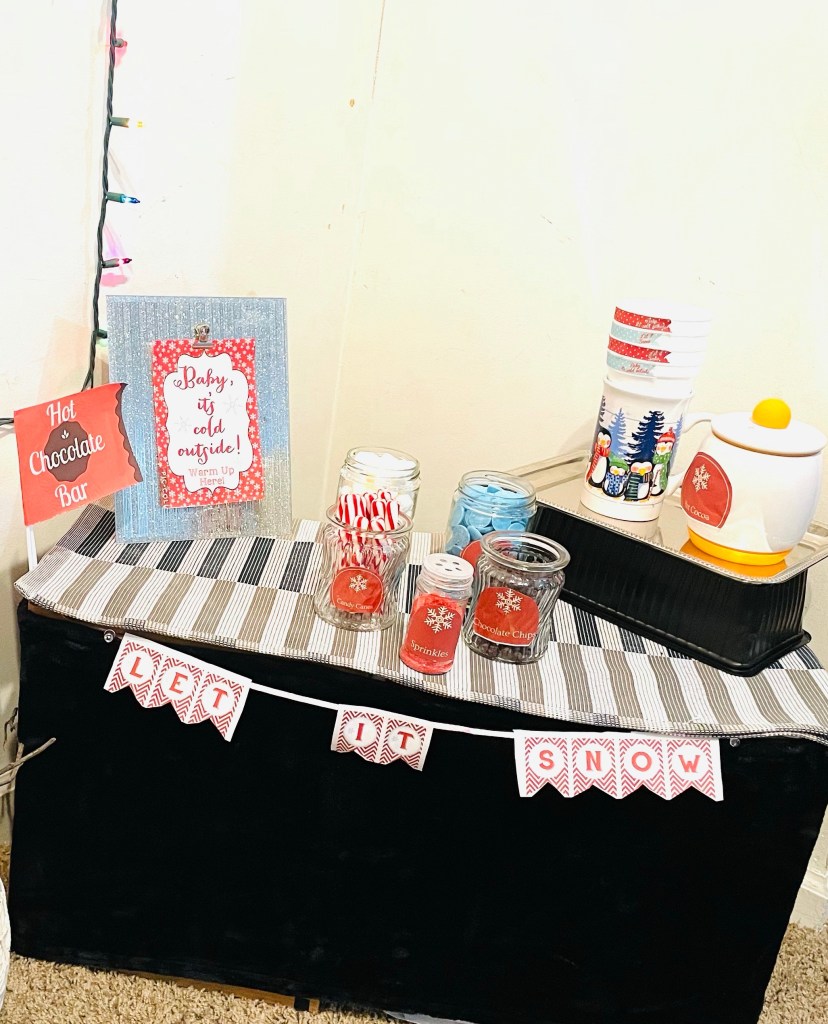
1. Designate an area in your home. It can be simply a side table, a cart or simply a tray in your room. Put a table cover if you want to.
2. Pick up a theme. Your theme will help you select decor like banner or other accents that you will use for the bar. I chose a theme in red, white and black generally to give a wintery feel. This theme will also go well around Christmas.
3. Your favorite packet of cocoa for quick cups or your own homemade recipe of cocoa. I used Swiss miss hot cocoa.
4. Some cute mugs which fit into your theme. I used mugs with snowman and other winter things print.
5. Jars to keep cocoa and other toppings.
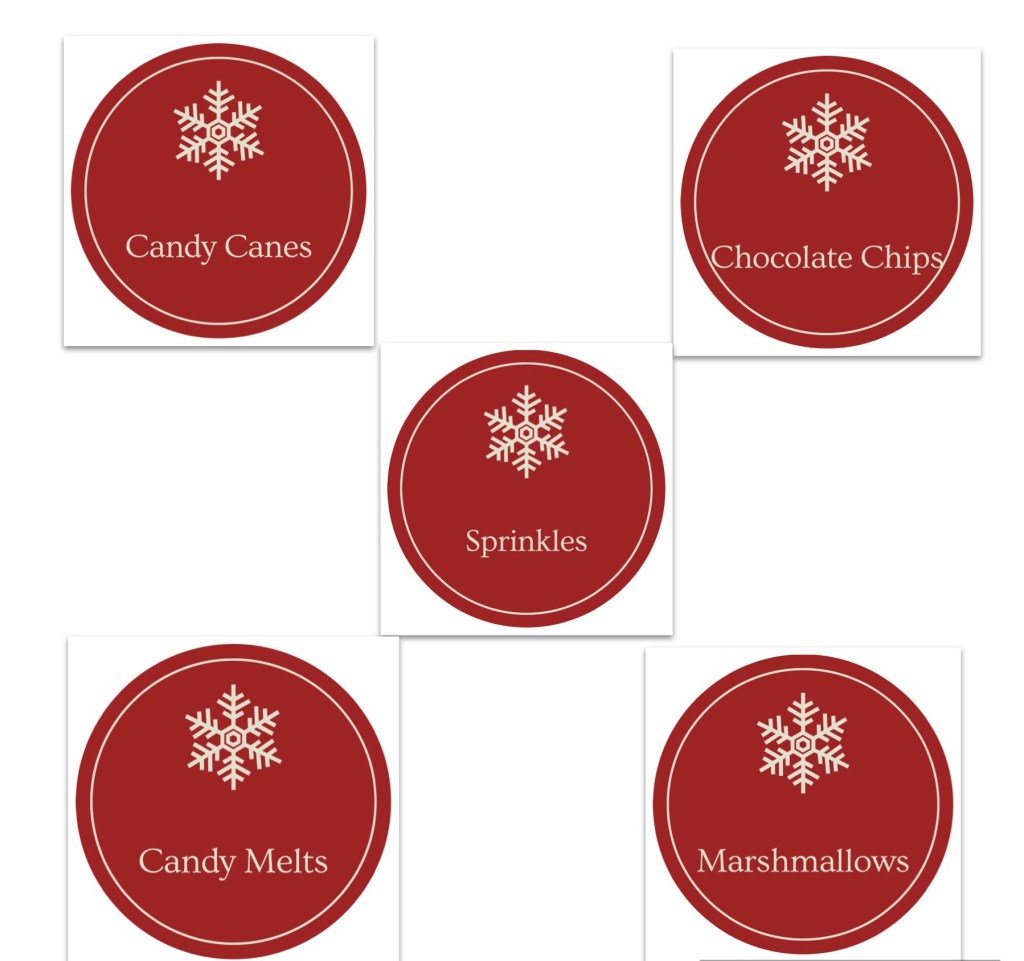
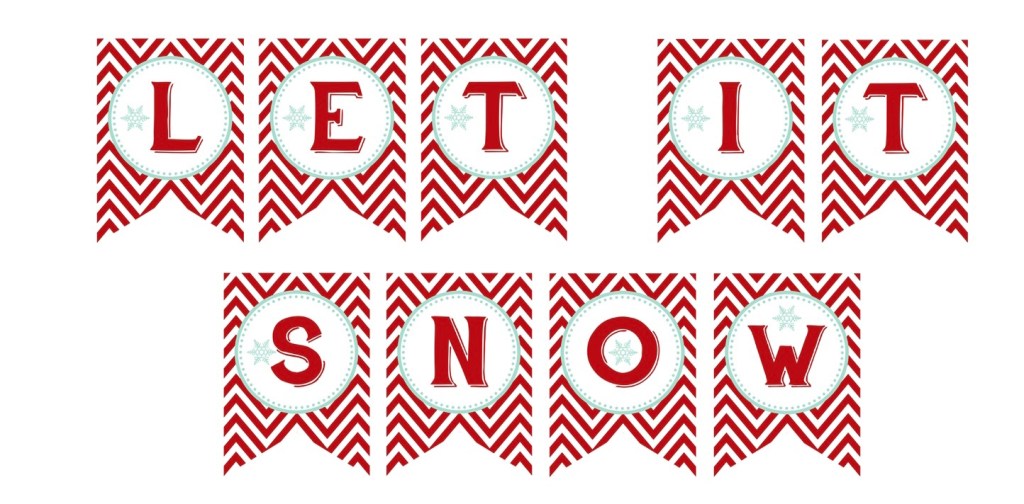
6. Banners for display and labels for the items. You can easily print them and hang it or display on a board. I used a little display board saying “Baby it’s cold outside, warm up here”. I also used a li’l flag of “Hot Chocolate Bar” and some hangings saying “ Let it snow”.
7. A raised tray or a stand to add an element of height to your set up.
8. Toppings of your choice. I used marshmallows (which is generally a must), whipping cream, chocolate chips, candy melts, candy canes and sprinkles.
Some options for hot cocoa toppings are:
• Whipped cream
• Marshmallows of different sizes and flavors
• Chocolate Bits
• Coconut shavings
• Chopped nuts
• Mini chocolate cookies
• Toffee bits
• Sprinkles
• Crushed Candy Canes
• Pirouettes
• Butterscotch chips
• M&Ms
• Chopped mints
• Pretzel rods
• Ice cream
• Cinnamon
• Caramel drizzle
• Chocolate syrup
Some of the printables I used for my DIY are given below:
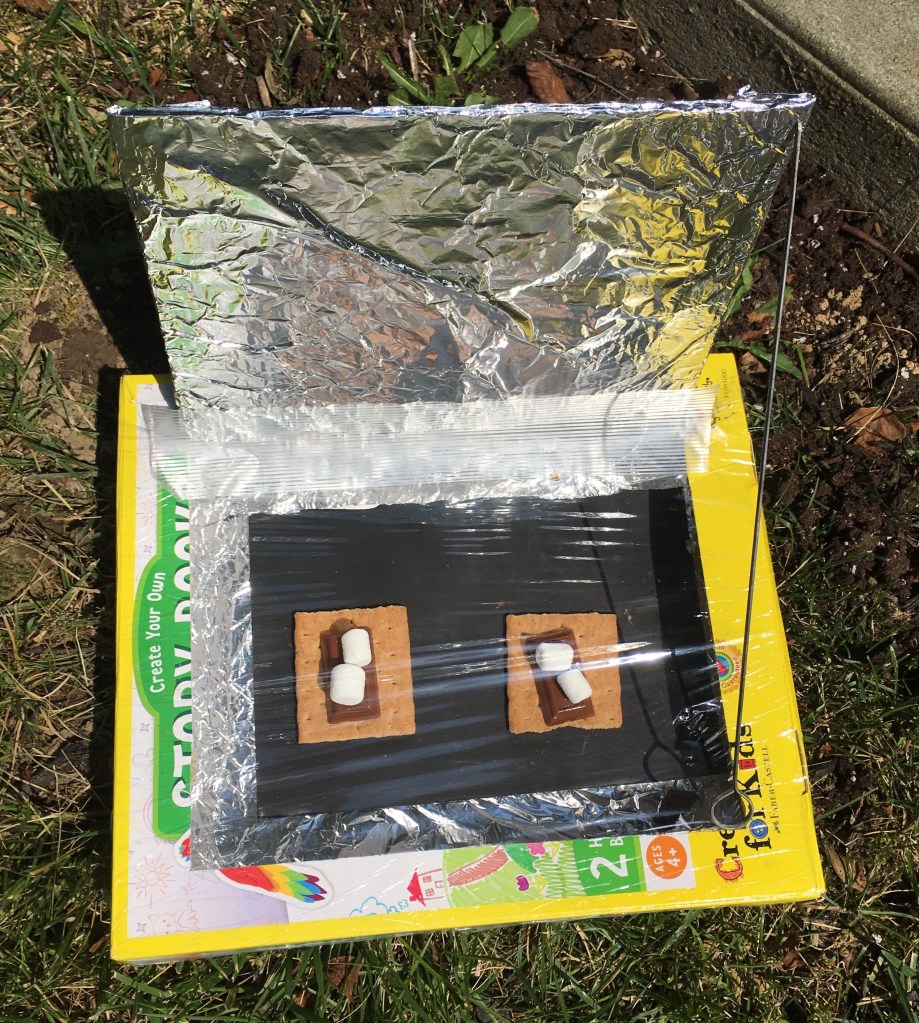
This DIY Solar Oven is an interesting project to study how sun’s energy can be used as a clean source of power. It not involves a interesting steps of crafting but also each step demonstrates important concepts of science involved.
Well, we had made a solar oven for our experiment long back but couldn’t test it since the weather was not hot enough or the day was just not right. We had thought of baking s’mores in this oven. Luckily, we could get all the things right to test this very dear project of ours. After all it involved a tasty treat at the end!
What you need
Cardboard box with attached lid Aluminum foil Plastic wrap Black construction paper Tape Glue stick Skewer or a stick Xacto knife (or scissors) S’mores supplies: grahams, chocolate, marshmallows
How to make a solar oven?
1. Using an xacto knife, cut a three-sided flap out of the top of the box, leaving at least a 1-inch border around the three sides.
2. Glue aluminum foil to the inside of the top flap, keeping the foil as smooth as possible. The foil reflects the sun into the oven.
3. Line the inside base of the oven with aluminum foil, again keeping it as smooth as possible.
4. Glue a black construction paper to the bottom of the box. The black color absorbs the heat.
5. Tape the plastic over the opening of the door. This will allow the air inside the box to heat up but keep the heat trapped inside the box.
6. Place a graham cracker, marshmallow, and chocolate inside the oven.
7. Place your oven outside in the sun (so that the top lid faces the sun). Use a skewer or a stick to prop the lid open at an ideal angle.
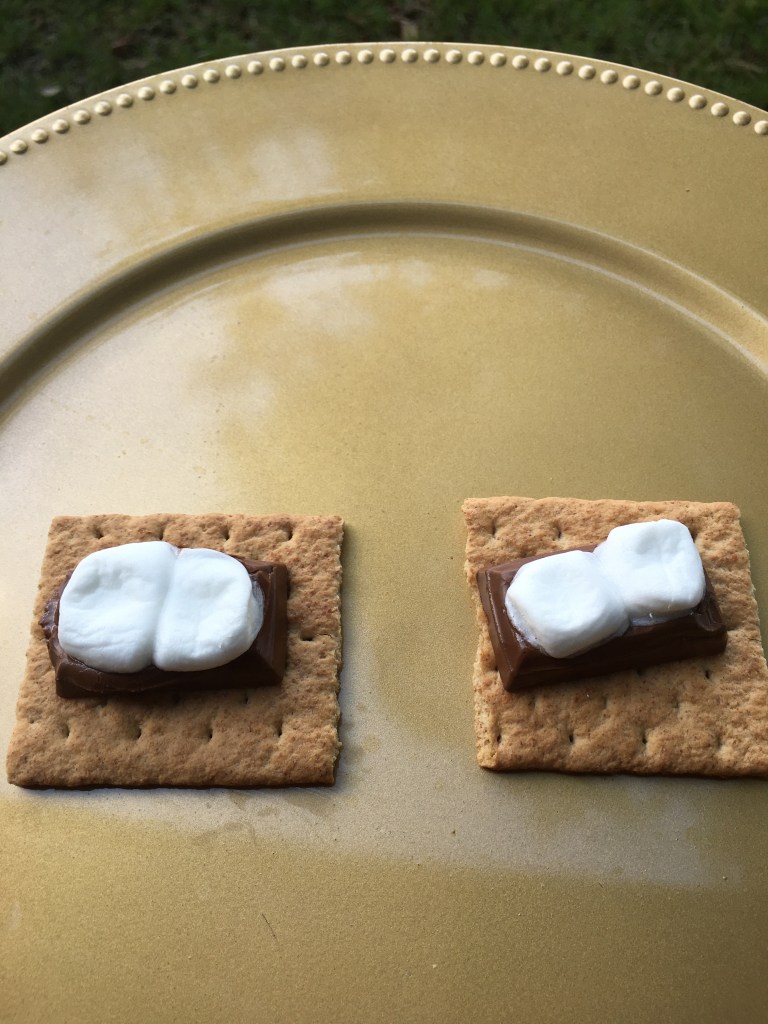
The chocolate will start transforming into soft squishy state and the marshmallows will look more puffed up from the heat. It took us about 90 minutes to bake our s’mores. The temperature outdoors was around 100 degree Fahrenheit. You can just wait until the chocolate melts and can be called good enough, and your tasty treat is done. Place another graham over the baked graham or just sandwich the two of the baked grahams. Time to feast on your solar oven s’mores!
Functions of the components of the Solar Oven
Aluminum foil: The sunlight is reflected when it strikes its surface.
Black construction paper: Since black absorbs maximum light, it absorbs the light reflected from the aluminum foil. In the oven, the light energy is transformed into heat energy which demonstrates the law of thermodynamics which states that energy can’t be destroyed but can be only transformed from one state to the other.
Plastic wrap: It traps the heat radiated from the black construction paper causing the temperature inside the oven to rise.
Cardboard box: It serves as a physical oven and acts as an insulator of heat.
Science behind the working of the Solar Oven
A solar oven works by energy from the sun that penetrates into the surrounding environment thus demonstrating the process of radiation.
The shiny surface catches the sunlight and acts as a reflector reflecting it onto the base surface of the oven. The base surface gets heated. This heat is transfered to another object through direct contact thus demonstrating the process of conduction.
Further the air that is trapped inside gets heated by the process of convection which occurs when warm air which is less dense rises up and the colder air which is more dense sinks.
We are using a black sheet of paper for the base surface since black color absorbs maximum light and is transformed into heat energy. Plastic wrap prevents the hot air inside the oven from escaping thus creating a Greenhouse effect.
Notes:
1. Solar ovens slow-cook food on a low heat over a longer period of time than conventional ovens, but they do work. 2. The box should be tightly sealed or insulated to prevent the heat from escaping.
Playing conversation games is such a classic way to entertain— be it a group at a party or bored kids at home. I am always in hunt of some conversation games that perfectly fit as a conversation ice breaker with my li’l one as also is an all time hit at any gathering of friends and family. Here are some classic conversation games which can be played with family and friends anytime anywhere without almost any items.
Chinese Whispers or Telephone
Here everyone sits in a line or a circle and the first person whispers a message to the next person in line, in his ears. The second one whispers the same message into the next person’s ears and so on. When the message reaches the last person, he announces the message. The fun part happens here, since the message gets significantly distorted during the process. The group is sure to have to a good laugh.
Two Things
In this game, one player gives two statements, one is true and one is false. The other player has to guess which is true and which is false. It can be a good way to also exchange interesting facts specially with children.
20 Questions
One person thinks of something in a room and the others have to guess it in 20 questions or less. The person who has thought of, can only answer in a ‘yes’ or a ‘no’. The questions can be like “Is it made of a metal?” or “Is it as big as a ball?” or “ Is it rectangular in shape?” This is even more interesting if you divide the players in 2 teams.
I Spy
The game traditionally starts with a phrase called “I spy with my little eye something”, and then a description is added like made of plastic, like a cylinder, or white in color. The other players guess the item. The person who gusses it becomes the spy.
Just a Minute
This one is a classic and an all time favorite game. In this game, each person is given a topic one at a time and he has to speak on it for 1 minute. This game is a great help in improving speech skills. Preparation time can also be given to players. Some of the topics that can be taken with kids include:
Animals have rights too.
My favorite foods
What is the best time of day for you?
What do you think you would do when you grow up?
My favorite animal
Should kids be beaten for doing wrong
My favorite movie
The most memorable time of my life
My most favorite subject at school
The funniest incident of my life
The person who inspires me
Something I want to learn
The time I laughed the hardest
Fun activities I do with my family
If I were invisible
If I had the power to change something
Three wishes I would make
My favorite food
Something I like to wear the most
The worst food I’ve ever had
The most difficult thing in this world
Your favorite holiday
Early rise and early sleep or late rise and late sleep
What is the best thing of being… years old
If you could change one thing about yourself, what would it be?
The Name Game
This game is good to stimulate kids’ thinking while also improving their vocabulary. It requires simple preparation and is fun to play anytime anywhere.
1. Take slips of paper and write all 26 letters and keep them in one bowl.
2. Think about different categories (as narrow or as broad as you’d like them to be) like girls name, countries, vegetables, animals etc. and write them on slips and keep them in another bowl.
3. Take 5 slips and write numbers from 5 to 10.
Now at every turn, each player is required to pick slips from each bowl. If a player picks slips with letter ‘B’, category ‘Vegetable Names’ and time ‘7’ then the person will take 7 vegetable names with the letter B.
Simon Says
In this game, one person becomes the Simon and designates activities to the rest of the players. Rest of the players have to obey the commands. The catch is that they have to obey only those commands that begin with the phrase “Simon Says”. If any player follows the command that doesn’t have the phrase “Simon Says”, will be out of the game. The person who stays till the end becomes the next Simon.
Some interesting command ideas for Simon Says:
Simon says scratch like a monkey
Simon says rub your tummy and pat your head
Simon says to be a king
Simon says crawl like a baby
Simon says pretend to clean the house
Simon says bite your lip
Simon says cry like a baby
Simon says act like a spiderman
Simon says start singing
Simon says walk on your knees
Simon says cuddle your favorite person in the room
Simon says slap yourself
Simon says yawn like a hippopotamus
Simon says do a ball dance
Simon says do a yoga pose
Simon says wink with your left eye
Make Me Laugh
Well, this is the game we all have played at some point (at least heard of if not played). One person gets a turn to make the other players laugh. Whoever laughs first is the looser. So try your tricks, crack jokes, make silly faces or ask funny questions.
Chubby Bunny Challenge
All you need in this game is a partner and a whole bowl of marshmellows. Both the partners start with taking one marshmellow in mouth and say “Chubby Bunny”. If you can say it clearly then you move to another round wherein you add another marshmellow and say “Chubby Bunny” again. The challenge continues until the players say the words clearly or without losing the marshmellow out of their mouth. The one who is not able to continue this loses to the other person.
The Alphabet Game
The object of this game is to have some authentic conversation going on. Here a person starts the conversation with the letter ‘A’ for instance Airballon rides are fun, the second person in the row will say a sentence with the letter ‘B’ for instance But they are scary too!
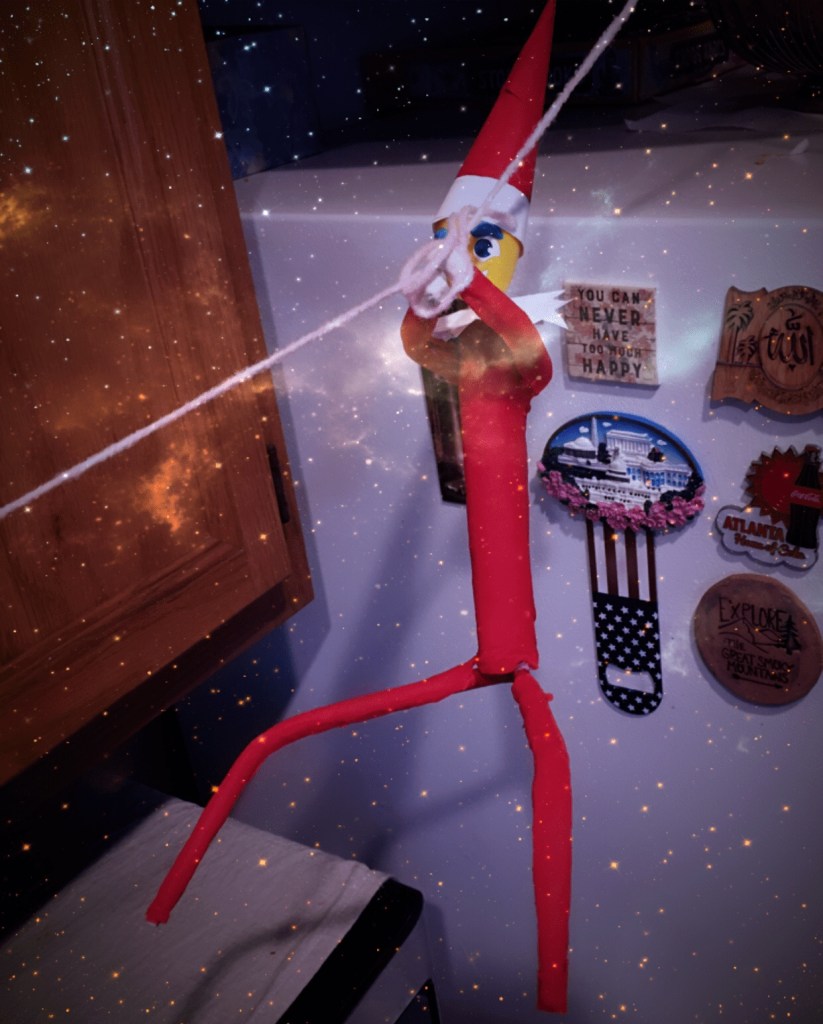
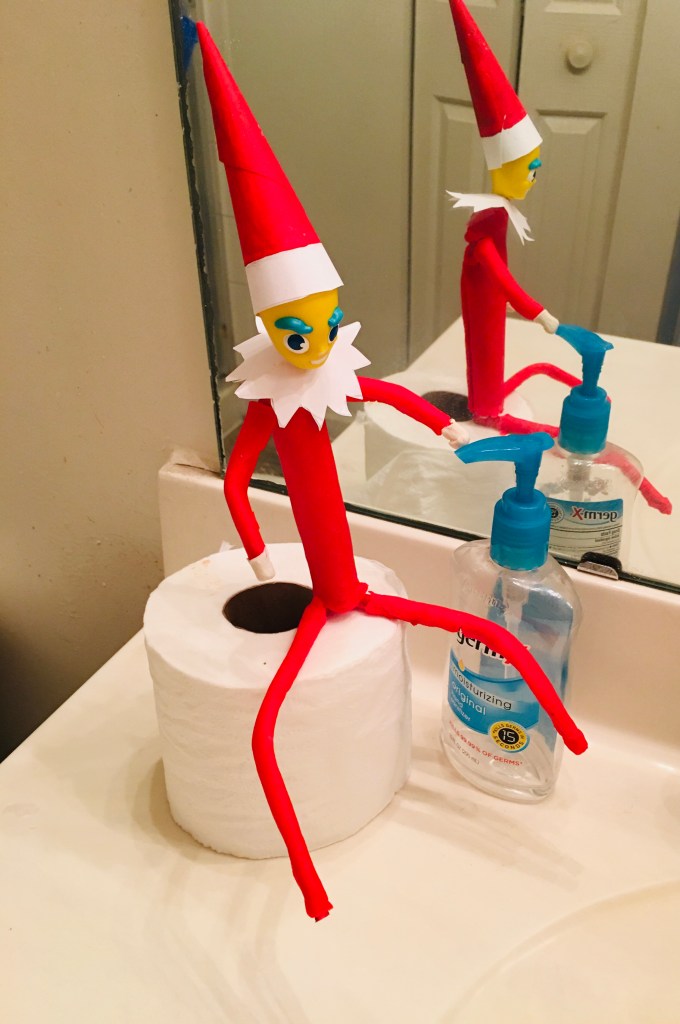
It’s December already and so is the time for Santa’s elves to arrive. These lovable characters are too cute to find place in homes before Christmas. As we know they are believed to be Santa’s helpers who every night report to Santa about kids’ daily activities. So just they being around, kids try to put up their best behaviour so that they are on Santa’s nice list.
There can be nothing more interesting than to make your own elf and perch it at different spots each morning. Kids can simply have fun spotting them. Here is a simple DIY for these cute North Pole characters.
Materials required:
Plain sheets of paper Play dough (red, white) Doll head Scissors Paint (red), paint brush Knife Glue Rolling pin
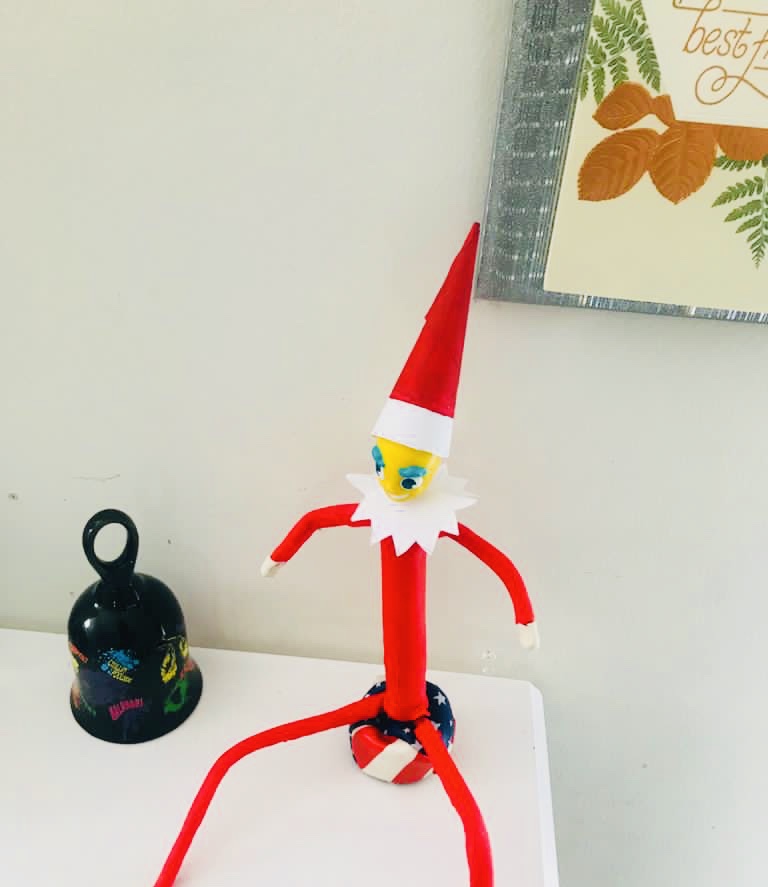
Directions:
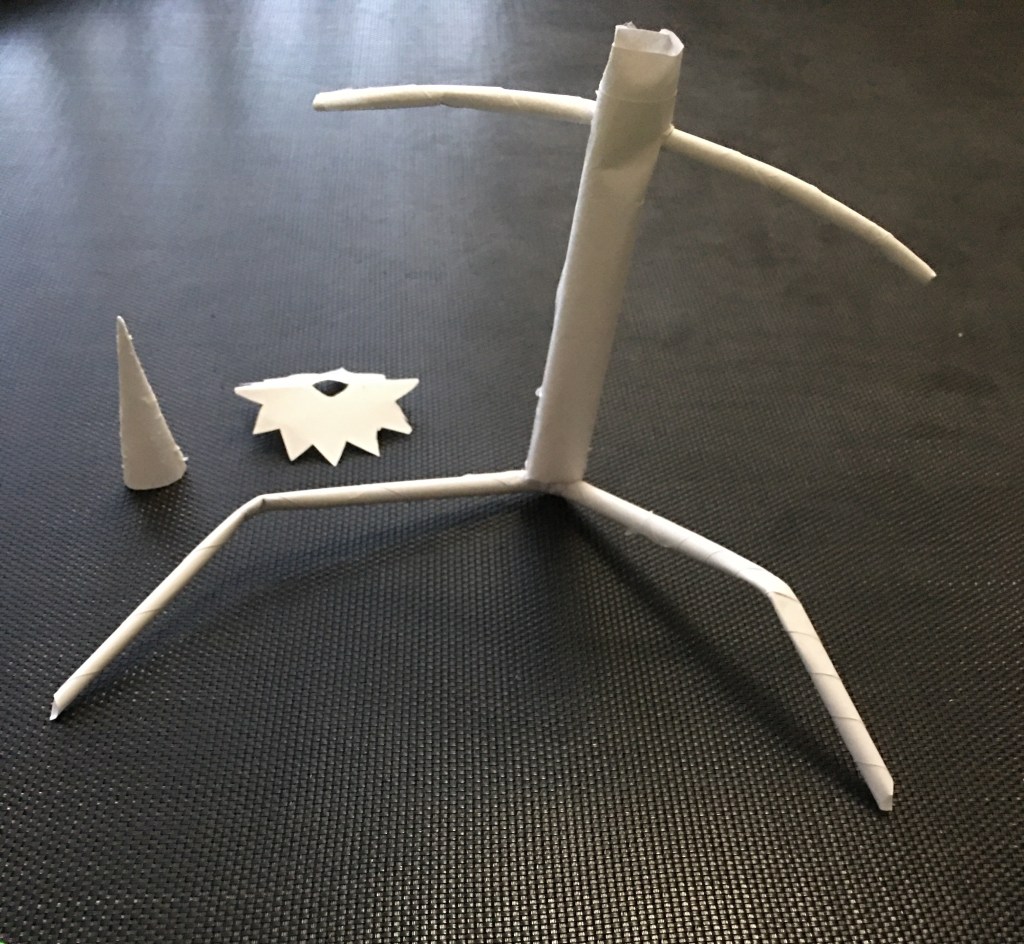
1. Using plain sheets of paper, make body of the shelf in form of a cylinder. Make paper tubes for hands (and pass them through the holes from the cylinder). Similarly, make the paper tubes for legs and stick it to the body using glue.
2. Using paper sheets, make a cone for the cap and a circle for its neck accessory and trim its edges to make it spiky.
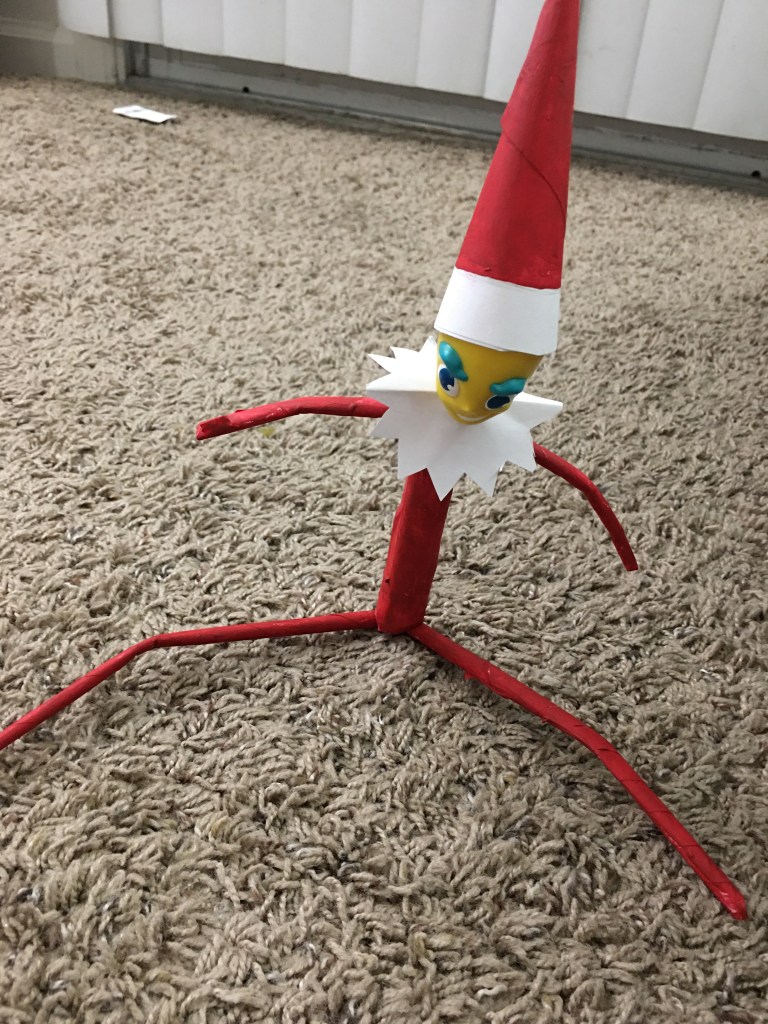
3. Paint the body in red and its cap in red and white.
4. Fix the accessories and the doll head using glue.
5. Now taking a rolling pin, flatten the red play dough and cut it into rectangles to cover its body. Also, make white gloves with white play dough.
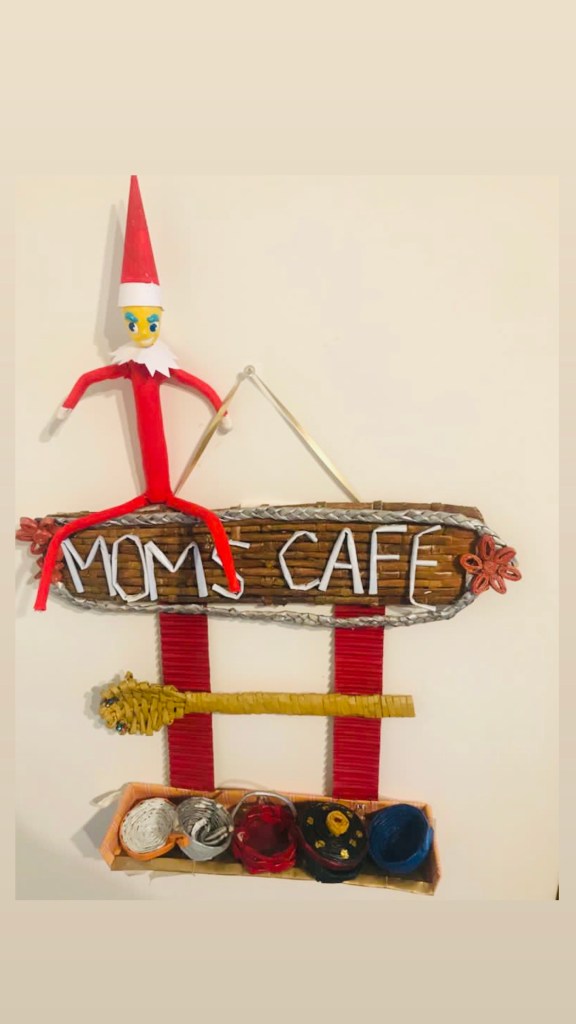
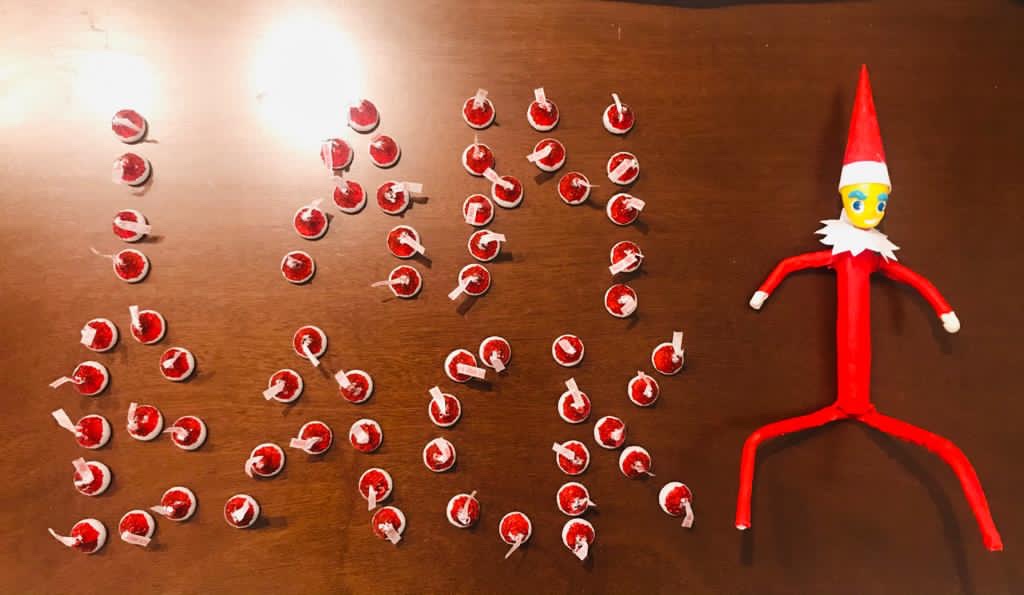
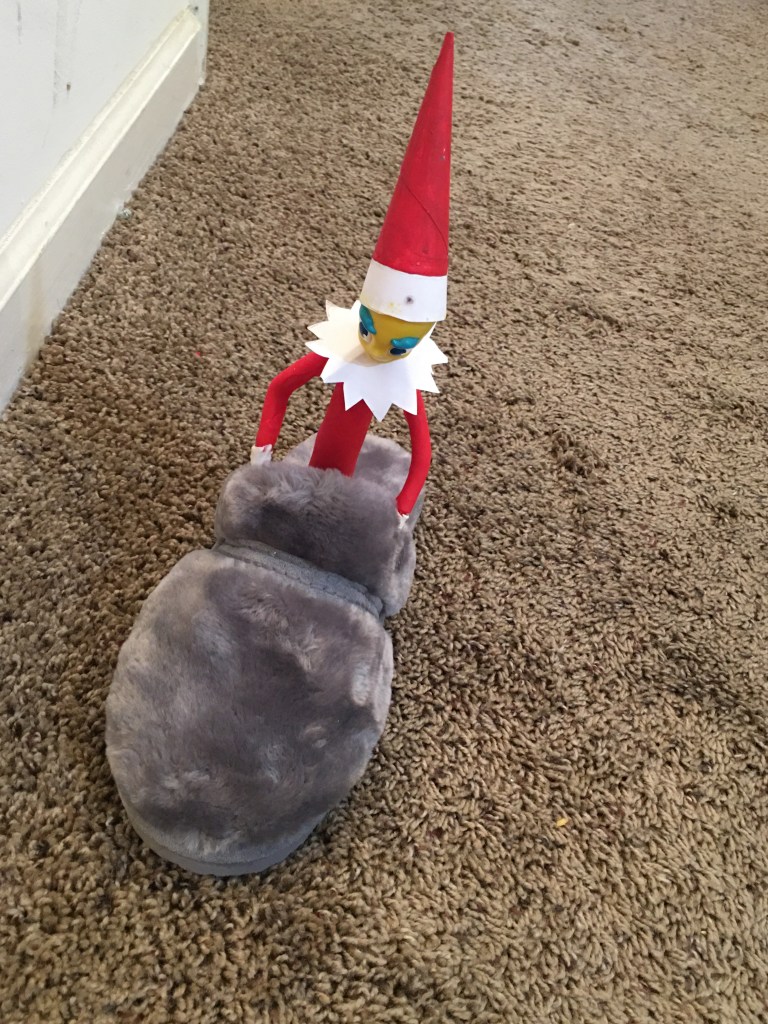
Some interesting elf on the shelf ideas:
Have a happy time doing your own elf on the shelf!